- OPMAATZAGEN.nl
- Do it yourself
- DIY Projects
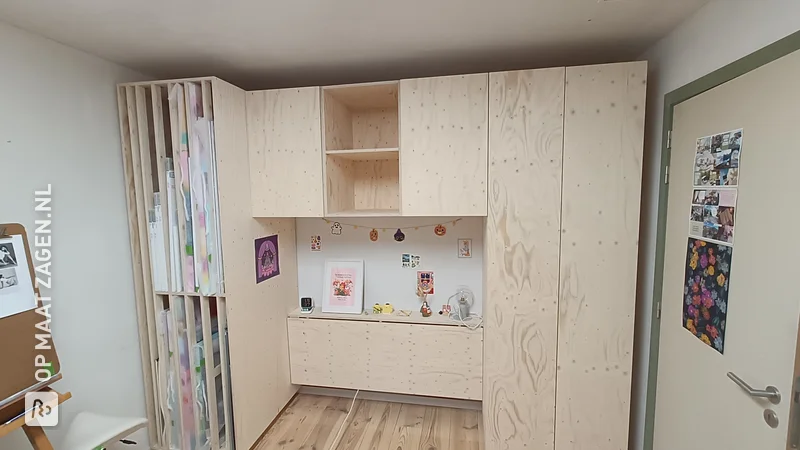
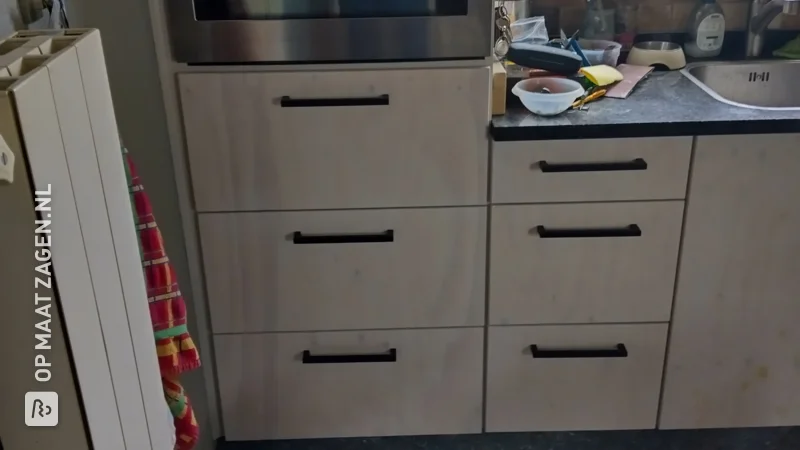
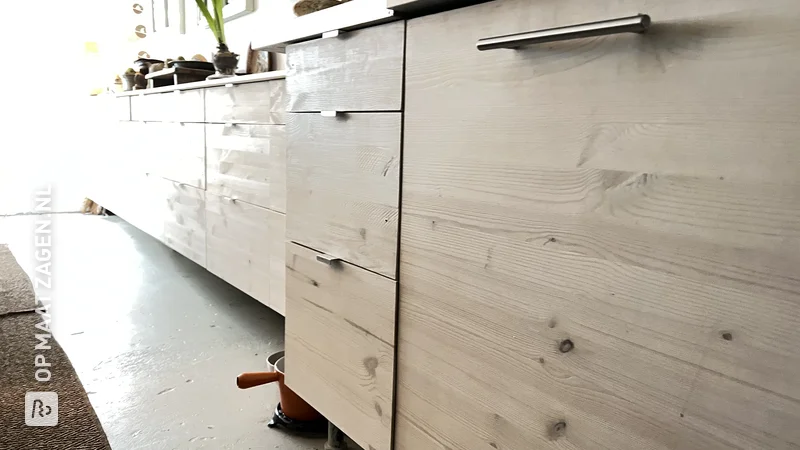
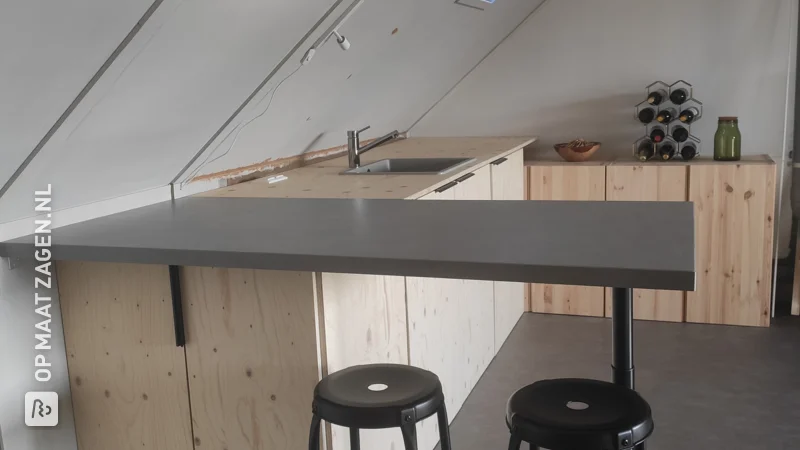
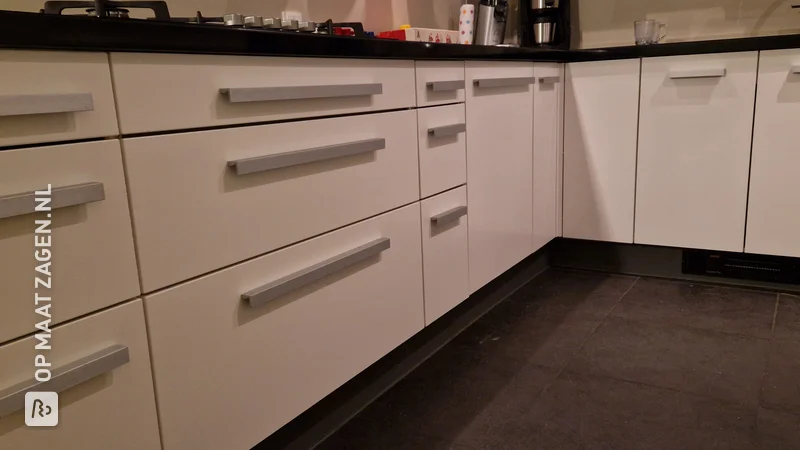
Small custom-made kitchen and high storage, door Catriona
Small custom-made kitchen and high storage, door Catriona

Create this project yourself with sheet material cut to size by OPMAATZAGEN.nl!

Catriona designed this entirely themselves: from cutlist to finish. Get inspired by the materials used below — and then think about how you would tackle it. We make sure the wood is accurate to the millimetre; the rest is up to you.
A small, homemade kitchen with big dreams
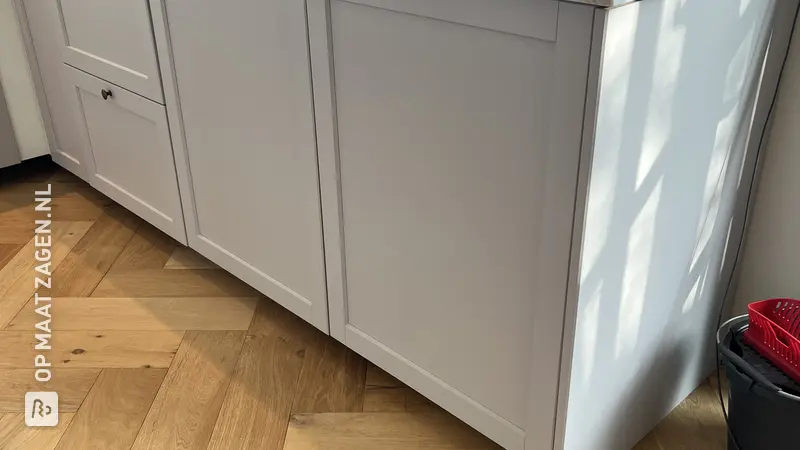
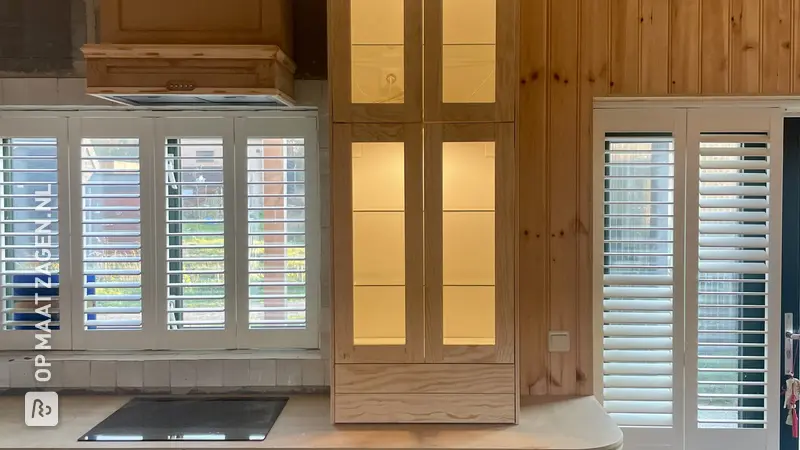
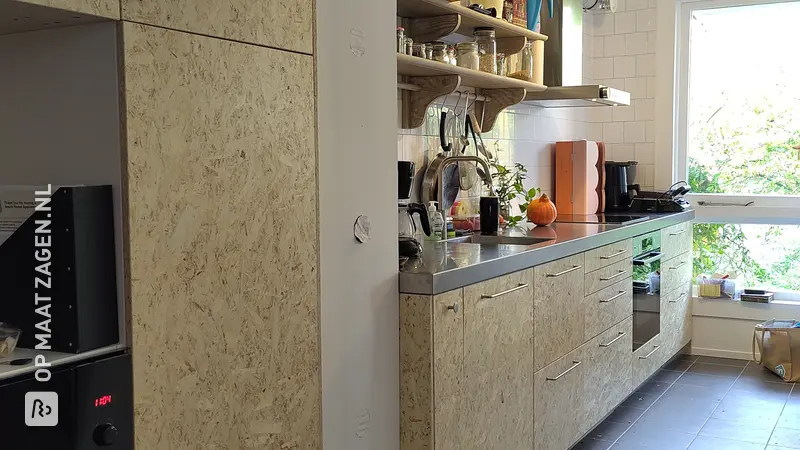
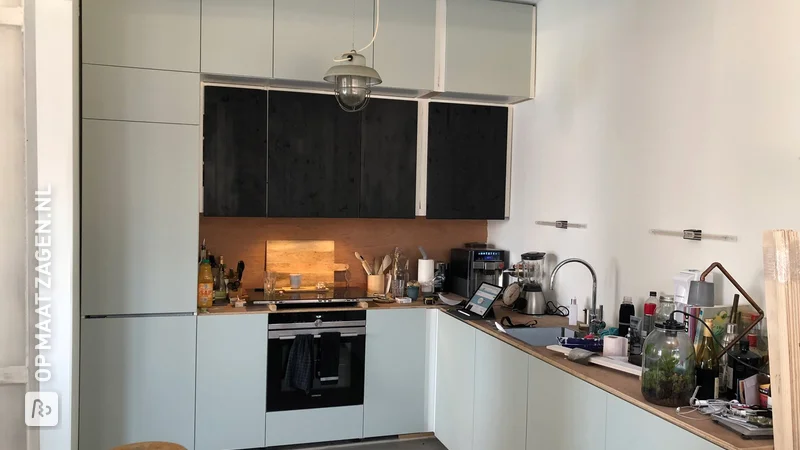
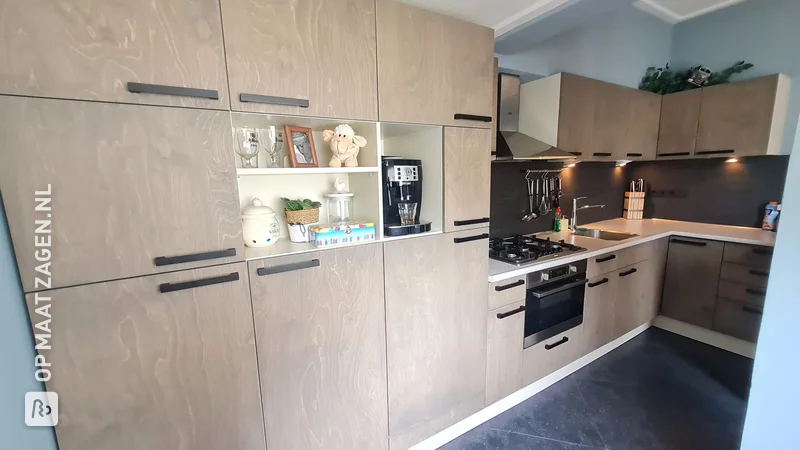
How do you design a compact kitchen when nooks and crannies complicate everything, but high ceilings offer great possibilities? Catriona's project provides an answer full of great ideas. Entirely crafted by this client using custom-cut wood by OPMAATZAGEN.nl, this kitchen combines stacked wall cabinets, white fronts, and storage solutions adapted to narrow spaces. A great inspiration for a small home or tiny house kitchen.
Furniture adapted to an atypical configuration
Two well-organized work areas
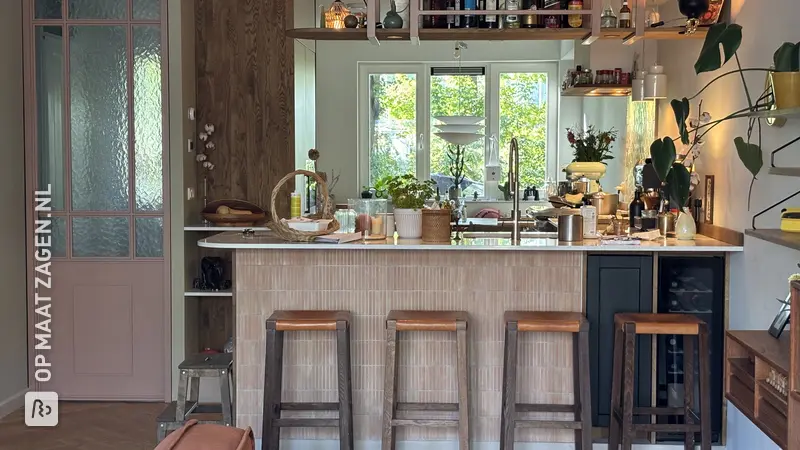
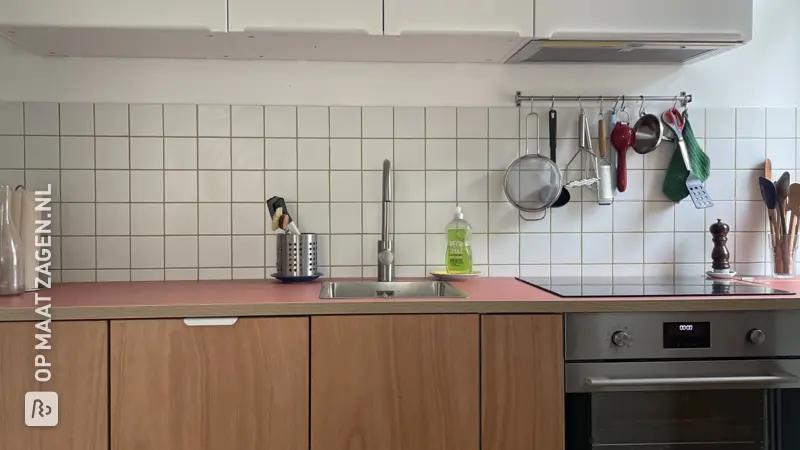
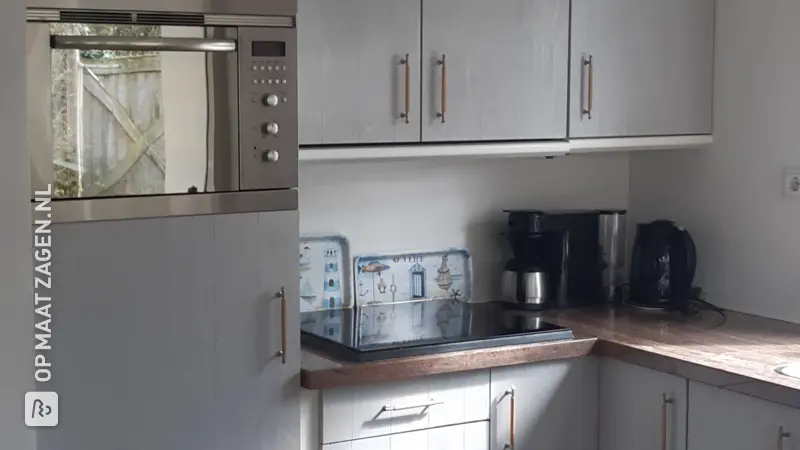
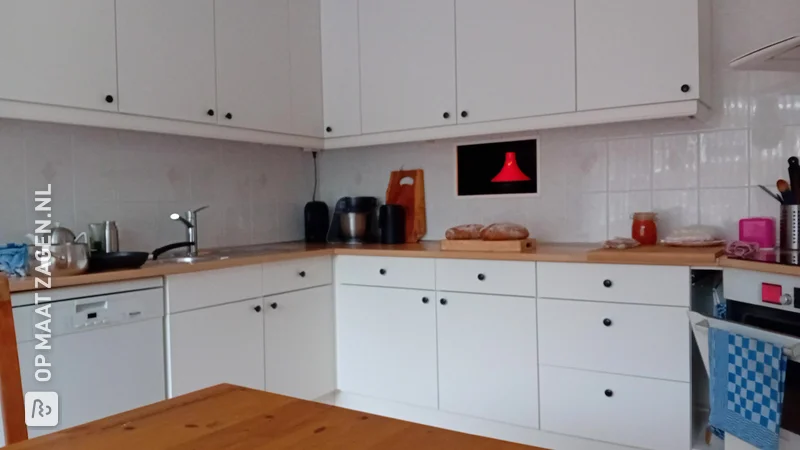
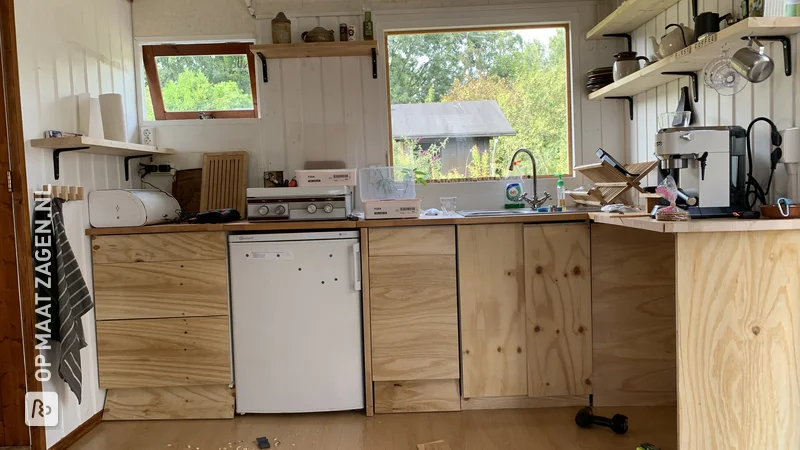
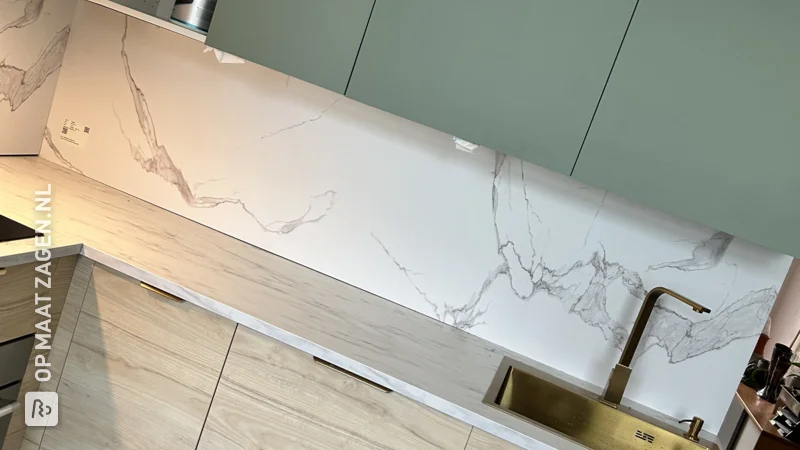
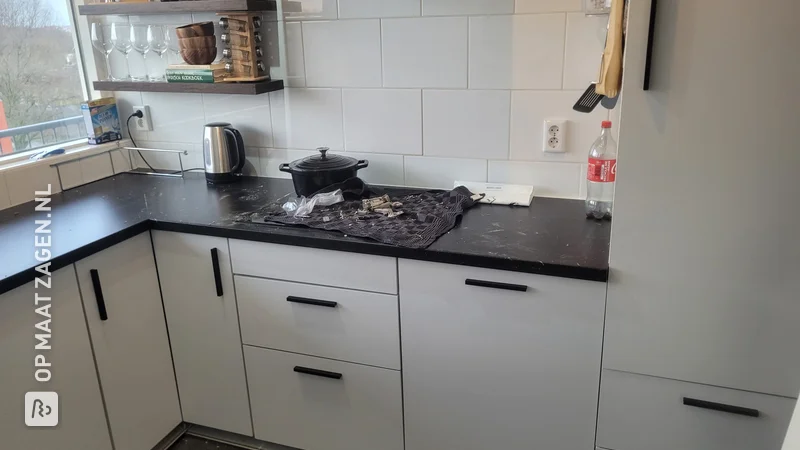
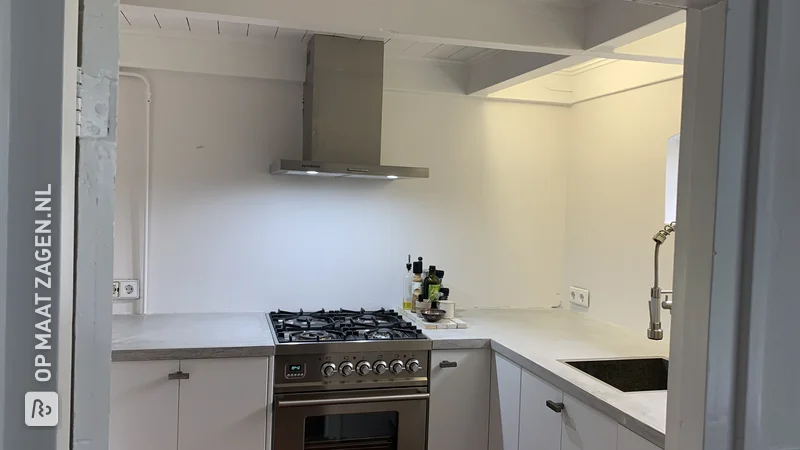
The photos show a sink area installed in a niche between two walls and a cooking zone adjacent to the refrigerator. On the sink side, the wood-look countertop sits above a dishwasher with a metal front and a base cabinet with two white doors. A black faucet stands out against a backsplash with a gray, black, and cream mineral pattern. An open shelf holds small everyday items, while stemmed glasses are hung beneath the wall cabinet.
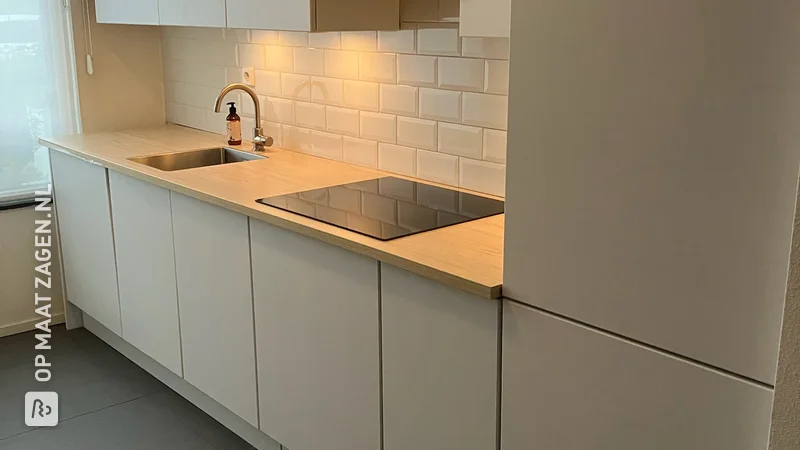
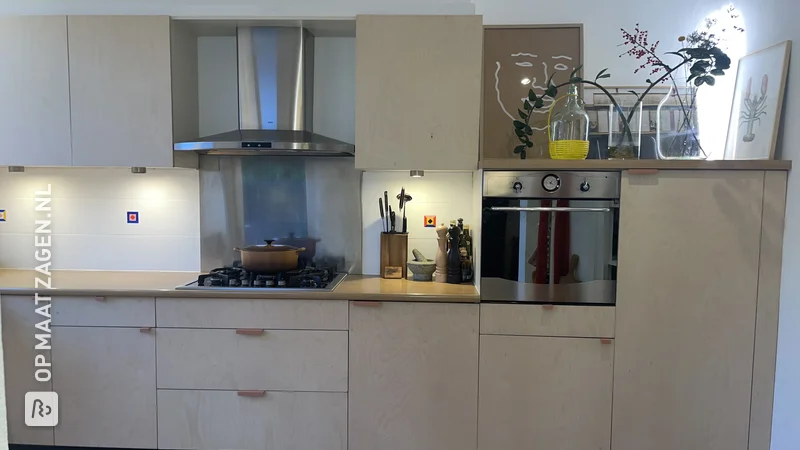
For cooking, a black hob is integrated into a warm wood-toned worktop, with the oven directly below. To the right, the refrigerator occupies a niche lined with blue-gray elements. An open shelf above holds dishes, and an additional white cupboard further utilizes the available height.
Storage units that extend almost to the ceiling
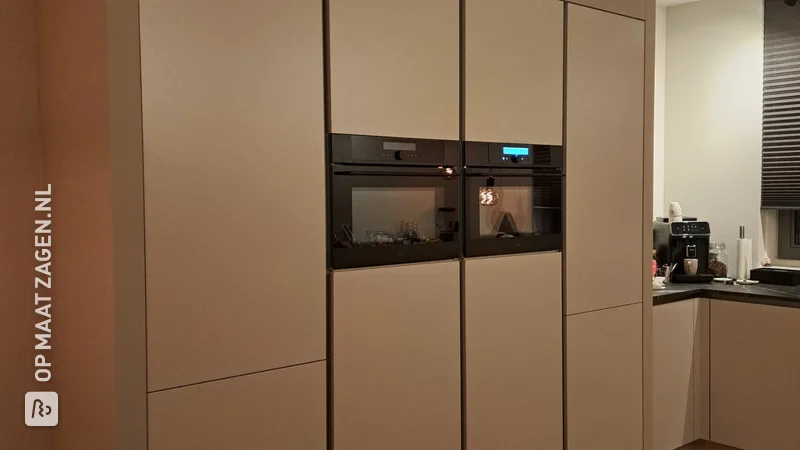
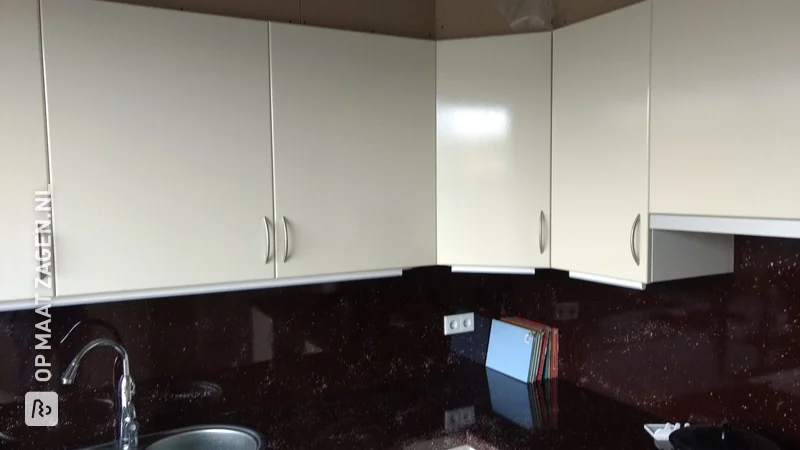
Above the cooktop, several levels of cabinets are stacked one on top of the other. Their rectangular fronts, in varying sizes, follow the available space rather than a single, modular design. Long, gold handles, mounted horizontally or vertically, create a cohesive look. Above the sink, two large doors also extend the storage upwards. This way, you can take advantage of the ceiling height without further obstructing the flow of movement.
Clever details to save space
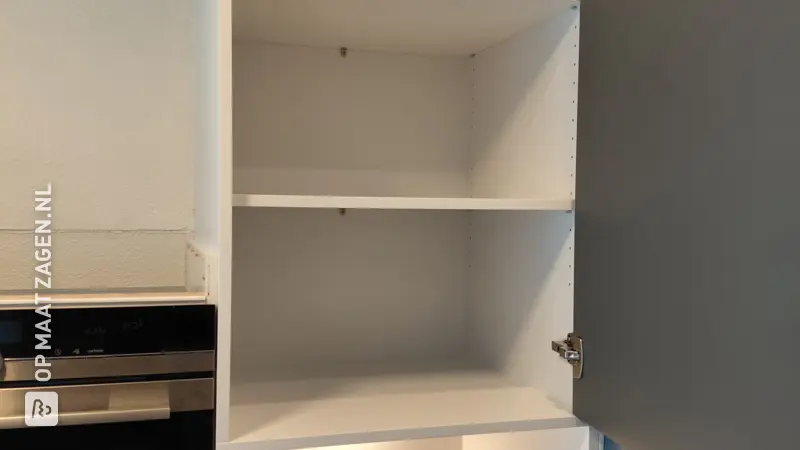
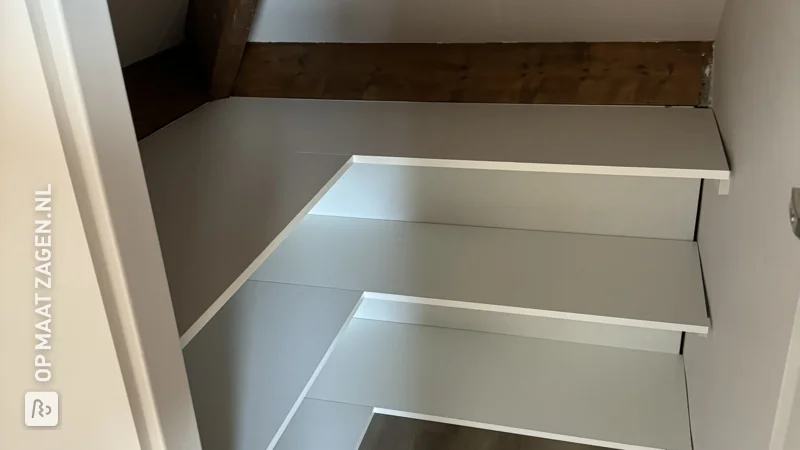
A photo with the doors open reveals the layout around the range hood: a lift-up panel provides access to the central storage area, and a side compartment with a shelf accommodates dishes. It's a good example of a custom kitchen designed around the appliances, even when their shape makes the space challenging to fit.
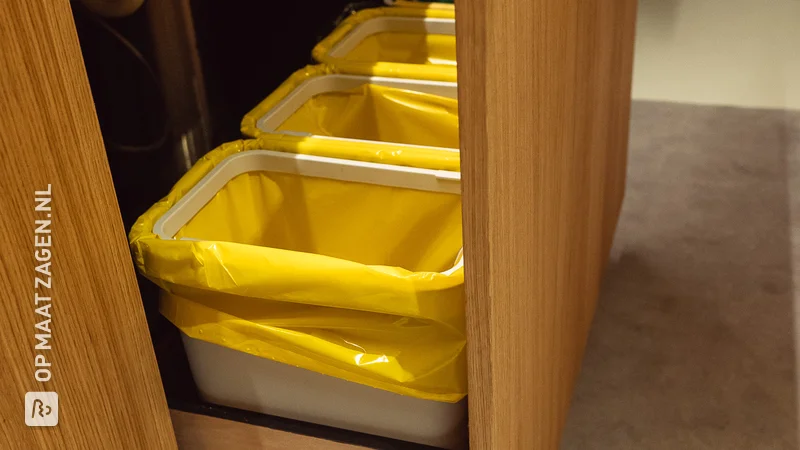
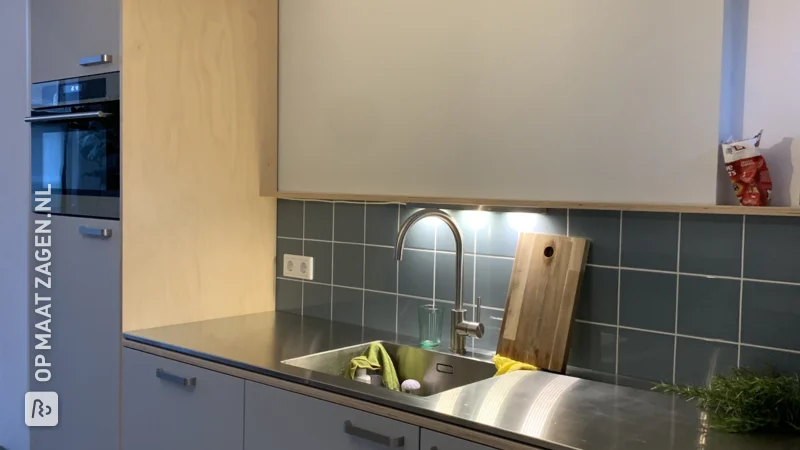
Another clever idea: a narrow sliding compartment holds spices at the top and bottles below. By pulling out the white front panel, you can access the contents without having to search the back of a cupboard. Near the oven, an open vertical niche also accommodates pans and accessories. Every little space has its purpose.
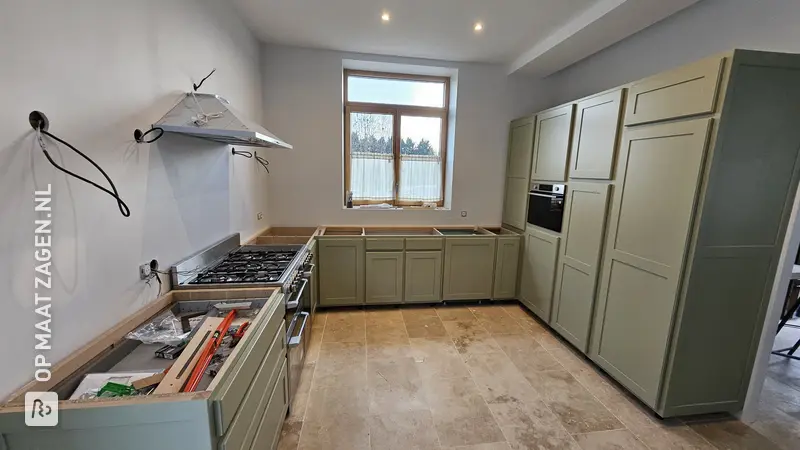
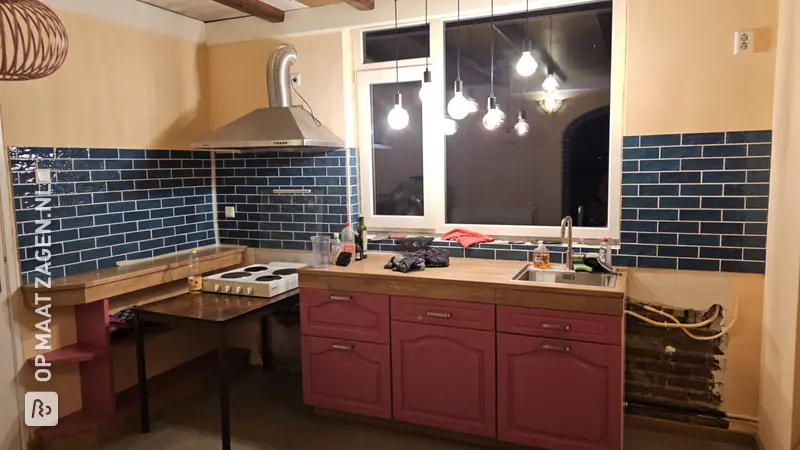
The lighting under the wall cabinets casts a warm glow over the sink area. The photos show a kitchen that has already been used, with some finishing details still visible, including wires near the range hood. The overall effect is primarily to understand the practical choices behind the cabinet fronts.
The role of OPMAATZAGEN.nl in this DIY kitchen
Catriona carried out the project herself; OPMAATZAGEN.nl supplied the wood cut to the requested dimensions. This division of labor gives you control over the design, assembly, and finishing, while simplifying the preparation of the panels. In a kitchen with niches and varying heights, starting with pieces of the correct dimensions makes it easier to adapt the furniture to the room.
Building your own kitchen allows you to choose the width of the cabinet fronts, the placement of the shelves, and the storage capacity to suit your needs. You also retain the freedom to select your materials and finish. In terms of budget, assembling it yourself can reduce labor costs, provided you also factor in the cost of hardware, paint, and appliances.
Some guidelines to help you prepare your own project
Before ordering your panels, measure each niche in several places: walls aren't always perfectly straight. Allow for the necessary clearances for door openings and respect the clearances and ventilation guidelines for appliances. For wall-mounted furniture, choose fixings appropriate for the type of wall. Reserve the highest cupboards for items you use less frequently, and keep essentials within easy reach.
MDF Primed: a practical base for painted facades
The material recommended for this project is MDF Primed, a wood fiberboard panel with a primer undercoat. Its smooth, even surface is well-suited to minimalist cabinetry like that of this custom kitchen. The primer makes preparation before painting easier and allows you to choose a color that matches your interior. Remember to carefully prepare and protect the edges, drill holes, and cutouts according to the product recommendations, especially near the sink: primed MDF is not automatically water-resistant.
Tip! Also check out our handy DIY tips!
Step by step guide
Preparation
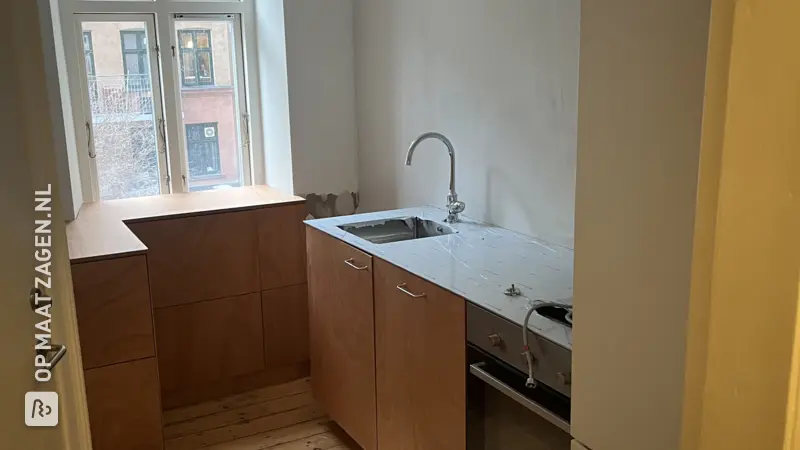
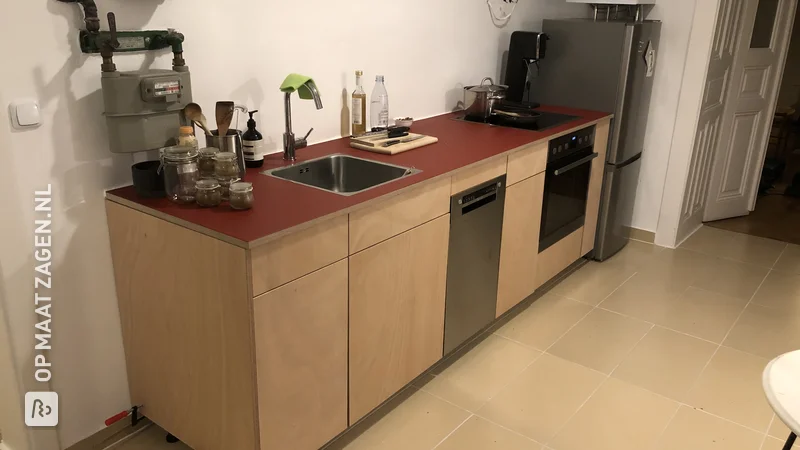
- I live in a tiny apartment with an awkward layout for a corner kitchen. I tried using standard kitchen suppliers to plan it out but none of their standard sized units would configure into a useable kitchen. Custom-kitchen providers were astronomically expensive. Therefore I decided to make my own. I measured my space and made a list of requirements that I had for my kitchen, then set about drawing up a plan for how I could use the space. I used Adobe Illustrator (which I would not recommend, it's just what I had access to) to draw mock-ups and work out my measurements. I then made a cutting plan for how it would all fit together, which I ordered on To Size.
Montage
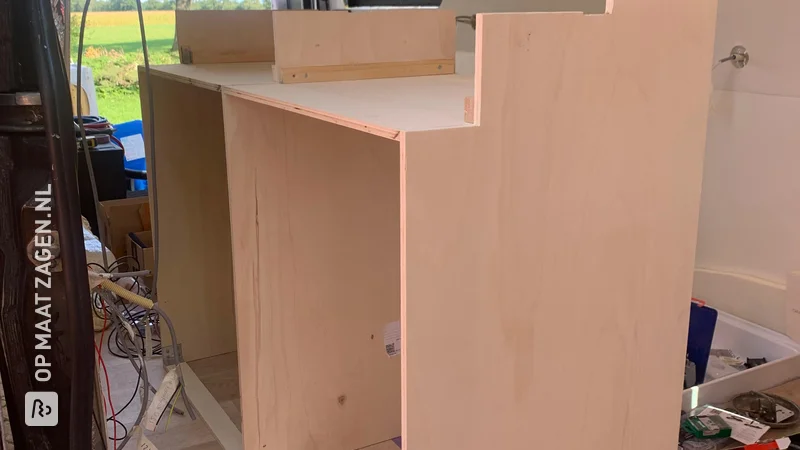
- Once everything was delivered I applied edge banding to the front-facing pieces. Next I started assembling boxes with pocket holes. I installed rails on my kitchen walls then hooks on the backs of the cabinets and hung them. Adjustable feet were used on the base cabinets. I drilled out holes for shelving pegs and hinges using Kreg jigs. I installed the hinges, doors, and shelves. I am building drawers with a thinner mdf using the same method which will be installed soon. I cut a hole out of the box above the hob to install an extractor fan into. I added hydraulic supports for any upward-opening doors so that they would not slam. I installed a pre-bought spice rack to make a pull-out storage rack. I cut holes in the tops of the base units for the hob and the sink, then cut the worktops to match. The feet were adjusted to make everything level then everything was screwed together.
Finish
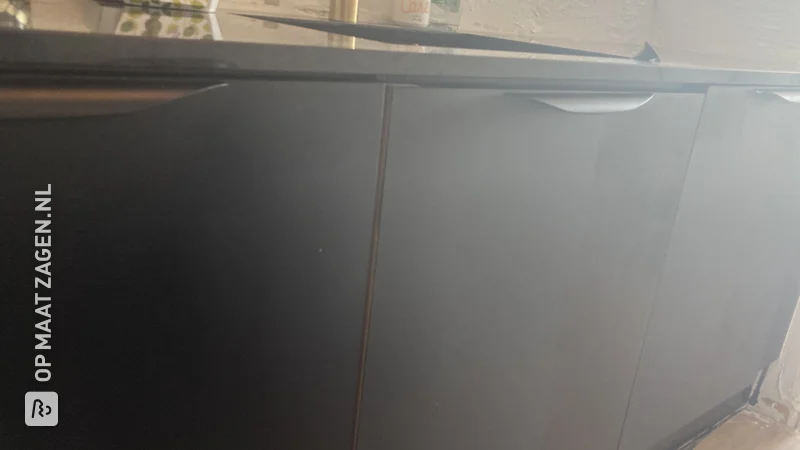
- Finishing consisted of adding handles, and I am going to paint them all a nice gray color to match the tiles.
What's in your project?
- Included: Complete kit incl. fittings and instructions
- Included: Design via 3D configurator
- Included: Fully made to your own measurements
- Not included: Edge finish of your choice
- Not included: Round or curved shapes also possible
- Not included: Each part available in a different wood type
Made-to-measure self-build kit
Prefer a complete kit? Design your furniture in our 3D configurator and receive all parts, fittings and instructions in one package.
- Not included: Complete kit incl. fittings and instructions
- Not included: Design via 3D configurator
- Included: Fully made to your own measurements
- Included: Edge finish of your choice
- Included: Round or curved shapes also possible
- Included: Each part available in a different wood type
Inspiration cutlist
Want to make this DIY project? Check out Catriona 's saw list and complete your order easily.
Materials used

Total price
€ 1.720,09
Add Catriona 's cutlist straight to your cart
My experience with OPMAATZAGEN.nl
TOSIZE is a great site, and it has made my renovation projects a lot simpler, saving a lot of time cutting and avoiding errors.