- OPMAATZAGEN.nl
- Do it yourself
- DIY Projects
Project hall: cabinet for solar panel inverter and shoes, by Pascal
Project hall: cabinet for solar panel inverter and shoes, by Pascal

Create this project yourself with sheet material cut to size by OPMAATZAGEN.nl!

Pascal designed this entirely themselves: from cutlist to finish. Get inspired by the materials used below — and then think about how you would tackle it. We make sure the wood is accurate to the millimetre; the rest is up to you.
A custom-made hall, from technical corner to refined entrance.
A transom in plain sight and shoes that need a designated spot: sound familiar? With this hallway project, Pascal shows how to tackle both challenges in a single design. You see two custom-made cabinets with light doors, black sides, and long black handles. The tallest cabinet conceals the technical corner next to the front door, while the second cabinet offers convenient shoe storage. Pascal made the project entirely himself, using custom-cut wood from OPMAATZAGEN.nl.
From loose panels to two practical hallway cabinets
The initial situation: technical equipment right next to the front door
The first photo shows a narrow entrance hall with a dark tiled floor, a wooden front door with a slanted glass panel, and a white radiator on the right wall. Next to the front door hangs a white inverter for solar panels, with cables underneath and a technical cabinet above. Loose, light-colored panels, tools, and a workbench show the start of the renovation. The tallest custom-made cabinet will be installed in exactly this spot later.
Two heights, one coherent design
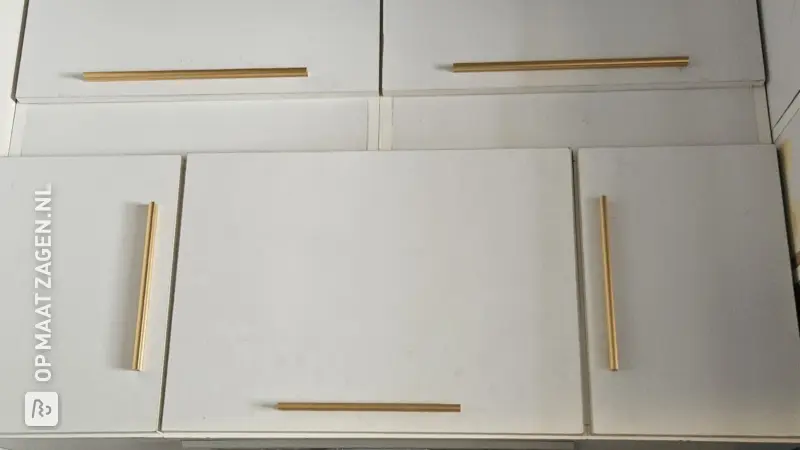
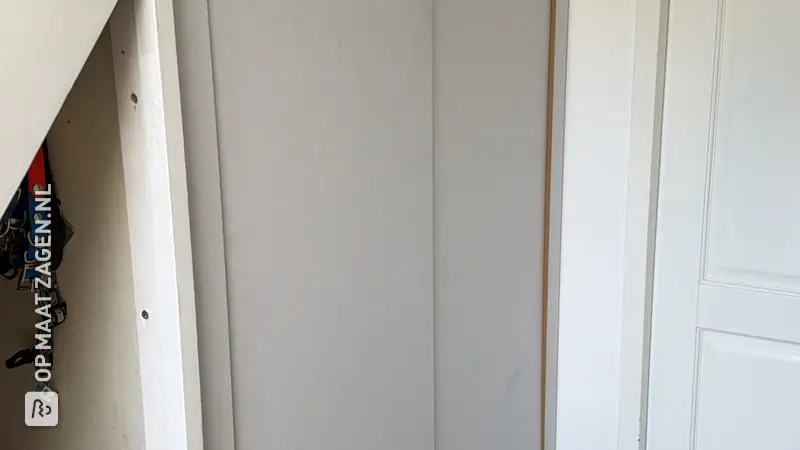
The assembly photos show two straight cabinet volumes side by side. The narrow cabinet by the front door extends almost to the ceiling. The wider cabinet to its right remains lower and stands next to the radiator. Both pieces of furniture have tall doors at the top and shorter doors at the bottom. This horizontal division gives the whole a calm rhythm. Below the cabinets, you can see a low, wood-colored plinth.
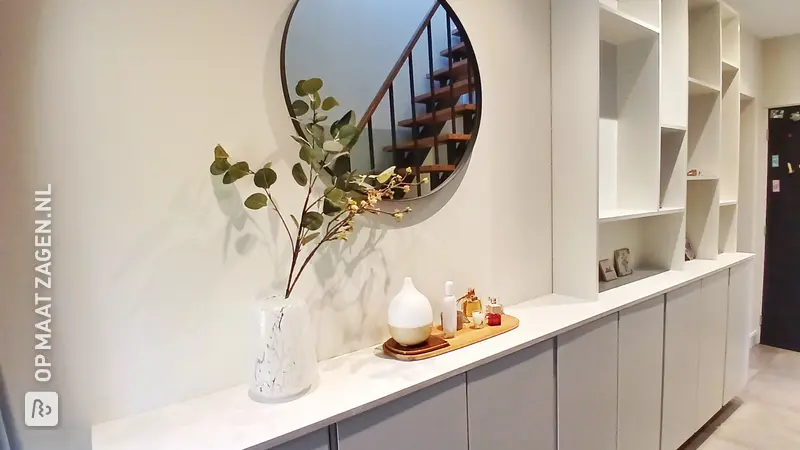
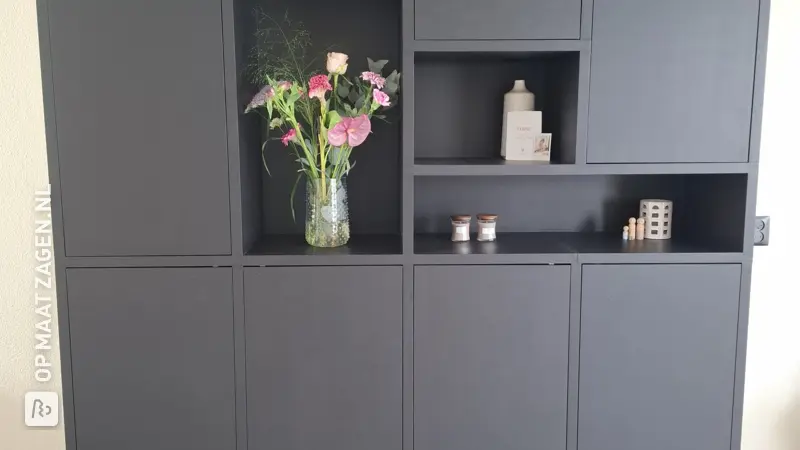
In the final photo, the light door fronts form a clear contrast with the black side panels. The long, narrow handles reinforce the vertical lines. With this combination, you give a narrow hallway character without adding all sorts of different colors or shapes.
Concealing a solar panel inverter in a cabinet
The tallest cabinet utilizes the space where the inverter and technical equipment were previously visible. This way, the technical corner disappears behind a clean furniture front. By aligning the height of the cabinet with the ceiling, the space above the installation is also utilized, making the corner appear as a single unit.
Do you want to install a solar panel inverter in a cabinet yourself? Then first check the installation instructions for your device. The required clearance, heat dissipation, and ventilation vary by model. Also ensure that the installation remains accessible for operation and maintenance. It is not possible to assess from the photos how the ventilation around the inverter has been implemented; therefore, do not simply copy this enclosure as a technical example.
A shoe storage unit with well-organized compartments
The opened cabinet shows how you can practically organize the interior space. Multiple shelves form compartments of varying heights. Wooden storage boxes sit at the top, while other compartments contain a black fabric storage box and a basket. This way, you combine space for shoes with room for smaller items you prefer to keep by the front door.
The light interior helps to see the contents clearly. The doors swing open on metal cup hinges: hinges mounted on the inside that remain out of sight when the doors are closed. Behind the closed fronts, the contents disappear neatly from view. Handy if you want a tidy entrance without having to place every pair of shoes perfectly side by side.
Make it yourself with custom-made wood from OPMAATZAGEN.nl
For this DIY project, Pascal used MDF Primed, cut to size by OPMAATZAGEN.nl. This allowed him to start with the available space in this design, rather than adapting the hallway to standard cabinet sizes. The custom cutting makes preparation more organized and allows you to focus on assembly, layout, and finishing.
Self-building gives you freedom in width, height, and layout. You also tailor your choice of materials and finish to your wishes and budget. You maintain control over costs by creating a parts list in advance and factoring in hinges, handles, and paint. For a similar project, also measure the turning radius of the front door and cabinet doors, and provide suitable wall fixings for tall cabinets.
Modern-contrasting style
In the final photo, you can see how the cabinets become part of a complete makeover. Light vertical wall slats with dark spaces in between form the background. Above the radiator hang a mirror with a black frame and a black wall lamp. A narrow black shelf visually connects these elements to the cabinets. Together with the dark floor tiles and the wooden front door, this creates a modern, warm entrance: practically furnished, but clearly finished with attention to detail.
The sheet material used: MDF Primed
MDF Primed is a fiberboard with a smooth surface and a pre-applied primer. This makes it suitable for painted cabinet fronts and side panels with a uniform appearance. There is no visible wood grain, so you can perfectly match the color to your interior. When painting, follow the processing instructions for the board and the paint. Pay extra attention to saw edges and drill holes: these may require special preparation for a neat finish.
Tip! Also check out our handy DIY tips!
Step by step guide
Preparation
- cabinet preparation
Montage
- cabinet assembly
Finish
- painting MDF
- complete finishing
What's in your project?
- Included: Complete kit incl. fittings and instructions
- Included: Design via 3D configurator
- Included: Fully made to your own measurements
- Not included: Edge finish of your choice
- Not included: Round or curved shapes also possible
- Not included: Each part available in a different wood type
Made-to-measure self-build kit
Prefer a complete kit? Design your furniture in our 3D configurator and receive all parts, fittings and instructions in one package.
- Not included: Complete kit incl. fittings and instructions
- Not included: Design via 3D configurator
- Included: Fully made to your own measurements
- Included: Edge finish of your choice
- Included: Round or curved shapes also possible
- Included: Each part available in a different wood type
Inspiration cutlist
Want to make this DIY project? Check out Pascal's saw list and complete your order easily.
Materials used

Total price
€ 497,72
Add Pascal's cutlist straight to your cart
My experience with OPMAATZAGEN.nl
Order
Delivery
General experience