- OPMAATZAGEN.nl
- Do it yourself
- DIY Projects
Replacing wooden cabinet doors with MDF doors with decorative moldings, by Xander
Replacing wooden cabinet doors with MDF doors with decorative moldings, by Xander

Create this project yourself with sheet material cut to size by OPMAATZAGEN.nl!

Xander designed this entirely themselves: from cutlist to finish. Get inspired by the materials used below — and then think about how you would tackle it. We make sure the wood is accurate to the millimetre; the rest is up to you.
A new look for your under-stair cupboard with MDF doors
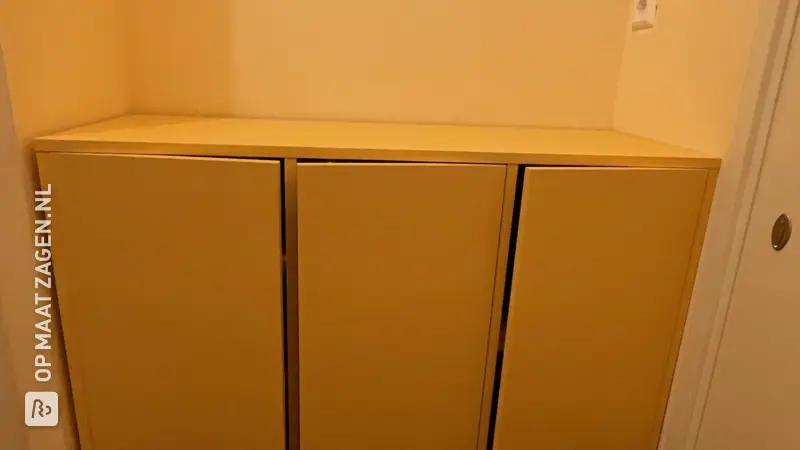
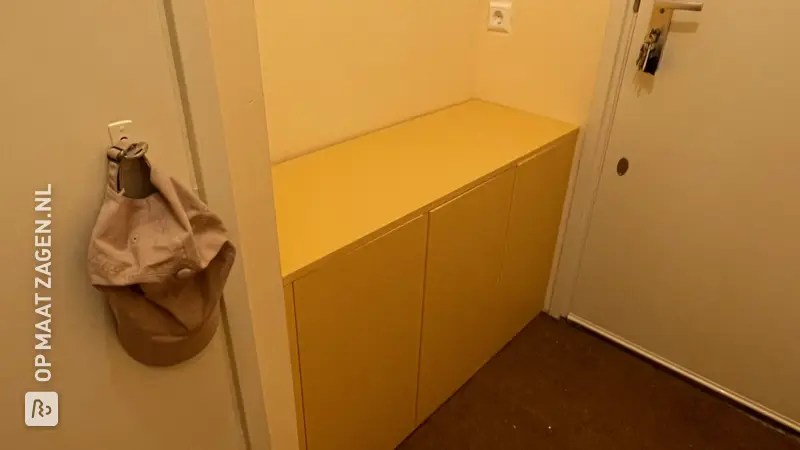
You don't always have to replace an entire cupboard to give your hallway a different look. Xander's DIY project demonstrates this beautifully. Using custom-cut MDF from OPMAATZAGEN.nl, he replaced the wooden cupboard doors under the stairs with new MDF doors. The existing storage space remains practical, while the light-colored door surfaces create a much calmer overall effect.
From wooden planks to serene cabinet doors
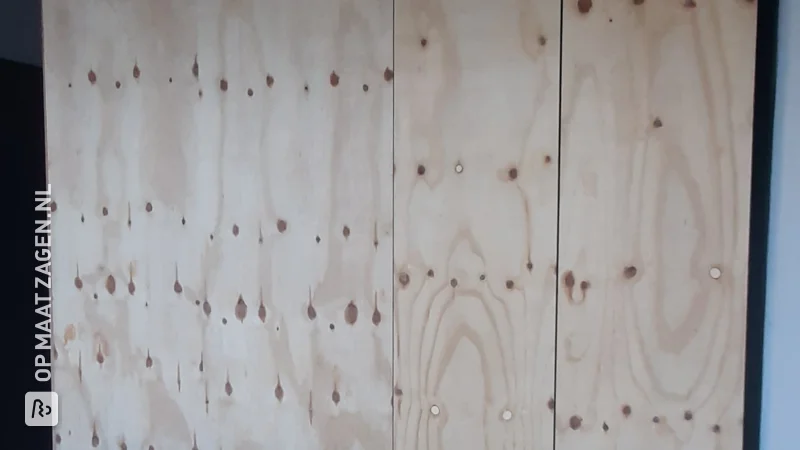
In the photo of the old situation, you can see two cupboard doors constructed from wide, vertical wooden planks. The visible knots, metal connecting plates, and round finger holes give the cupboard a rugged, simple appearance. Above the old doors, an open section remains visible under the sloping stairs.
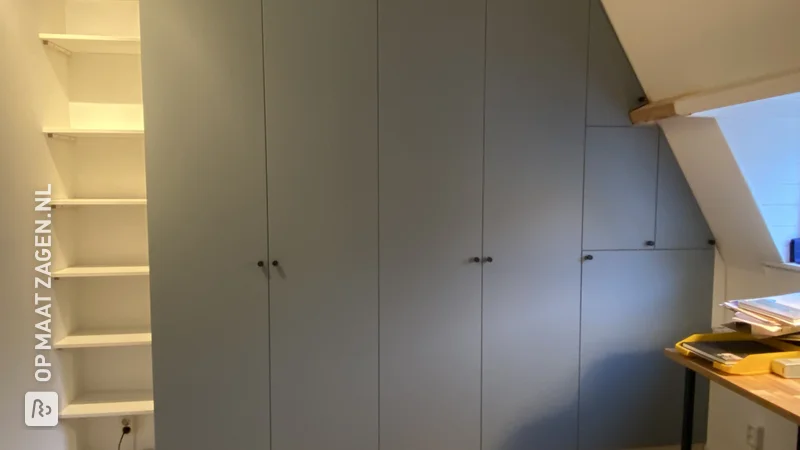
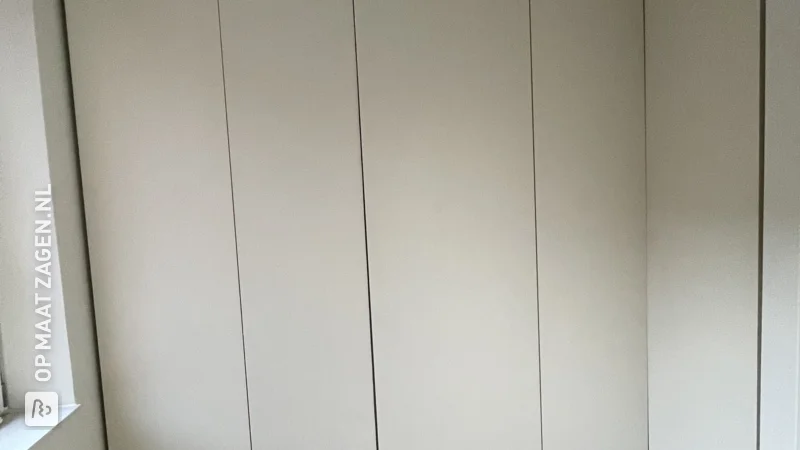
In the new situation, you see tall, smooth door surfaces in a light, white-grey shade. The cabinet now connects further to the space under the stairs. The angled joint at the top left, in particular, makes this a true custom project. The vertical seam between the doors keeps the front uncluttered. Unfinished edges and joints are still visible in the photos: you are therefore looking at various stages of the construction, not a fully lacquered final result.
Moldings as a refined detail
The detail photo shows how a profiled trim has been applied along the edge of an MDF door. At the top, the trim sections meet with beveled ends. This gives the flat panel material more depth and a subtle classic accent. Do you want to make an MDF door with some extra character yourself? Then this detail clearly shows how much difference trims can make, without needing a busy design.
Smart storage space under the stairs
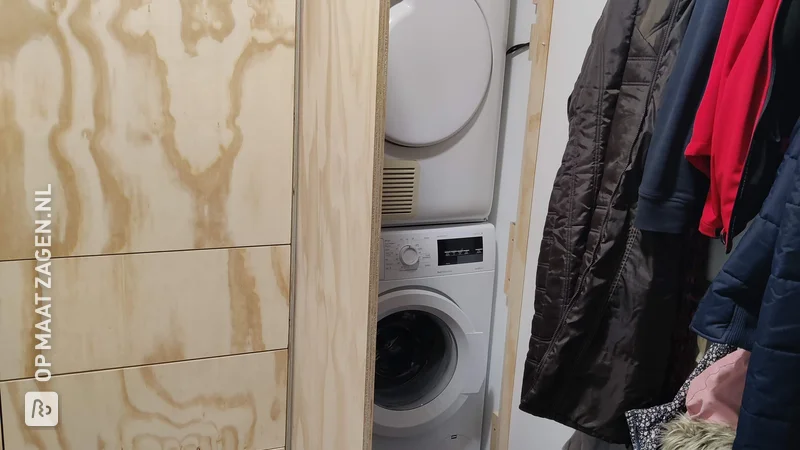
The cabinet stands in the hallway, directly under the stairs and next to a white panel door. In the photo with the cabinet open, you can see multiple shelves with bottles, supplies, and other items. The new doors keep that daily collection out of sight. This is how you utilize an awkward spot in the house as a practical pantry.
The light cabinet fronts match the white staircase surround and the adjacent door frame. The wood-colored herringbone floor provides a warm contrast. Due to its height and the angled connection to the stairs, the cabinet appears more as part of the hallway than as a standalone piece of furniture.
Handmade by Xander, cut to size by OPMAATZAGEN.nl
Xander realized this project entirely by himself. OPMAATZAGEN.nl took care of cutting the MDF to size that forms the basis for the new cabinet doors. Fitting, assembling, and applying the decorative moldings are part of his own work. Custom work is particularly useful for cabinets under a staircase: you align the door panels with the available opening, instead of adapting your design to standard sizes.
Freedom in dimensions, material, and budget
When you replace wooden cabinet doors yourself, you determine the look down to the last detail. You choose the panel material, the layout, and the moldings that suit your home. You also keep a grip on your budget: by keeping a usable cabinet and only renewing the fronts, you can limit the scope of the renovation. The result of Xander's approach is an inspiring foundation for your own cabinet makeover.
The material used: MDF Primed
MDF Primed is a fiberboard with a smooth surface and a pre-applied primer. This makes it a pleasant base for painted cabinet doors: there is no visible wood grain, allowing you to create a calm, even appearance. Furthermore, the material is easy to work with, making it suitable for custom fronts with decorative moldings. The primer reduces preparatory painting work; however, saw edges and treated areas still require appropriate preparation before applying the topcoat to the doors.
Tip! Also check out our handy DIY tips!
Step by step guide
Preparation
- Remove current doors and build a frame with wood.
- Making doors to measure and cutting skirting boards to size
Montage
- Hanging doors
Finish
- finishing the seams
What's in your project?
- Included: Complete kit incl. fittings and instructions
- Included: Design via 3D configurator
- Included: Fully made to your own measurements
- Not included: Edge finish of your choice
- Not included: Round or curved shapes also possible
- Not included: Each part available in a different wood type
Made-to-measure self-build kit
Prefer a complete kit? Design your furniture in our 3D configurator and receive all parts, fittings and instructions in one package.
- Not included: Complete kit incl. fittings and instructions
- Not included: Design via 3D configurator
- Included: Fully made to your own measurements
- Included: Edge finish of your choice
- Included: Round or curved shapes also possible
- Included: Each part available in a different wood type
Inspiration cutlist
Want to make this DIY project? Check out Xander's saw list and complete your order easily.
Materials used

Total price
€ 99,54
Add Xander's cutlist straight to your cart
My experience with OPMAATZAGEN.nl
Order
Delivery
General experience