- OPMAATZAGEN.nl
- Do it yourself
- DIY Projects
IKEA IVAR hack with upper cabinet as shelving, by Tessa
IKEA IVAR hack with upper cabinet as shelving, by Tessa

Create this project yourself with sheet material cut to size by OPMAATZAGEN.nl!

Tessa designed this entirely themselves: from cutlist to finish. Get inspired by the materials used below — and then think about how you would tackle it. We make sure the wood is accurate to the millimetre; the rest is up to you.
From IKEA IVAR to a personal wall cabinet
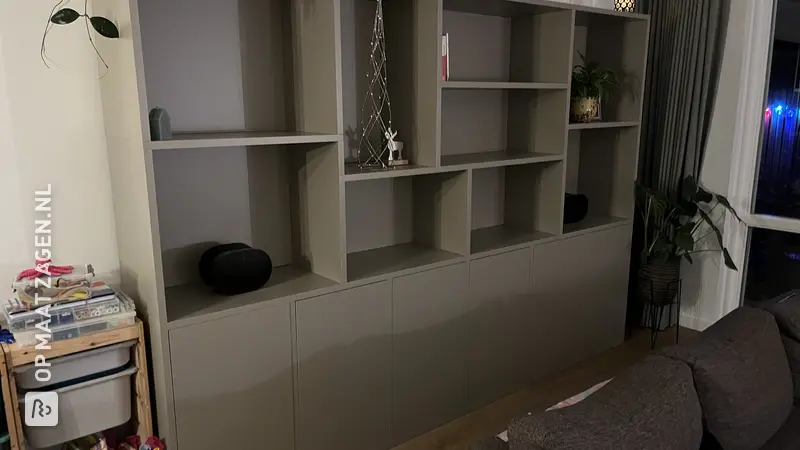
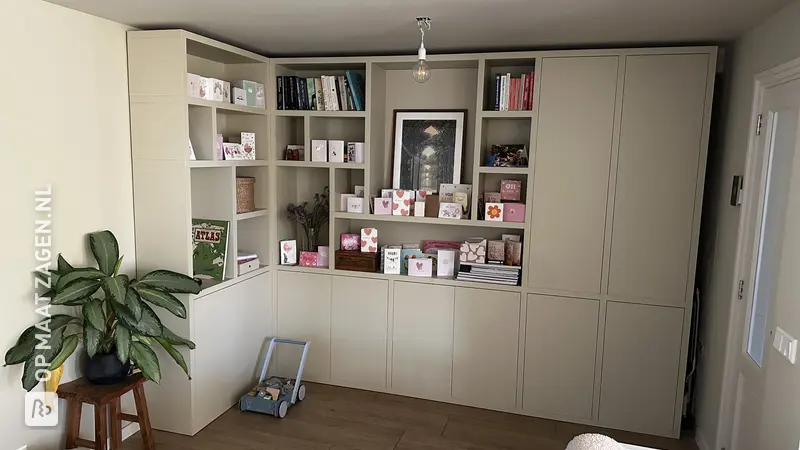
A cabinet to store items out of sight and display your most beautiful finds? With this IKEA IVAR hack, Tessa shows just how beautiful that combination can be. She realized this project herself, using custom-cut wood from OPMAATZAGEN.nl. Above a row of closed base cabinets, she created an open shelving unit with a playful layout. The olive green finish connects the parts into a cohesive whole.
A closed base cabinet with an open upper cabinet
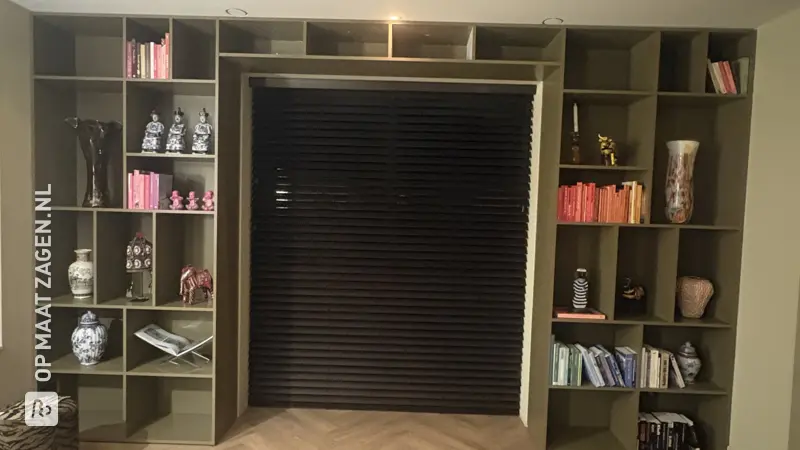
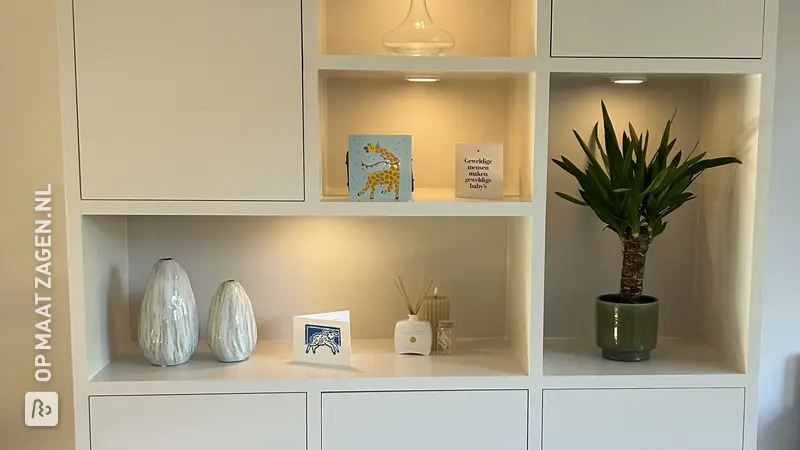
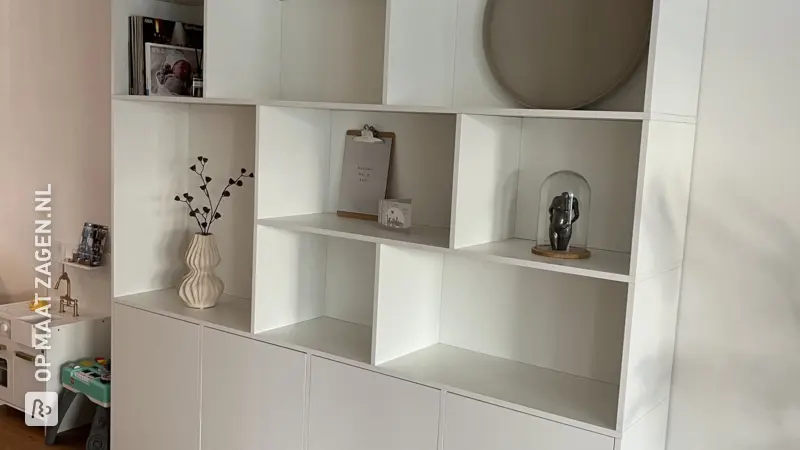
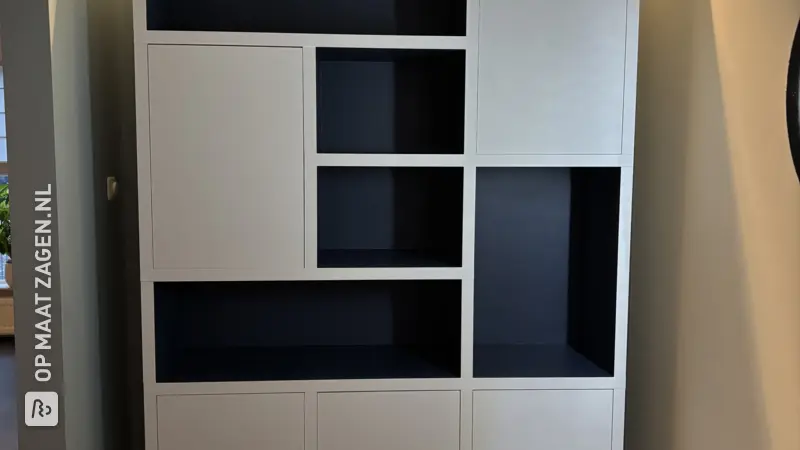
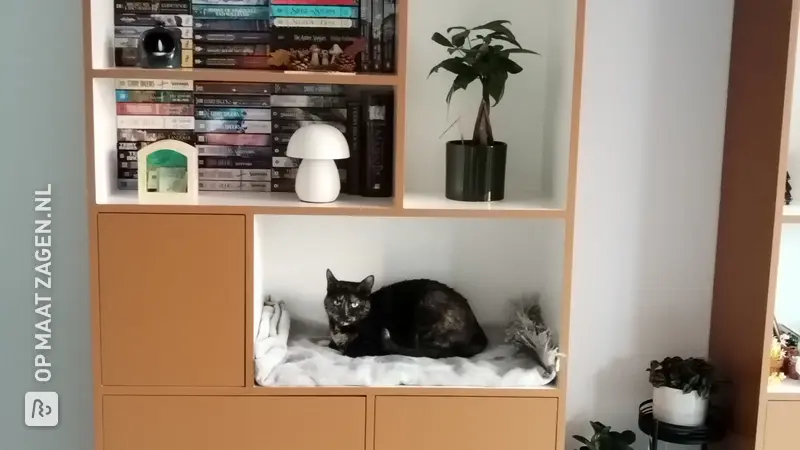
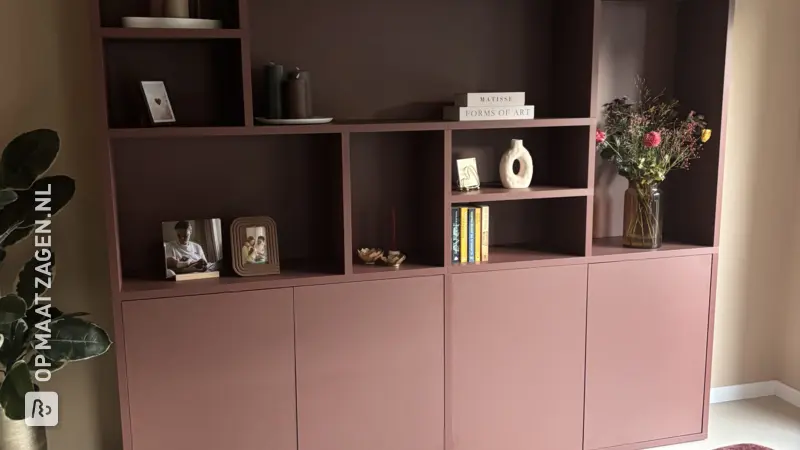
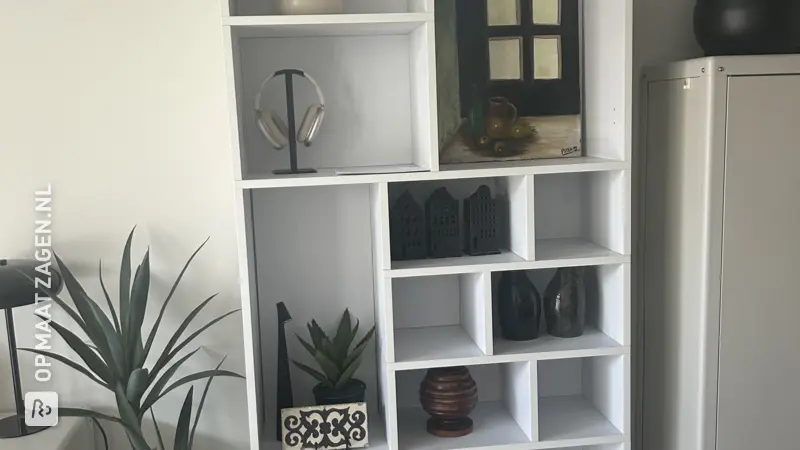
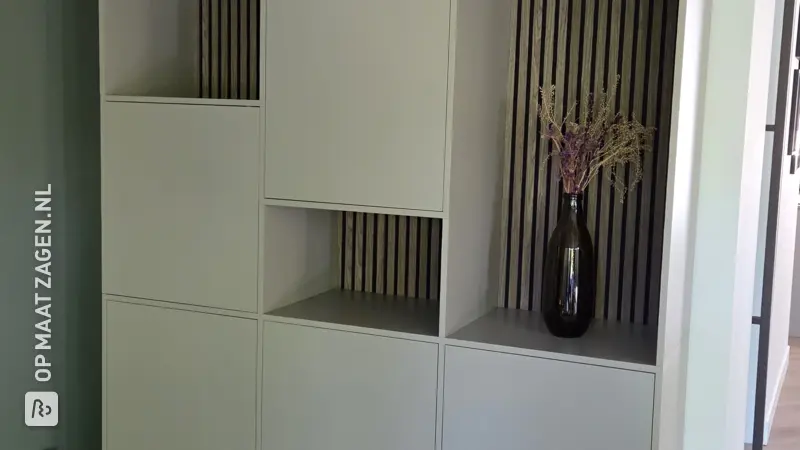
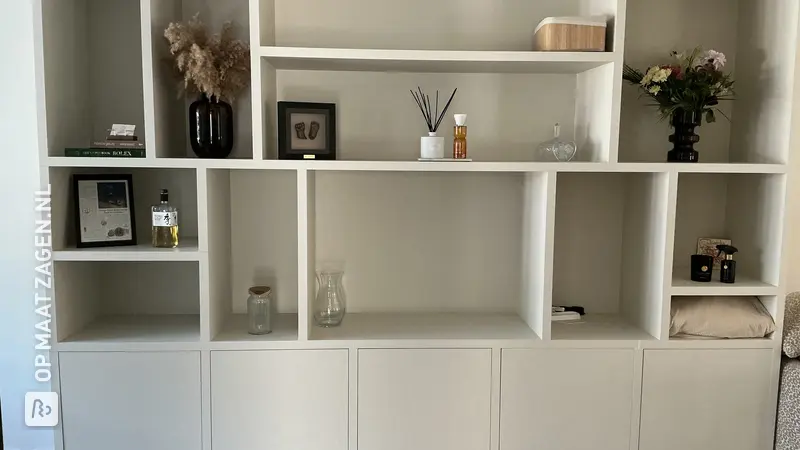
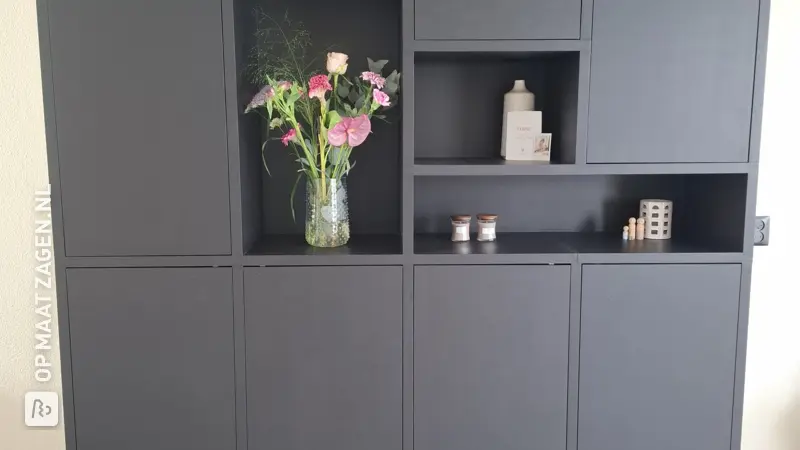
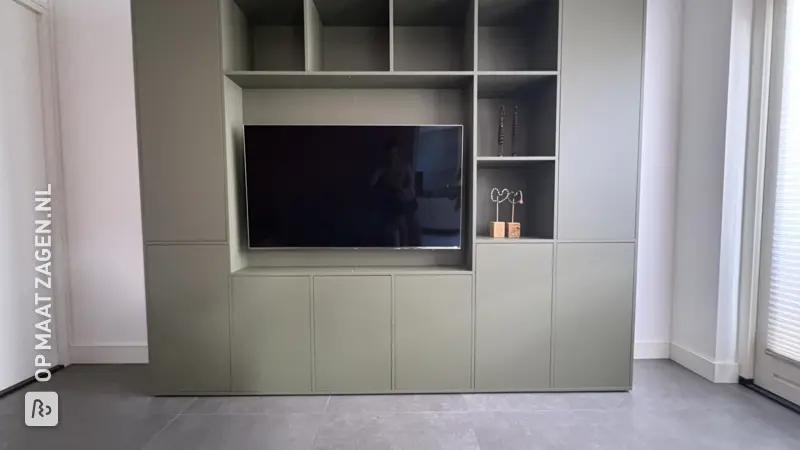
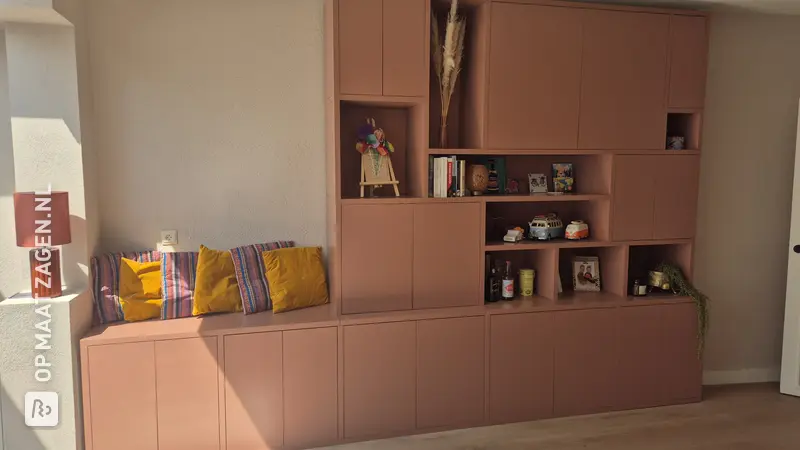
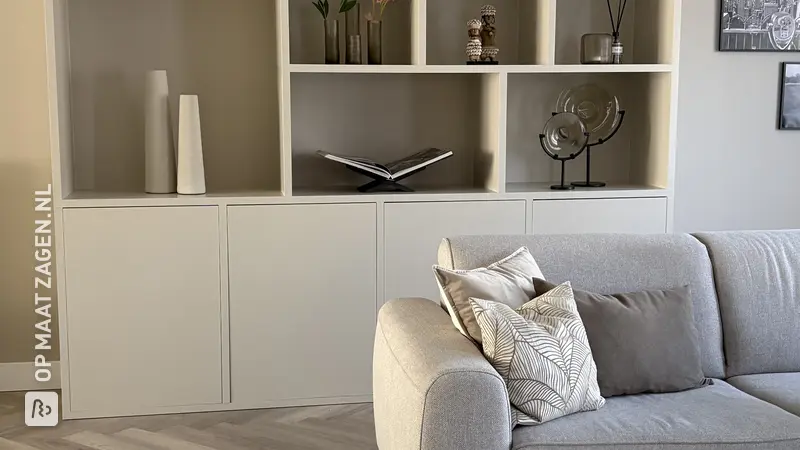
The photos show a wide cabinet with six flush doors, a low plinth, and a continuous top. Above this stands a rectangular compartmental unit with vertical dividers and shelves at various heights. Large and small compartments alternate, creating space for a painting, plants, vases, and smaller accessories without the layout becoming a rigid grid.
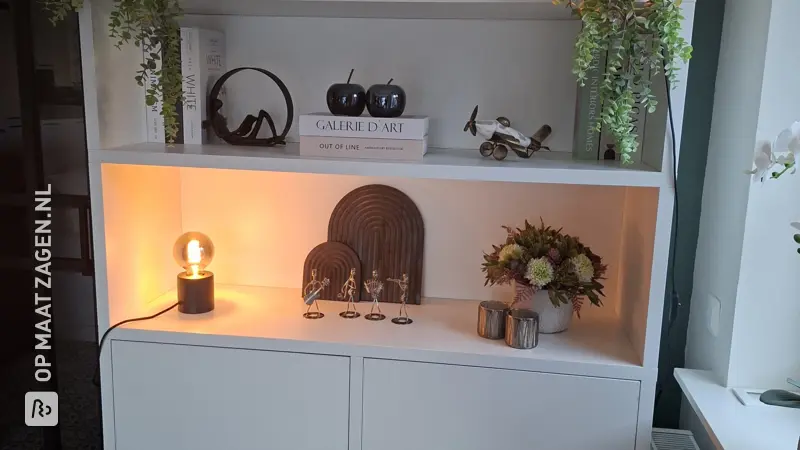
The cabinet has a muted olive green color that appears somewhat grayer or browner depending on the light. Behind the open compartments, the salmon-pink wall remains visible. This color also extends around the cabinet, forming a spacious frame. A small lamp is positioned in the upper right corner, casting a warm glow on the top compartment. The light, twisted cord runs visibly down the right side.
A place for large and small eye-catchers
In the spacious central compartment, an abstract painting in light, yellow, and dark tones catches the eye. Furthermore, you can see a framed text, small wooden boxes, a plant in a pink pot, and a dark vase with long berry branches, among other things. It is precisely the variation between tall, wide, and small compartments that makes this upper cabinet practical: you do not have to adjust your decoration to a standard shelf spacing.
A wall cabinet behind the sofa
The cabinet stands in the living room, behind a grey sofa and next to a large houseplant by the window. In this spot, you utilize the wall above the low storage space, while maintaining a view of the open compartments from the seating area. The wide base provides the furniture with a calm foundation. The plant, the pink background, and the warm lamplight make the tall upper structure less austere.
Handmade with custom-made wood
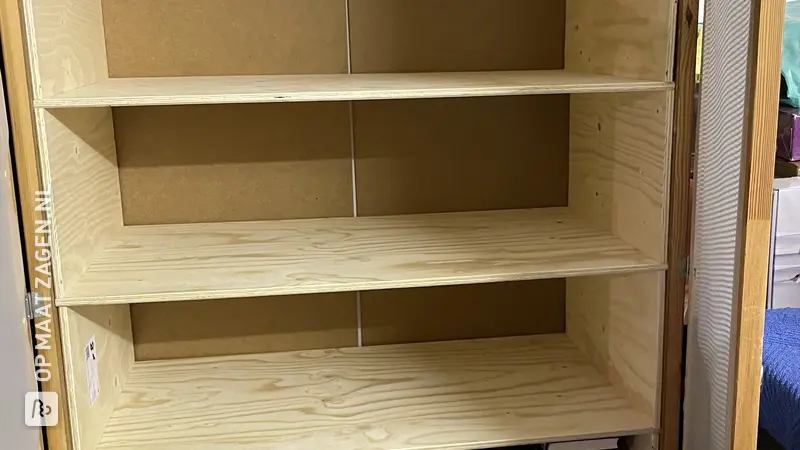
The project photos offer a glimpse into the construction process. You see untreated wooden cabinet frames with visible knots and grain, loose panels that have already been partially finished in green, clamps, and tools. The floor was covered during the work. In a subsequent photo, the base cabinets stand side by side and the doors have not yet been mounted. This shows how the furniture took its final form step by step.
For this homemade project, Tessa used wood that was cut to size by OPMAATZAGEN.nl. This allows you to tailor the parts to your own design and eliminates the need to saw large sheets yourself at home. The precise sheet thicknesses, joints, and material distribution cannot be reliably determined from the photos.
Your layout, materials, and budget
The great thing about an IVAR IKEA hack is that you can combine an existing cabinet base with a superstructure of your own choosing. You determine the compartment layout, dimensions, and color yourself. You also have control over your choice of materials and budget: choose where you want a visible wood grain and which parts you want to finish with an opaque coating. Moreover, by assembling and painting yourself, you keep more control over the work.
Do you want to make a similar compartment cabinet? Then first draw out your layout and include the thickness of the panels in your calculations. Also measure the objects you want to place; a painting or a tall vase simply requires a different compartment than a small box.
Warm style
The finished result has a warm, eclectic look: you see various colors, art, and personal accessories, brought together by the muted cabinet color. The olive green contrasts softly with the pink wall. The large leaves, berry branches, and warm lighting add vibrancy. In this way, a practical storage cabinet simultaneously becomes a personal part of your living room.
Wood and sheet material for a similar project
The exact application of each type of wood cannot be deduced from the photos. If you want to create a similar IKEA IVAR hack yourself, the materials below are worth considering. Your choice depends mainly on the look and finish you have in mind.
Timberboard Pine dark features a recognizable wood grain with knots and a warm, natural appearance. It is pleasant to work with and suitable for a transparent or opaque finish. This allows you to choose whether to leave the wood visible or match it to a painted cabinet base.
Plywood Interior Poplar Primed
Plywood Interior Poplar Primed is lightweight and therefore pleasant to handle during DIY projects. The primed surfaces form a convenient base for an opaque paint finish. However, do take the saw edges into account during your preparation: they require special attention for an even end result.
Underlayment Finnish Pine B/BB
Underlayment Finnish Pine B/BB has a lively wood structure and gives your project a somewhat rugged character. The sheet material is versatile to work with and suits designs where the wood can remain visible. If you want to paint it opaquely, please allow for extra preparation to finish imperfections and the wood structure as desired.
Tip! Also check out our handy DIY tips!
Step by step guide
Preparation
- Ivar assembling Ikea cabinets
Have pine sawn at {{ tosize_current_site_name() }}
Finish
Priming and painting
- Install and secure
Montage
Assemble and done
What's in your project?
- Included: Complete kit incl. fittings and instructions
- Included: Design via 3D configurator
- Included: Fully made to your own measurements
- Not included: Edge finish of your choice
- Not included: Round or curved shapes also possible
- Not included: Each part available in a different wood type
Made-to-measure self-build kit
Prefer a complete kit? Design your furniture in our 3D configurator and receive all parts, fittings and instructions in one package.
- Not included: Complete kit incl. fittings and instructions
- Not included: Design via 3D configurator
- Included: Fully made to your own measurements
- Included: Edge finish of your choice
- Included: Round or curved shapes also possible
- Included: Each part available in a different wood type
Inspiration cutlist
Want to make this DIY project? Check out Tessa's saw list and complete your order easily.
Materials used


Total price
€ 892,31
Add Tessa's cutlist straight to your cart
My experience with OPMAATZAGEN.nl
Order
Delivery
General experience