- OPMAATZAGEN.nl
- Do it yourself
- DIY Projects
DIY Ceiling Lamp for the Living Room, by Ellen
DIY Ceiling Lamp for the Living Room, by Ellen

Create this project yourself with sheet material cut to size by OPMAATZAGEN.nl!

Ellen designed this entirely themselves: from cutlist to finish. Get inspired by the materials used below — and then think about how you would tackle it. We make sure the wood is accurate to the millimetre; the rest is up to you.
Create a Unique Atmosphere in Your Living Room with a DIY Ceiling Lamp
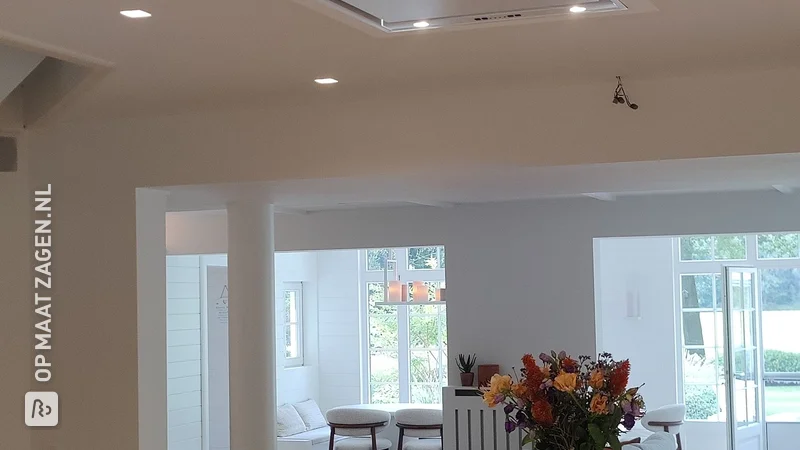
Imagine: a stylish lamp in your living room that not only provides light but is also a real eye-catcher. This beautiful DIY ceiling lamp was created by Ellen and is the perfect example of how custom work can take your interior to the next level.
An Eye-Catcher on the Ceiling
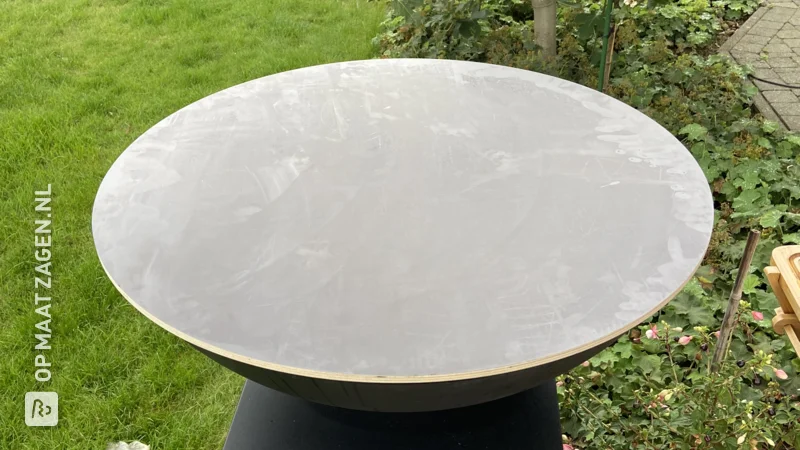
With its elegant design and warm appearance, this ceiling lamp is the ideal choice for the living room. The lamp consists of a large, oval wooden base plate and multiple pendant shades made of woven rattan hanging at different heights. This creates a playful and inviting lighting effect on your dining table.
Why This Place?
The lamp hangs beautifully above the dining table, the focal point of the living room. Here, the unique design comes fully into its own, creating a warm and cozy atmosphere where guests immediately feel welcome.
Custom work by OPMAATZAGEN.nl
The base of this lamp is made of MDF Primed, cut to size by OPMAATZAGEN.nl. This material is ideal for creating a sleek and modern look thanks to the smooth finish, which you can easily paint in a color of your choice.
Scandinavian Style
If you love Scandinavian style, then this lamp is perfect for you! The combination of wood tones and the minimalist design exudes calm and simplicity. This Scandinavian look is guaranteed to bring a sense of serenity to your living room.
MDF Primed: Versatile and Functional
The use of MDF Primed ensures a high-quality finish and offers the convenience of easy painting. It is a durable material that is highly resistant to changes in temperature and humidity, ensuring your lamp continues to look beautiful for years.
DIY tip
A handy tip: make sure you work neatly with the wiring and secure everything properly. This ensures not only safety but also a clean finish.
Tip! Also check out our handy DIY tips!
Step by step guide
Preparation
- Measuring how the plate will be directly above the table
Montage
- Drilled lamps through the plate and screwed the plate to the ceiling.
Finish
- Holes filled and panel painted the same color as the ceiling
What's in your project?
- Included: Complete kit incl. fittings and instructions
- Included: Design via 3D configurator
- Included: Fully made to your own measurements
- Not included: Edge finish of your choice
- Not included: Round or curved shapes also possible
- Not included: Each part available in a different wood type
Made-to-measure self-build kit
Prefer a complete kit? Design your furniture in our 3D configurator and receive all parts, fittings and instructions in one package.
- Not included: Complete kit incl. fittings and instructions
- Not included: Design via 3D configurator
- Included: Fully made to your own measurements
- Included: Edge finish of your choice
- Included: Round or curved shapes also possible
- Included: Each part available in a different wood type
Inspiration cutlist
Want to make this DIY project? Check out Ellen's saw list and complete your order easily.
Materials used

Total price
€ 86,68
Add Ellen's cutlist straight to your cart
My experience with OPMAATZAGEN.nl
Order
Delivery
General experience