- OPMAATZAGEN.nl
- Do it yourself
- DIY Projects
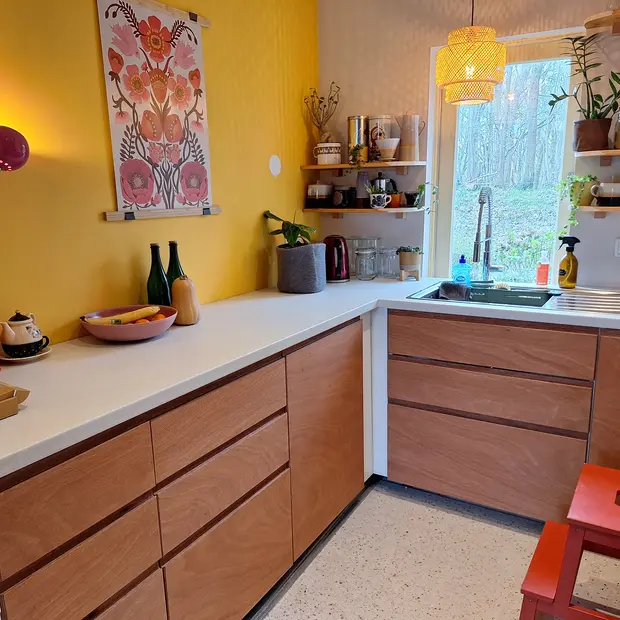
Kitchen renovation with Underlayment, by Arjan
Kitchen renovation with Underlayment, by Arjan
Create this project yourself with sheet material cut to size by OPMAATZAGEN.nl!
Arjan
Average
2 minutes
What did you make?
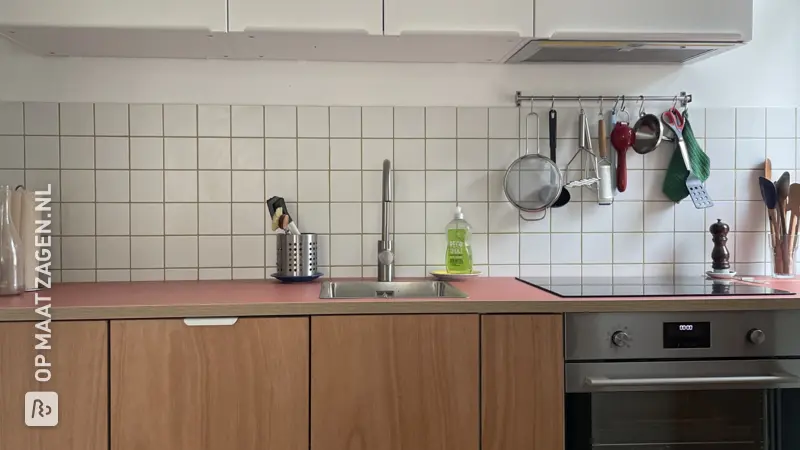
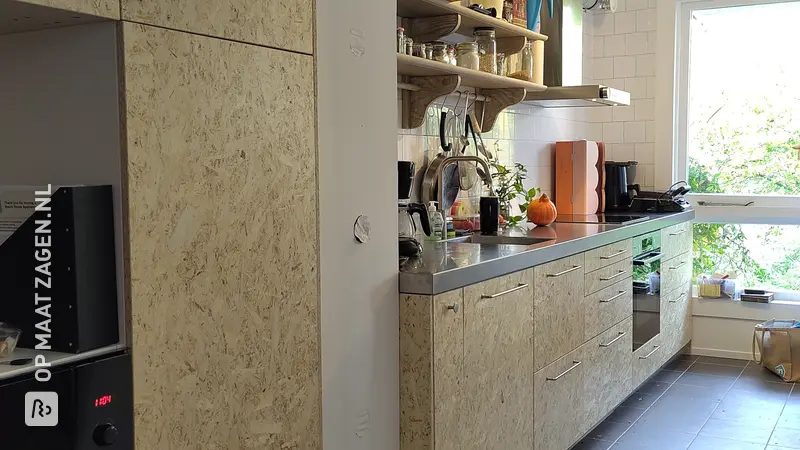
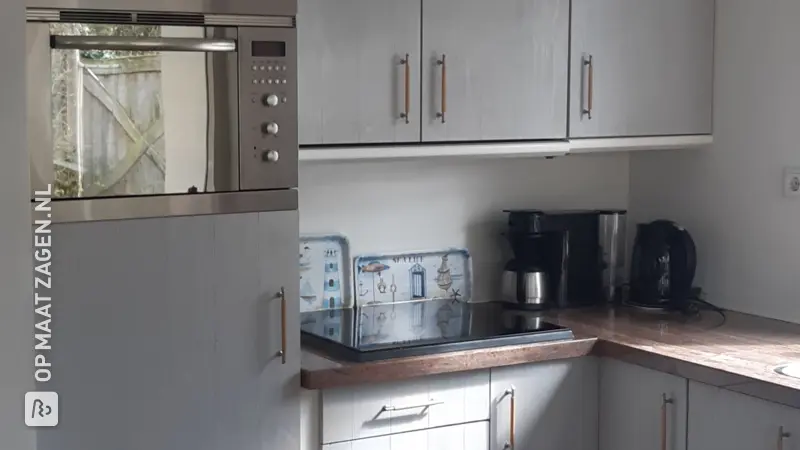
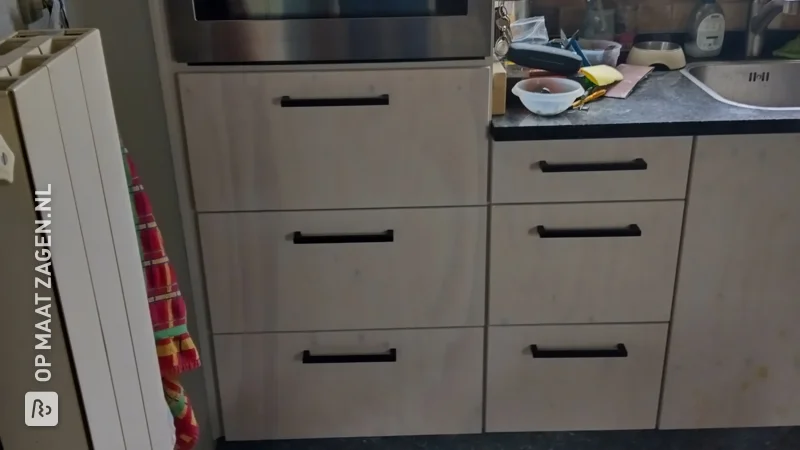
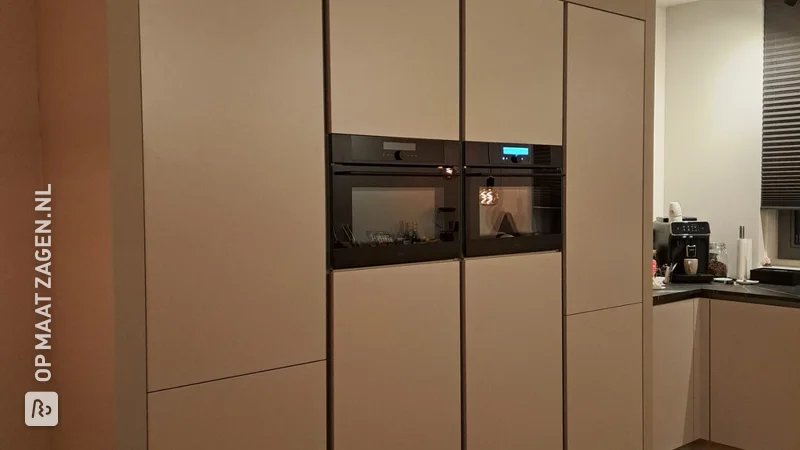
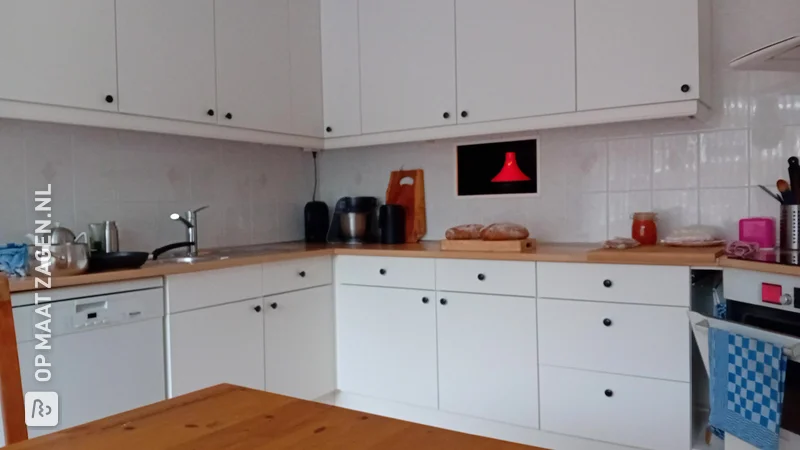
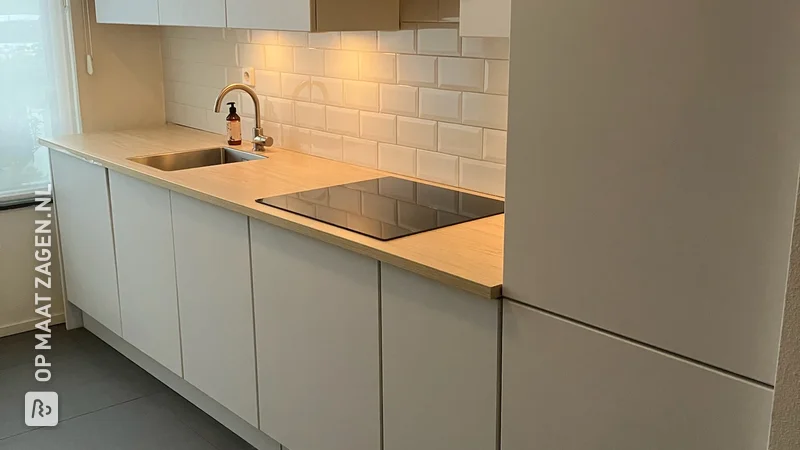
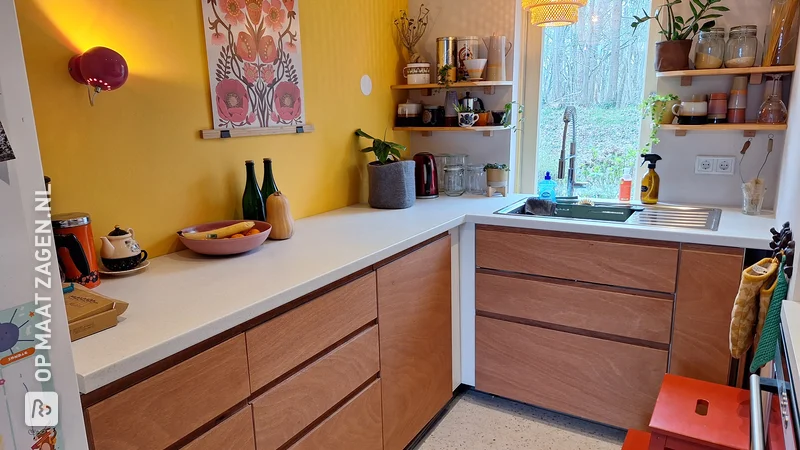
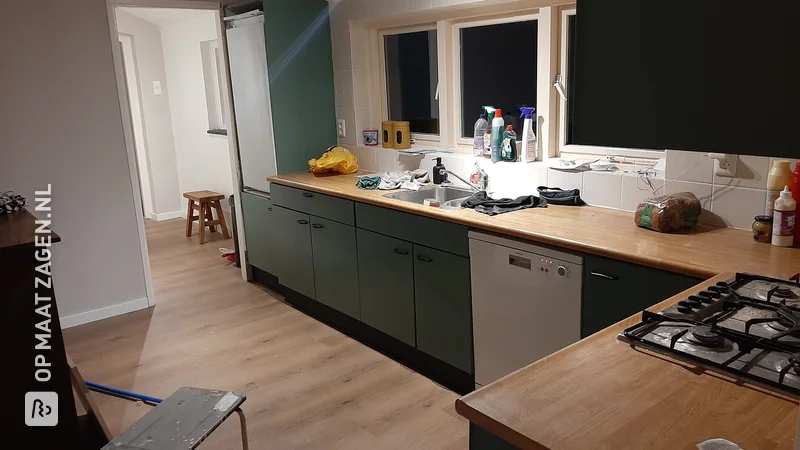
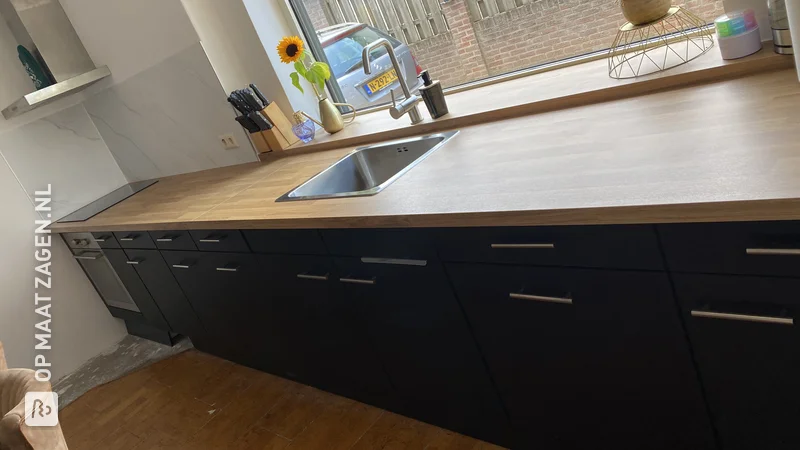
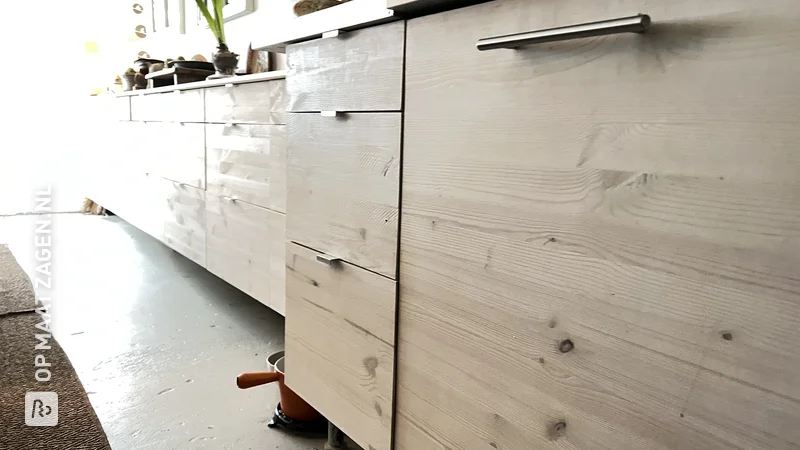
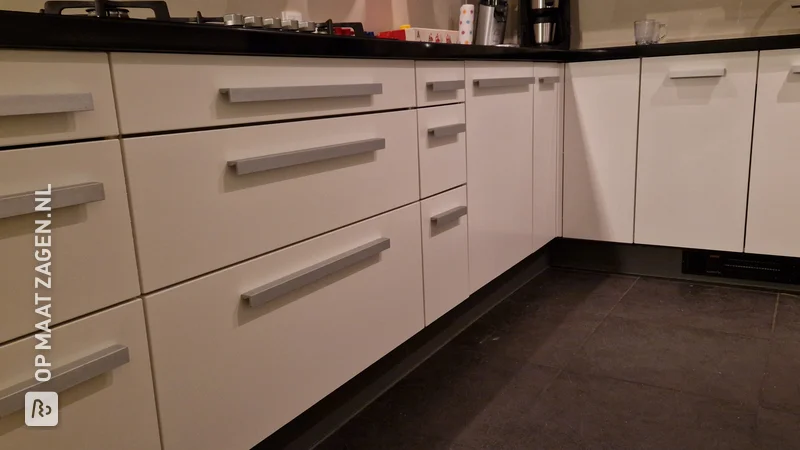
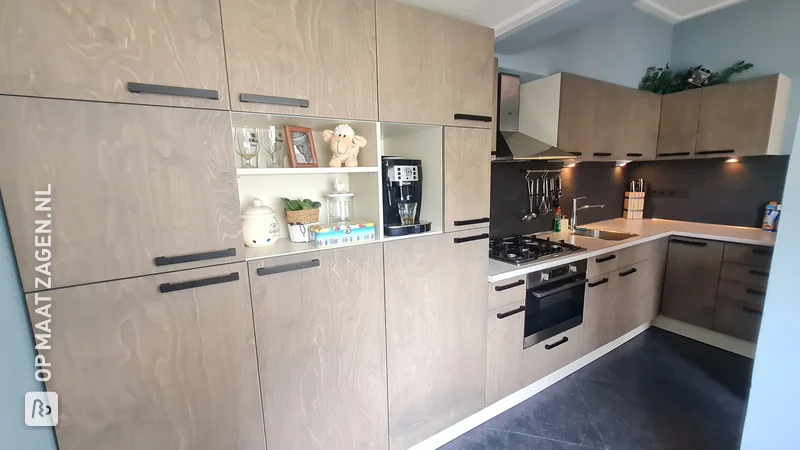
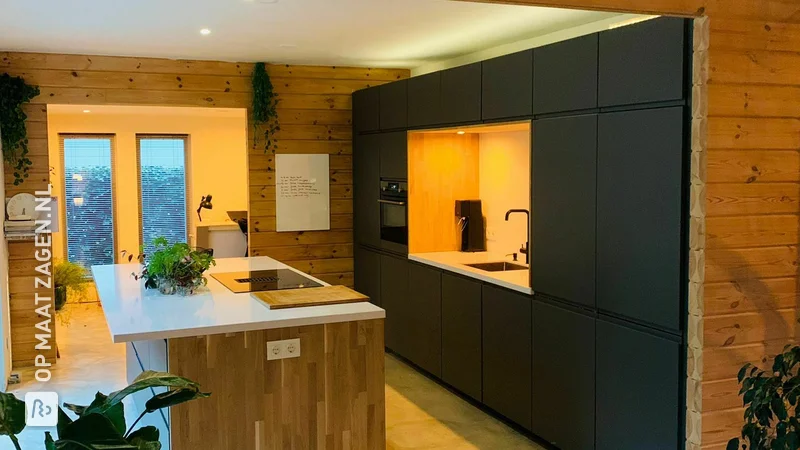
Kitchen renovation by renewing the drawer fronts and kitchen cabinet doors of an existing kitchen with smoothly finished panels of custom-made and round milled Underlayment.
How did you Did you make the doors?
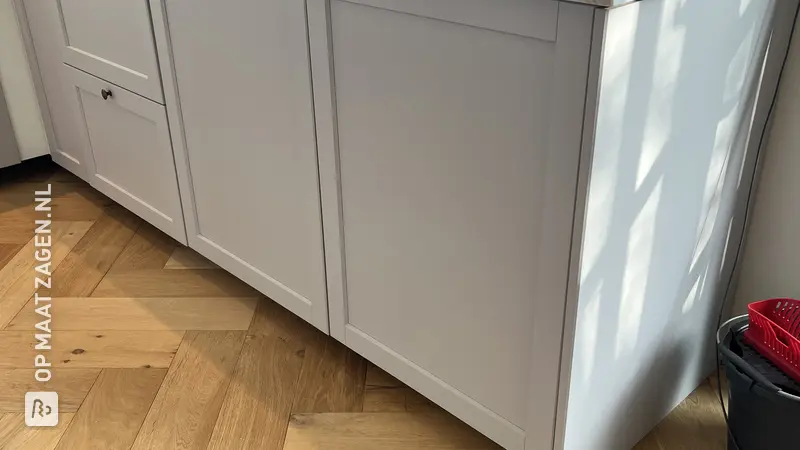
After receiving the panels, they were first sanded. The front and back by machine, then the edges a little more carefully by hand. After sanding, the holes for the hinges were drilled in the panels using a drilling template. The locations of the holes were taken from the existing doors so that the hinge mounting in the cabinets could remain the same. Then all edges were put twice in a wood sealer. Because there was still sealer left, I also gave the bottom doors a layer of sealer, both front and back. These are most likely to get some moisture under the countertop. After the sealer layers, all panels were primed twice and lightly sanded in between. After the base coats, there are 6 layers of 'Flexa Kitchen Cabinet Paint' per panel; went against. The kitchen doors could then be replaced on the existing hinges without any problems.
What are the dimensions?
6 doors of 57.3 x 39.4 cm
4 doors of 57.3 x 44.3 cm
1 door of 102.4 x 59.3 cm
1 door of 90.3 x 59.3 cm br
3 drawer fronts of 39.4 x 14.0 cm
2 drawer fronts of 44.3 x 14.0 cm
Tip! Also check out our handy DIY tips!
What now?
Want to make this DIY project? Check out Arjan's saw list and complete your order easily.
€ 411,50
All materials used
View all sheet materials