- OPMAATZAGEN.nl
- Do it yourself
- DIY Projects
The makeover of my laundry room including fun DIY, by @homefreak.nl
The makeover of my laundry room including fun DIY, by @homefreak.nl
Create this project yourself with sheet material cut to size by OPMAATZAGEN.nl!
kimberley
Above average
3 minutes
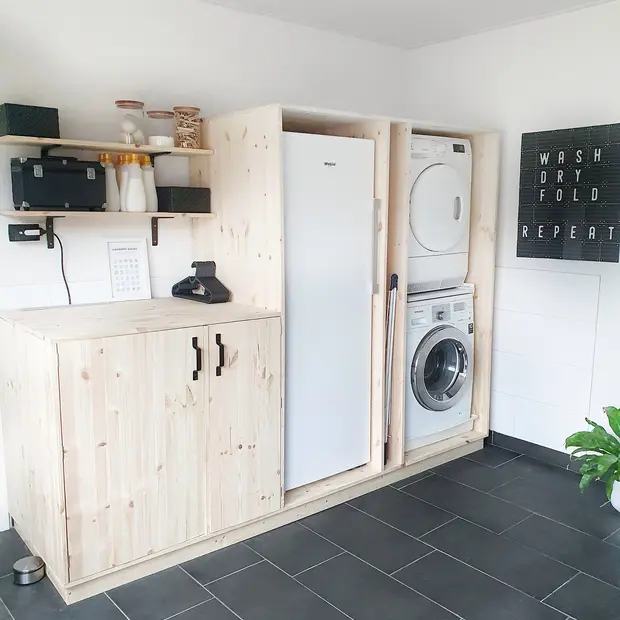
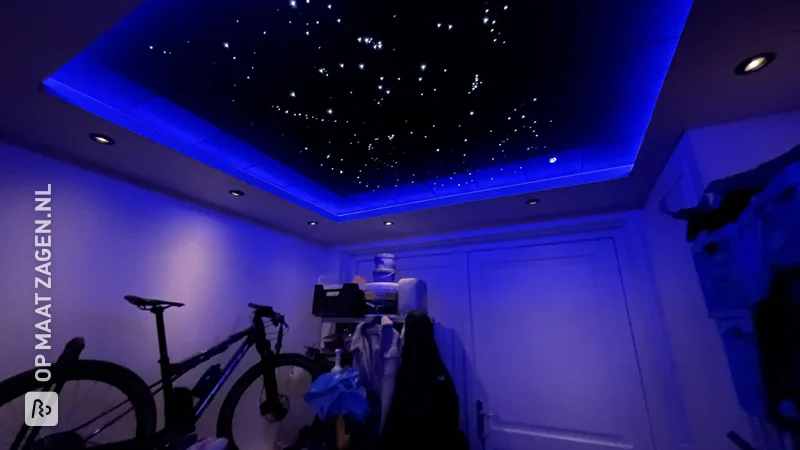
When we moved, I suddenly had the luxury of a laundry room. Well, let's face it, it's just a laundry room. Enough space for my washer, dryer and to dry all my laundry. Now I do want to turn it into a laundry hallway so I'm sharing with you the process of the makeover of my laundry room.
Description from Kimberly (@homefreak.nl)
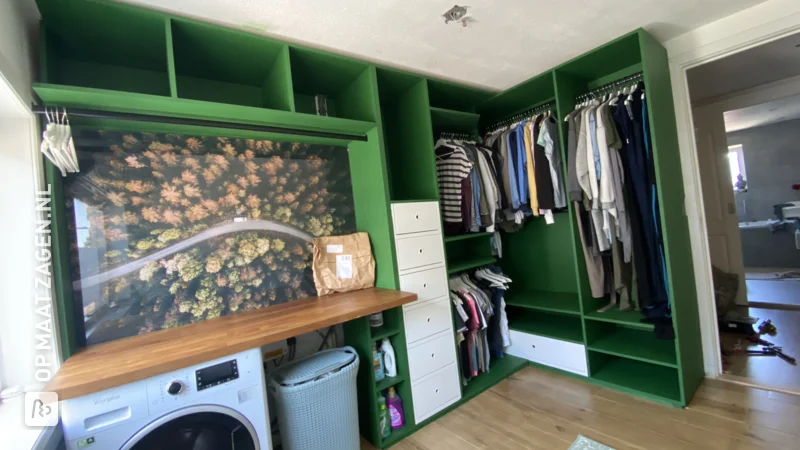
Of course, a laundry room should be practical above all else. After all, doing laundry is something that should not take up too much time because I believe it is nobody's hobby. Still, you can make it more enjoyable by making it a nice and fun space. In a dull and bare space, of course, nobody gets happy. Besides, a well organized and tidy laundry room really adds value. So my plan was to decorate the laundry room so that it is practical, but also fits with the rest of the house.
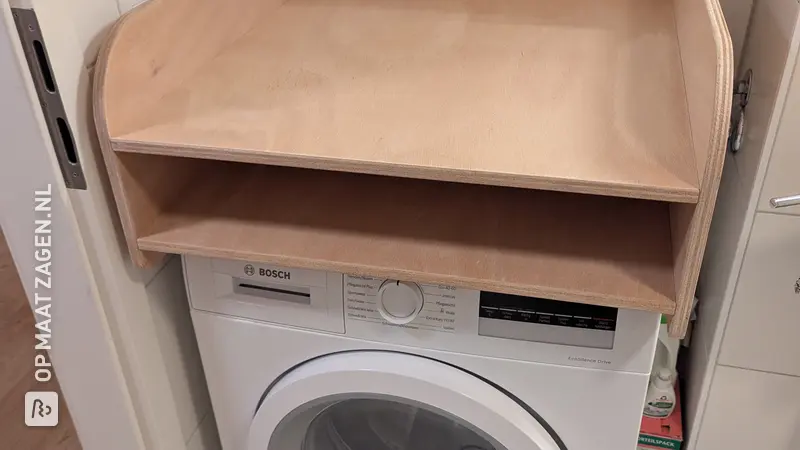
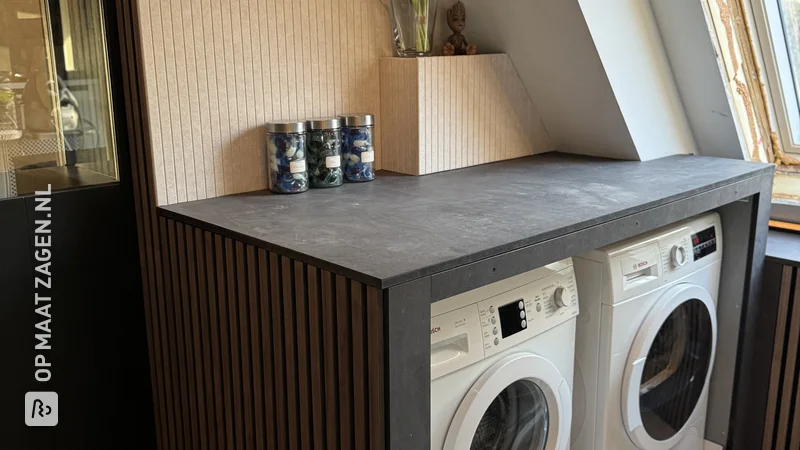
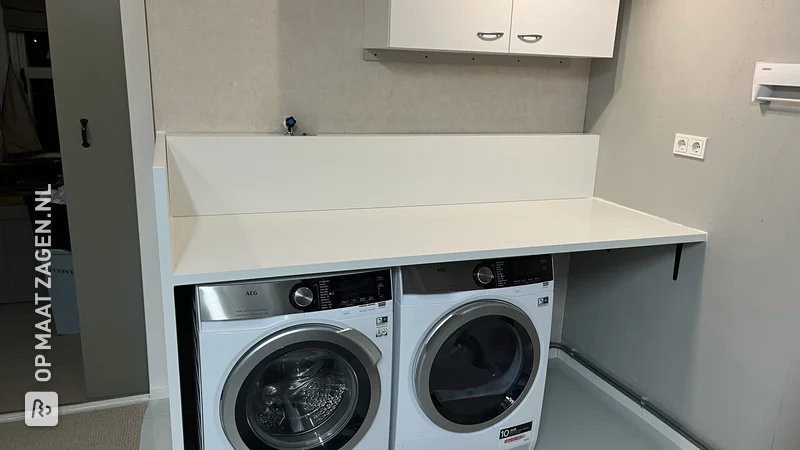
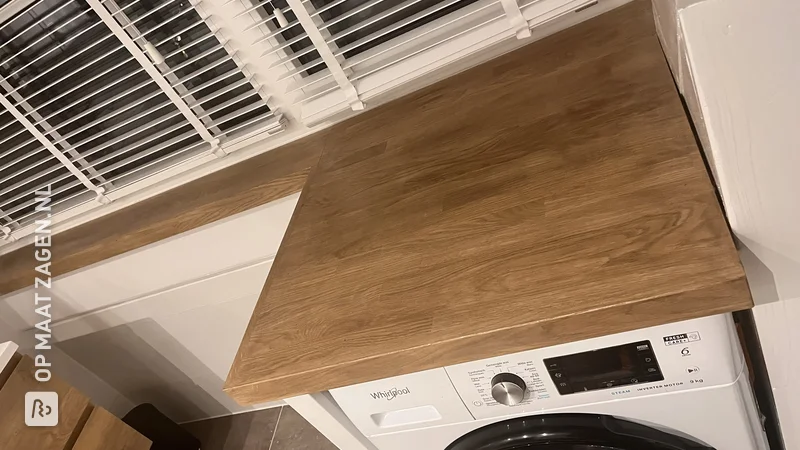
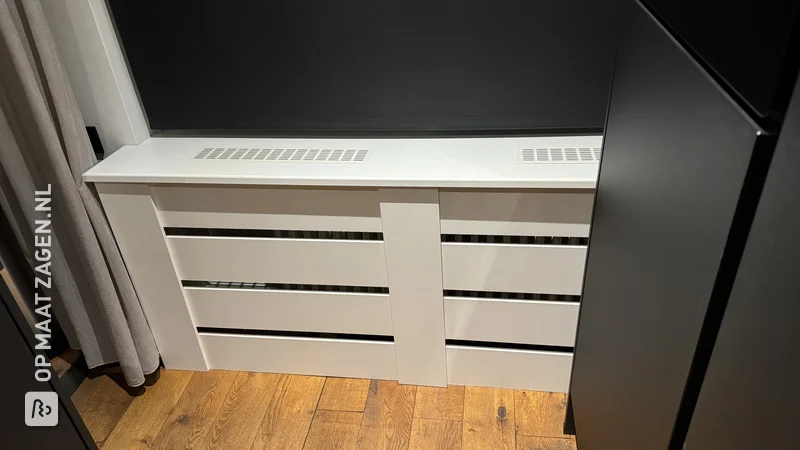
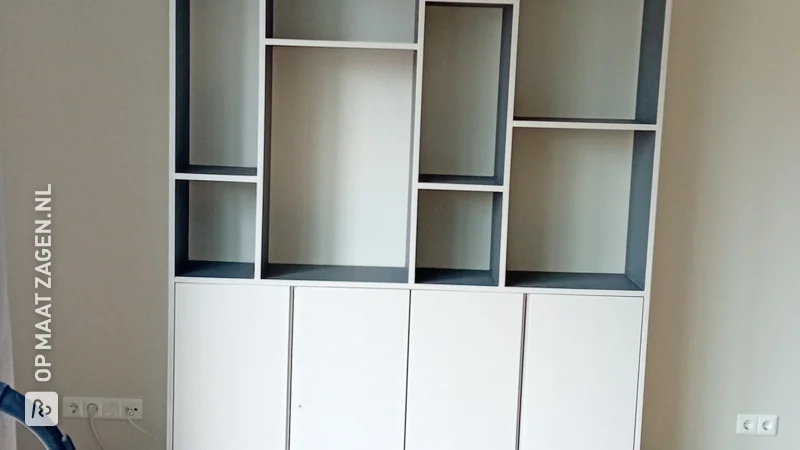
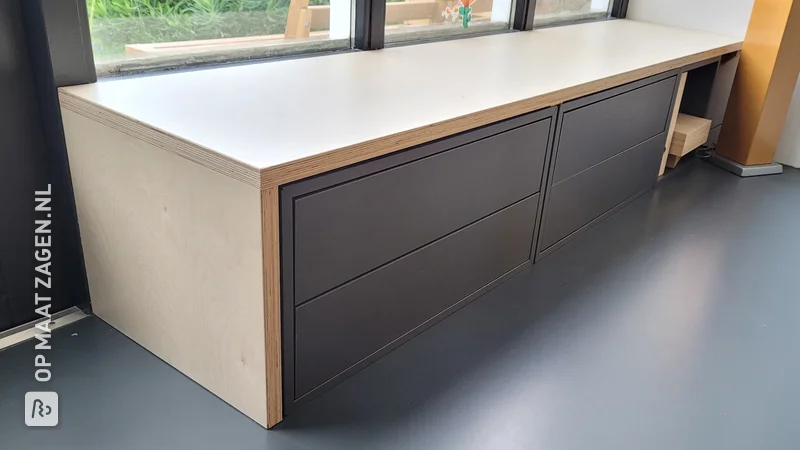
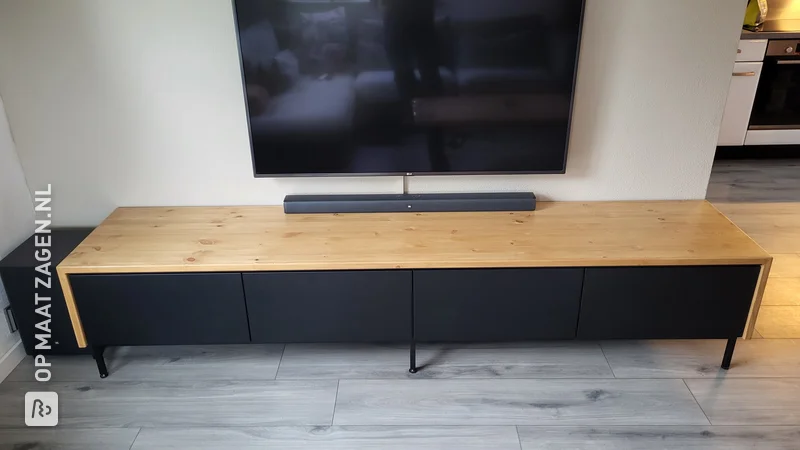
Making a washing machine cover
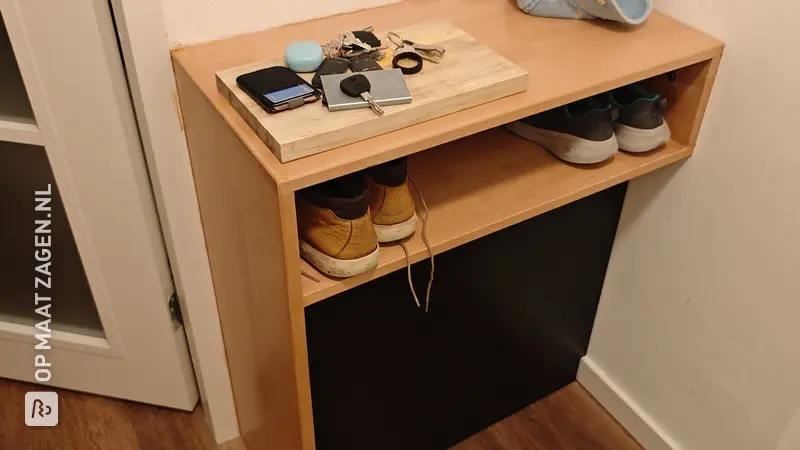
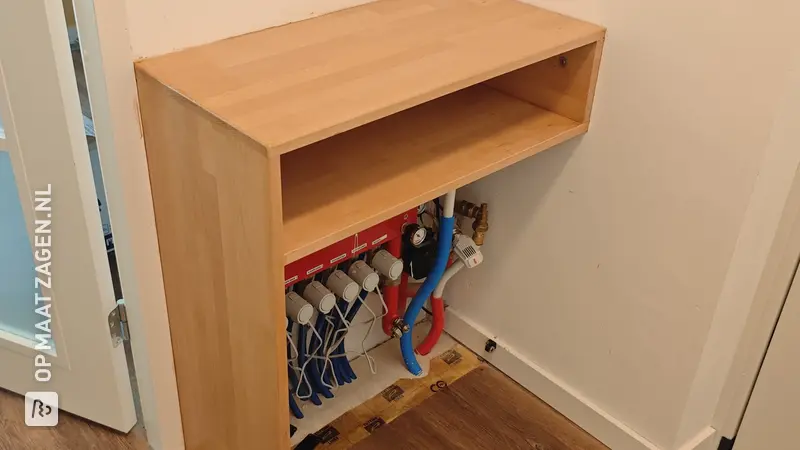
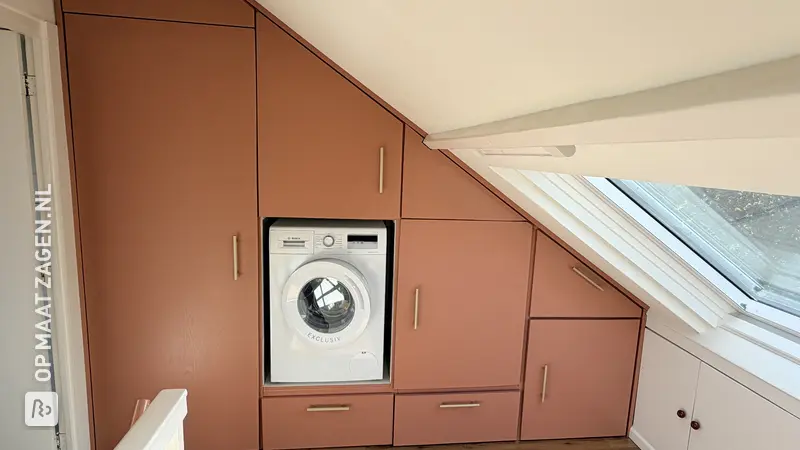
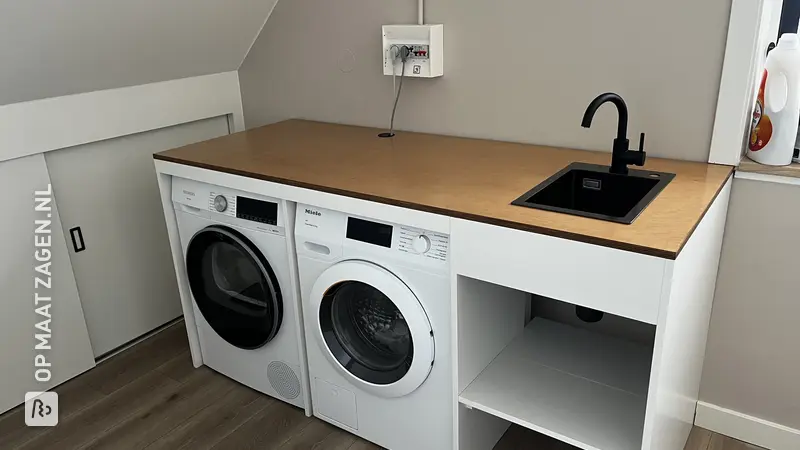
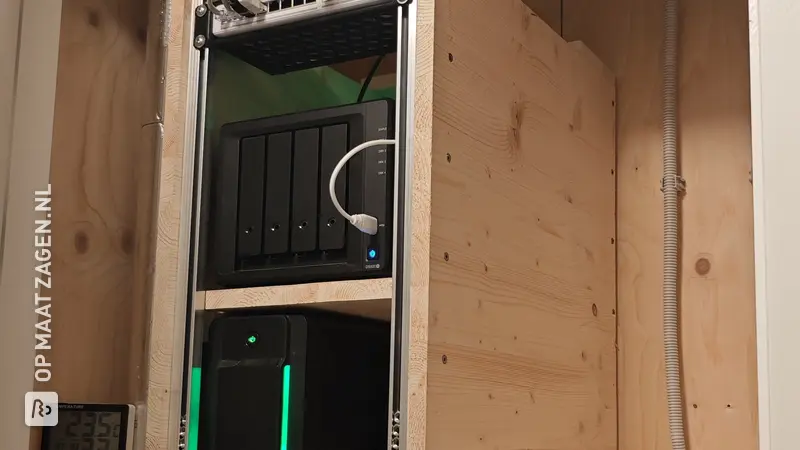
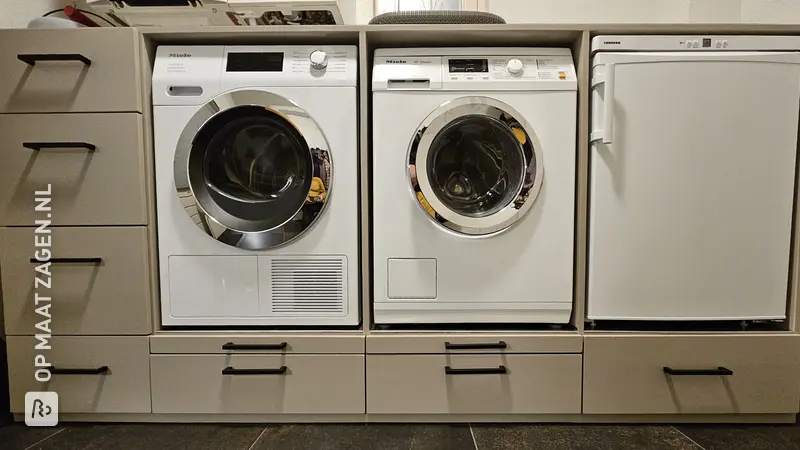
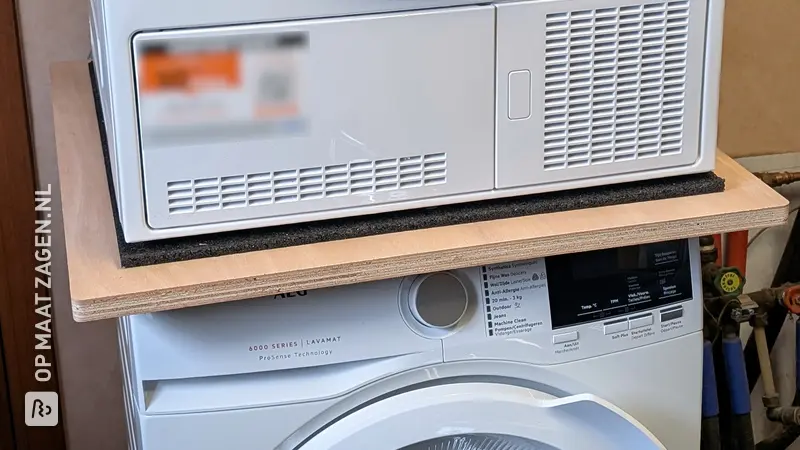
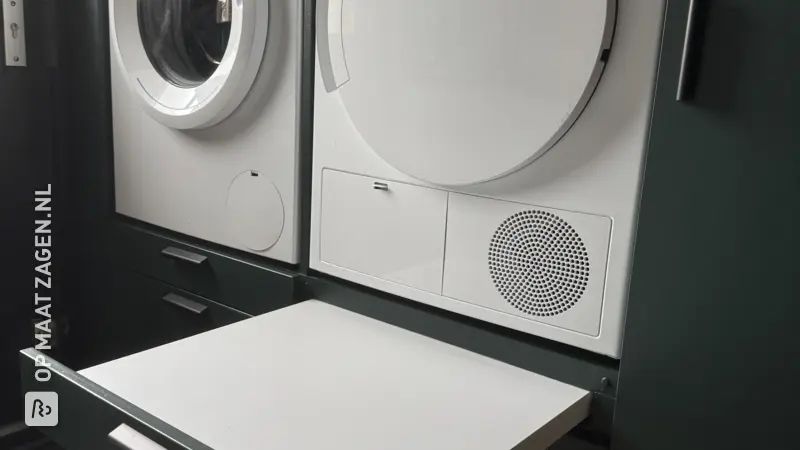
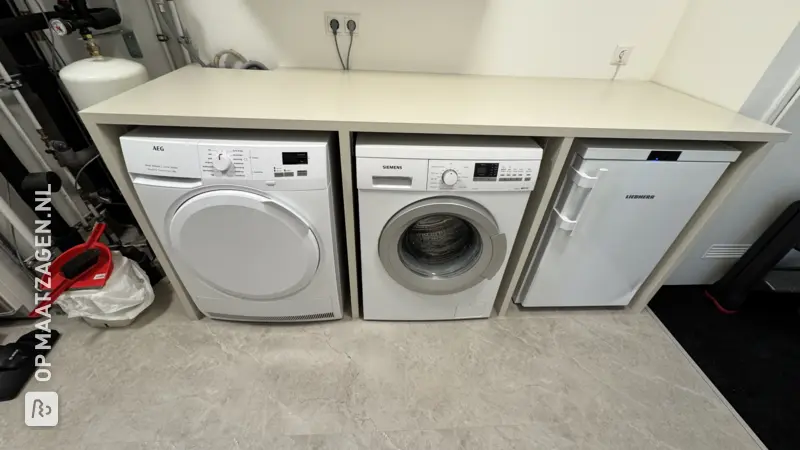
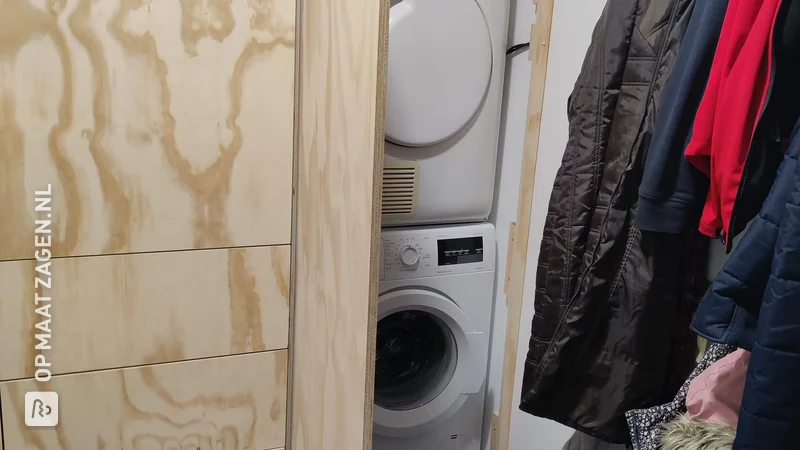
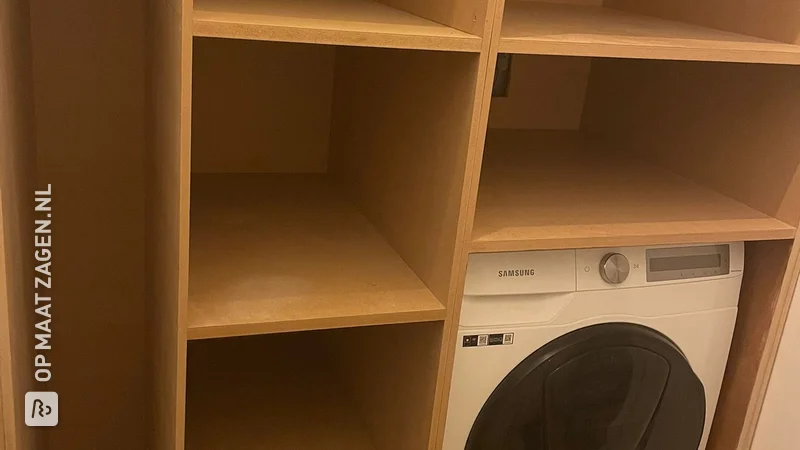
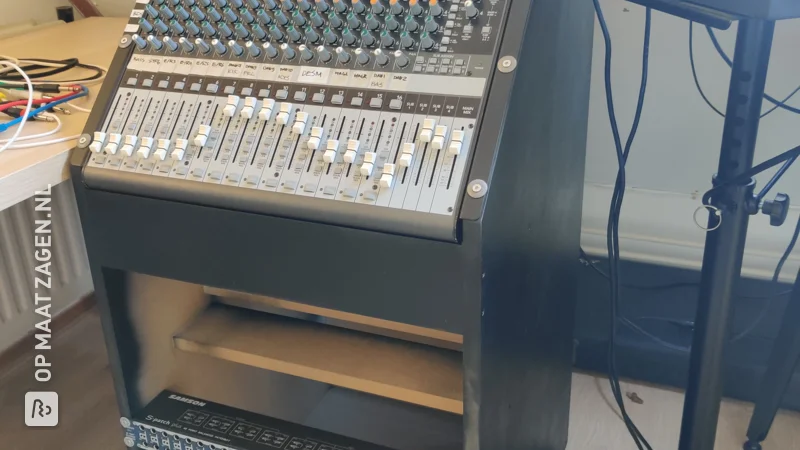
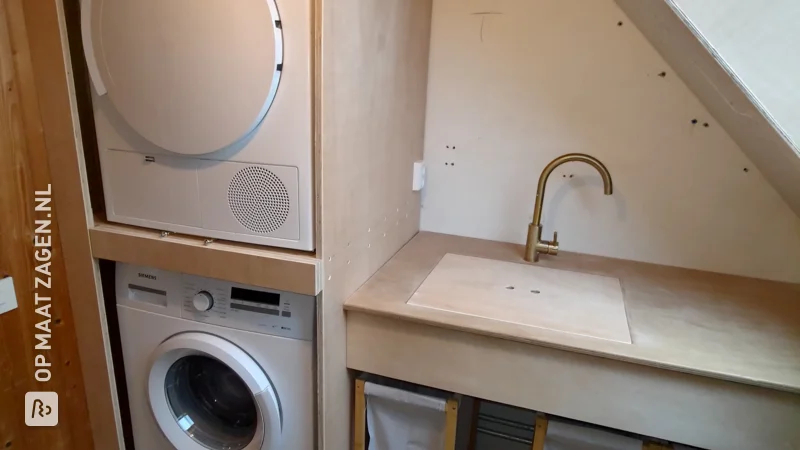
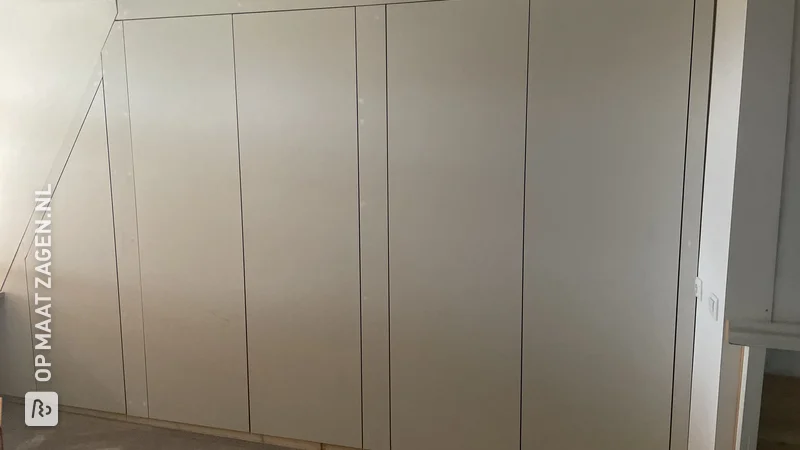
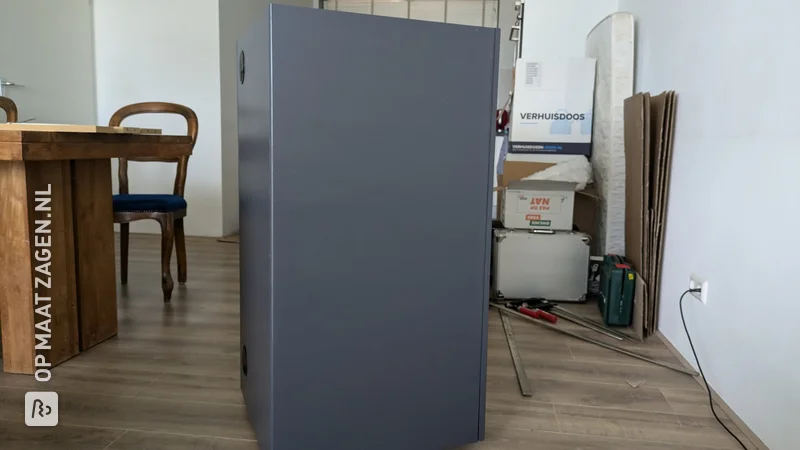
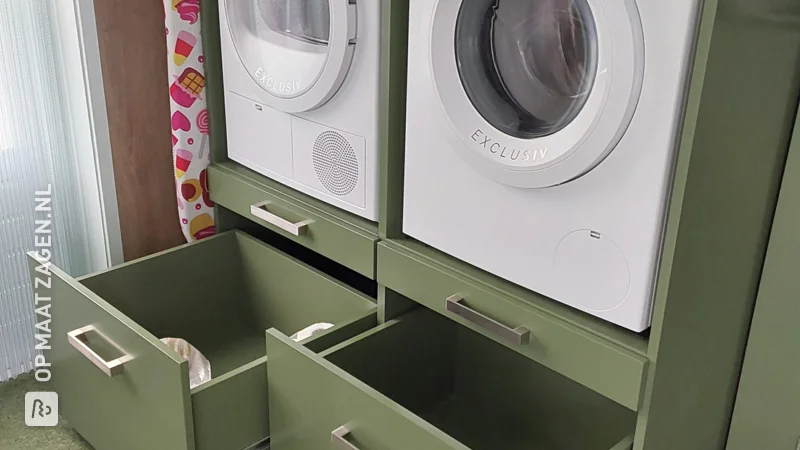
We have a clothes dryer, a washing machine, a freezer and a small refrigerator in the laundry room. Handy, but not too pretty such a pile of white goods. So we wanted to make a conversion for the white goods. The washer dryer, washing machine and freezer would be visible in the cabinet, but the small refrigerator would be behind a door and there would also be room for a laundry basket. How exactly did we make this conversion? I share it below:
OPMAATZAGEN.nl
Since we had and have a little too many chores in our new house, we opted for convenience. We ordered all the wood already completely customized at OPMAATZAGEN.nl. Super easy and it saves a lot of time because all you have to do is put it together. You can really have all kinds of wood and sheet material cut to size to the mm. We chose Pine, but of course you can also choose spruce, beech, oak, maple and so on. You simply enter your sizes, quantity and you can also choose a finish. What also immediately struck me is that you can also order other shapes. For example, you can go for a circle. So you can very easily order your own tabletop for a round table!
Step 1: Make a drawing
It's best to already have all your equipment in the room so that you have a good idea of what the conversion will look like. Then measure everything. Make sure there is enough space around the white goods so you can fit them in properly. Make a drawing in which you clearly write down all the measurements. It's handy because you can also use this drawing as a guide when you start putting it together.
Step 2: Order the wood
So normally I would be writing here about how to cut the wood, but if, like me, you choose convenience, you can thus easily order your wood to size. Choose the sizes and finish and check before you order.
Step 3: Assembling
Once you have received the wood, you can start working with the drawing you made. It then actually works just like an IKEA cupboard that you assemble. Put all the wood in a logical place so you can screw it together quickly and easily. We also reinforced the back with some leftover sheet metal we had lying around.
The finishing touch
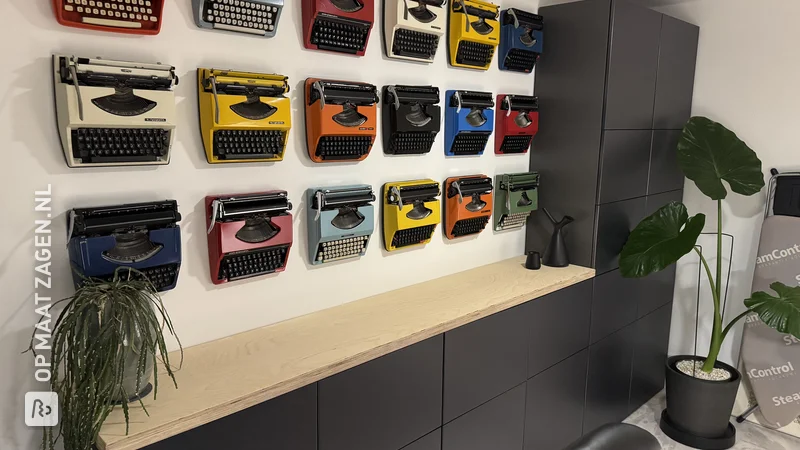
Of course, you can also style a laundry room super fun. Use baskets for your pegs, pour your laundry detergent into pretty bottles or simply remove the labels and dress it all up with some fun decoration.
Tip! Also check out our handy DIY tips!
What now?
Want to make this DIY project? Check out kimberley's saw list and complete your order easily.
€ 1.284,40
All materials used
View all sheet materials