- OPMAATZAGEN.nl
- Do it yourself
- DIY Projects
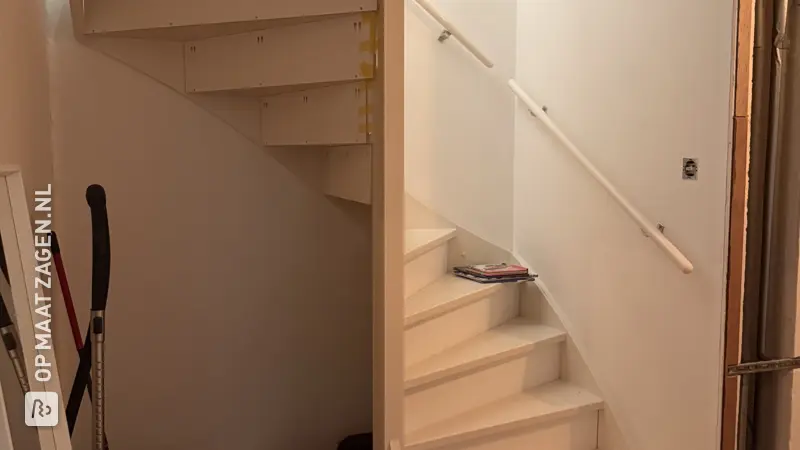
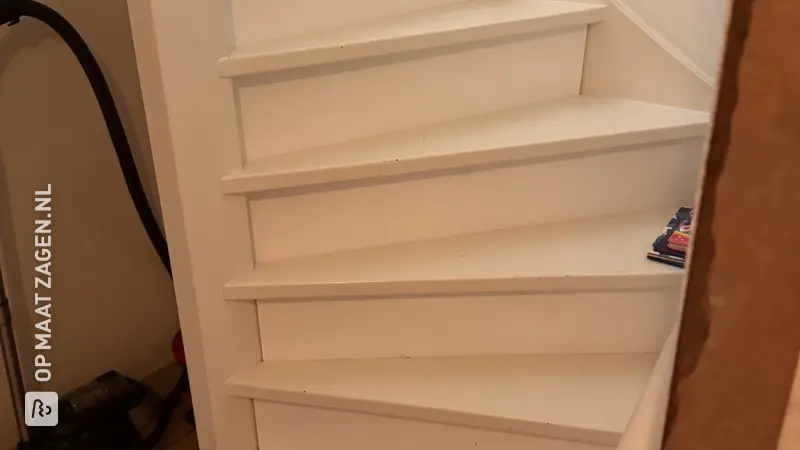
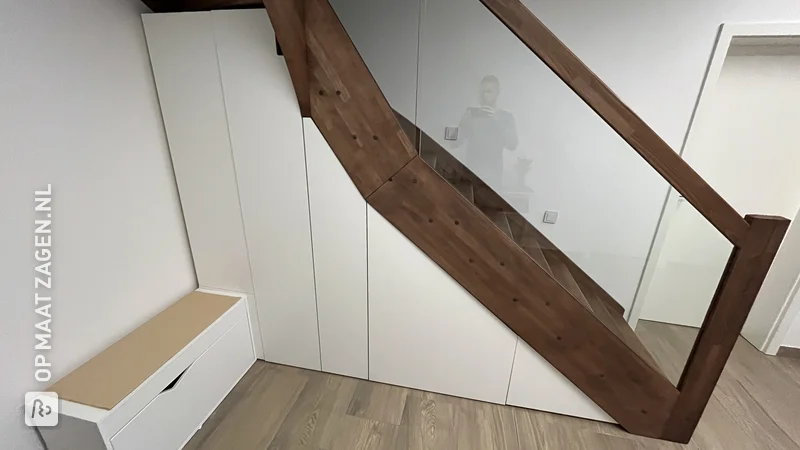
Smart under-stair cupboard for the living room, by Wies
Smart under-stair cupboard for the living room, by Wies

Create this project yourself with sheet material cut to size by OPMAATZAGEN.nl!

Wies designed this entirely themselves: from cutlist to finish. Get inspired by the materials used below — and then think about how you would tackle it. We make sure the wood is accurate to the millimetre; the rest is up to you.
Discover the versatility of a stair cupboard
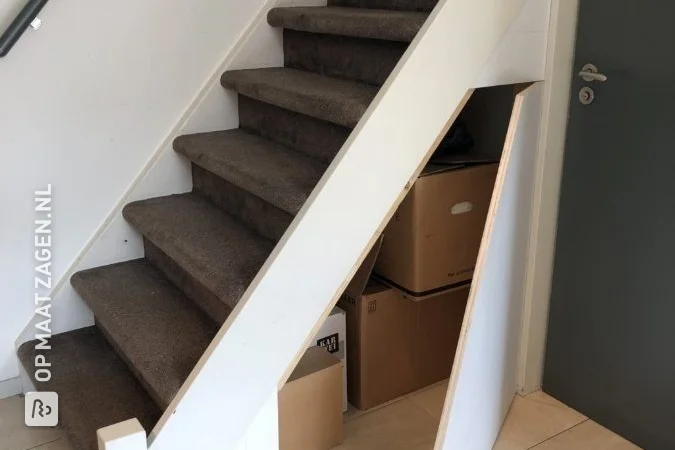
Have you always been looking for the optimal combination of functionality and aesthetics under your stairs? Wies has designed a creative and practical stair cupboard that not only organizes your living space but is also a stylish addition to your interior.
The design and the construction
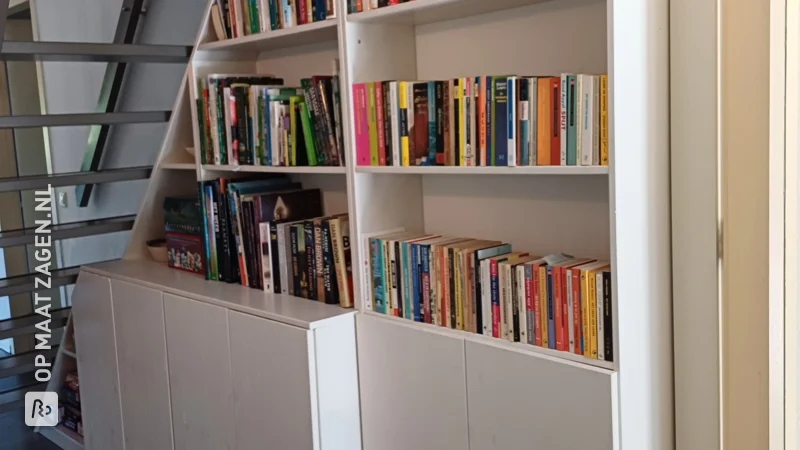
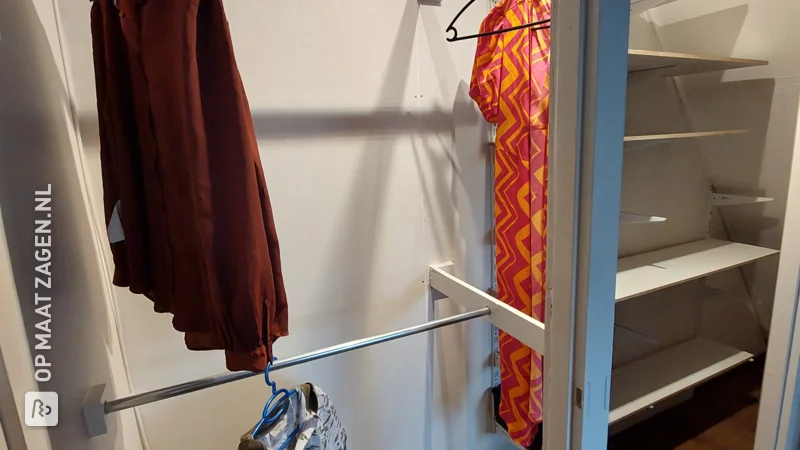
Wies's under-stairs cupboard is strategically placed in the living room and makes optimal use of the unused space under the stairs. Using custom-cut Plywood Asian goldplex B/BB from OPMAATZAGEN.nl, Wies has created a cupboard that fits the space perfectly. The cupboard doors have a flat and sleek finish, creating a modern look. By choosing a neutral color, the cupboard blends seamlessly with the rest of the interior.
Refinement with wallpaper
One of the unique features of this under-stairs cupboard is the use of subtle wallpaper on one side. This gives the cupboard an unexpected touch and makes it a real eye-catcher in the room. The wallpaper texture adds texture and gives the living room a warm and inviting atmosphere.
Custom work by OPMAATZAGEN.nl
The role of OPMAATZAGEN.nl was crucial in realizing this project. By having the wood cut to the exact size, Wies was able to assemble the cabinet with precision and ease. This freedom in sizing and material selection is a major advantage of self-made projects.
The benefits of Plywood Asian goldplex B/BB
For the cabinet doors and walls, Wies chose Plywood Asian goldplex B/BB. This material is known for its sleek finish and versatility. The surface is ideal for applying paint or wallpaper, and its durability guarantees a long lifespan.
DIY tips
Make sure you measure accurately and that all materials are ready beforehand. Start with a solid base and work your way up slowly. And don't forget: having fun while doing the DIY is at least as important as the end result!
Tip! Also check out our handy DIY tips!
Step by step guide
Preparation
- Made a sketch via chat as a basis
Montage
- First, we made a frame.
- Next, the wooden panels were installed, including a push-to-open cabinet and two hinged doors.
Finish
- Afterwards, it was painted and wallpaper was applied to one side.
What's in your project?
- Included: Complete kit incl. fittings and instructions
- Included: Design via 3D configurator
- Included: Fully made to your own measurements
- Not included: Edge finish of your choice
- Not included: Round or curved shapes also possible
- Not included: Each part available in a different wood type
Made-to-measure self-build kit
Prefer a complete kit? Design your furniture in our 3D configurator and receive all parts, fittings and instructions in one package.
- Not included: Complete kit incl. fittings and instructions
- Not included: Design via 3D configurator
- Included: Fully made to your own measurements
- Included: Edge finish of your choice
- Included: Round or curved shapes also possible
- Included: Each part available in a different wood type
Inspiration cutlist
Want to make this DIY project? Check out Wies's saw list and complete your order easily.
Materials used

Total price
€ 364,81
Add Wies's cutlist straight to your cart
My experience with OPMAATZAGEN.nl
Order
Delivery
General experience