- OPMAATZAGEN.nl
- Do it yourself
- DIY Projects
Van conversion: partition and roof lining, by Christine
Van conversion: partition and roof lining, by Christine

Create this project yourself with sheet material cut to size by OPMAATZAGEN.nl!

Christine designed this entirely themselves: from cutlist to finish. Get inspired by the materials used below — and then think about how you would tackle it. We make sure the wood is accurate to the millimetre; the rest is up to you.
A homemade van conversion, just like Christine's
Transforming a vehicle into a cozy getaway starts with a well-designed interior. Christine completely recreated this van conversion herself, using custom-cut wood from OPMAATZAGEN.nl. At the heart of the project: light-colored panels to clad the walls and the interior of the roof. A simple and welcoming base that leaves plenty of room for her decorating desires.
From the construction site to the welcoming sleeping area
A ceiling that follows the curve of the roof
The photos show several stages of the project. During assembly, large, slightly curved, light beige panels are visible, along with unfinished connections and cables awaiting completion. The ceiling follows the rounded shape of the van's roof. Several small, round spotlights, positioned on either side, provide even lighting throughout the interior.
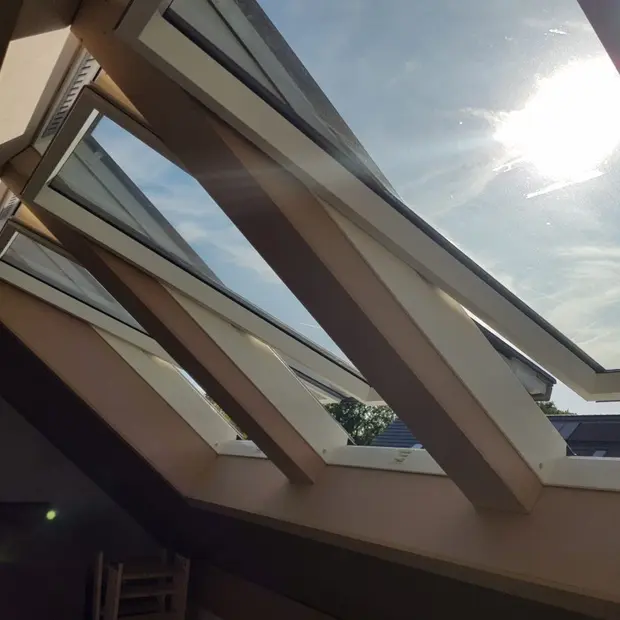
In the center, a rectangular opening houses a skylight. In the wider views, its white inner frame neatly finishes the opening in the ceiling. Light wood strips, screwed transversely and curved with the roof, cover the joints between the panels. Their visible grain adds a natural touch to this otherwise very simple finish.
Light-colored partitions to structure the space
On the sides, the panels present a clear, even surface, punctuated by visible fixings. Some parts of the vehicle's gray metal structure remain exposed at the edges. This cladding is particularly effective in a confined space: it provides visual continuity to the walls without introducing a multitude of colors or patterns.
In the view of the furnished sleeping area, the bed is positioned against the side wall, beneath the wooden ceiling. White linens, cushions, and a curtain create a welcoming space. Under the raised bed, a storage area with a crate is visible. Each surface contributes to a compact layout, designed for both living and storage within the same space.
The details that make this van unique
Christine personalized the ceiling with small, openwork black butterflies whose wings seem to detach from the surface. A garland of foliage and flowers runs along the top of the wall near the bed. In another view, a panel with multicolored square patterns adds a vibrant touch to the back of the room. Here you see the beauty of DIY: a functional base, then details that give the space real personality.
Custom-cut wood to help you move at your own pace
OPMAATZAGEN.nl supplied the custom-cut wood for this project by Christine. Starting with panels of the ordered dimensions simplifies preparation and reduces the amount of large cuts that need to be made yourself. In a van, it remains essential to check the body curves, joints, and equipment access points before final installation.
If you're considering a similar setup, you can choose the dimensions based on your vehicle, sleeping arrangements, and storage needs. You also retain control over the materials and finishes. Budget-wise, assembling it yourself reduces the need for outside labor and allows you to spread out purchases according to the project's stages, including hardware, lighting, and finishing products.
A few guidelines before fixing the panels
Prepare a cardboard template to check for irregular shapes and dry-fit each panel before attaching it. Locate any hidden cables and components before drilling. Also, plan the placement of spotlights and access to connections from the outset: this will prevent you from having to remove the trim later. For the vehicle's electrical installation, have the connections checked by a qualified professional.
A bohemian and natural atmosphere
In the decorated sleeping area, cream tones, light wood, and white textiles create a soft ambiance. Butterflies, foliage, and floral touches lend a bohemian feel without overwhelming the small space. The result demonstrates how simple partition and roof coverings can transform the feeling of spaciousness on board.
Plywood Interior Poplar B/BB
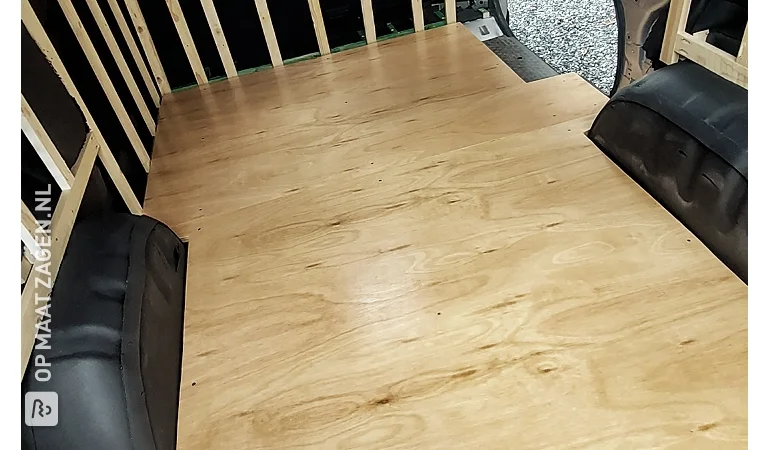
The wood used for this project is Plywood Interior Poplar B/BB, a poplar plywood designed for interior use. Its light weight is a significant advantage for van conversions, where every addition contributes to the vehicle's overall weight. Its naturally light color adds brightness and lends itself to various finishes. The B/BB grade distinguishes the two sides of the panel: you can reserve the more polished side for the visible areas. To maintain a beautiful appearance, lightly sand before finishing and protect the faces and edges with a suitable product. As this is an interior panel, be sure to limit its exposure to water and ensure good ventilation in the van to control condensation.
Tip! Also check out our handy DIY tips!
Step by step guide
Preparation
- Drilling and insert placement in the bodywork
Montage
- Mounting with screws
Finish
- Protective clear wood stain to preserve the natural appearance of the wood
What's in your project?
- Included: Complete kit incl. fittings and instructions
- Included: Design via 3D configurator
- Included: Fully made to your own measurements
- Not included: Edge finish of your choice
- Not included: Round or curved shapes also possible
- Not included: Each part available in a different wood type
Made-to-measure self-build kit
Prefer a complete kit? Design your furniture in our 3D configurator and receive all parts, fittings and instructions in one package.
- Not included: Complete kit incl. fittings and instructions
- Not included: Design via 3D configurator
- Included: Fully made to your own measurements
- Included: Edge finish of your choice
- Included: Round or curved shapes also possible
- Included: Each part available in a different wood type
Inspiration cutlist
Want to make this DIY project? Check out Christine's saw list and complete your order easily.
Materials used

Total price
€ 284,20
Add Christine's cutlist straight to your cart
My experience with OPMAATZAGEN.nl