- OPMAATZAGEN.nl
- Do it yourself
- DIY Projects
Closing off an open staircase with wooden risers, by Roel
Closing off an open staircase with wooden risers, by Roel

Create this project yourself with sheet material cut to size by OPMAATZAGEN.nl!

Roel designed this entirely themselves: from cutlist to finish. Get inspired by the materials used below — and then think about how you would tackle it. We make sure the wood is accurate to the millimetre; the rest is up to you.
Closing off your stairs yourself: Roel's DIY project
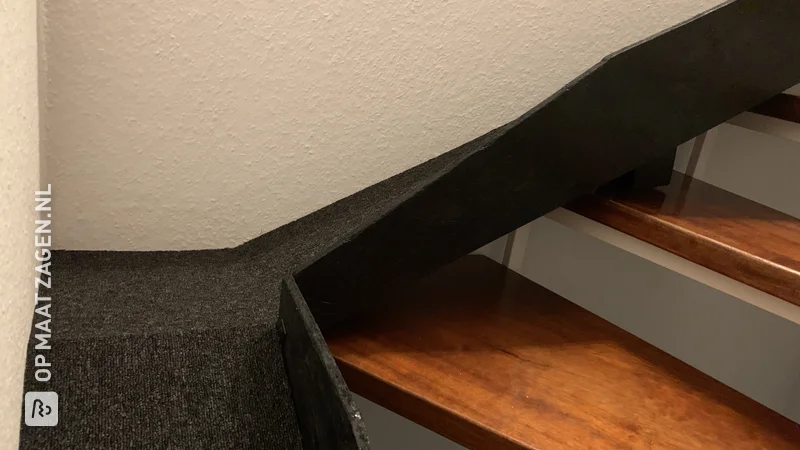
Want to give an open staircase a calmer look without replacing the entire staircase? Roel’s project shows what is possible. This customer completely enclosed his staircase himself using custom-cut wood from OPMAATZAGEN.nl. Between the existing white treads, he installed risers: the vertical panels that close off the gaps between the steps. In this way, the open staircase transforms step by step into a closed unit.
From open treads to a closed staircase
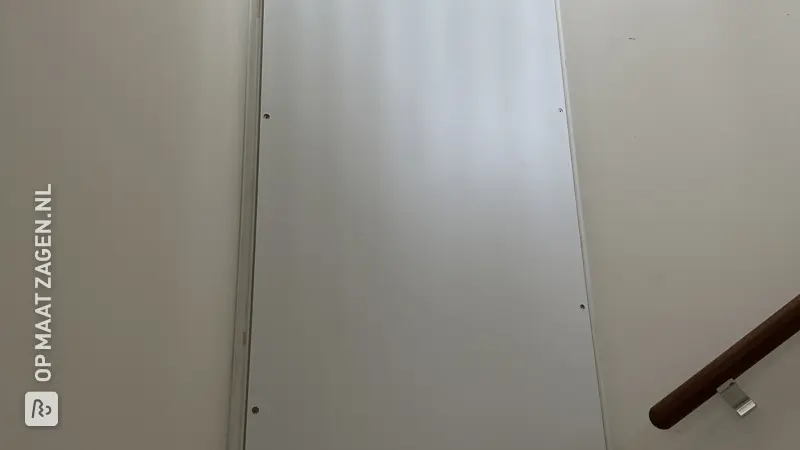
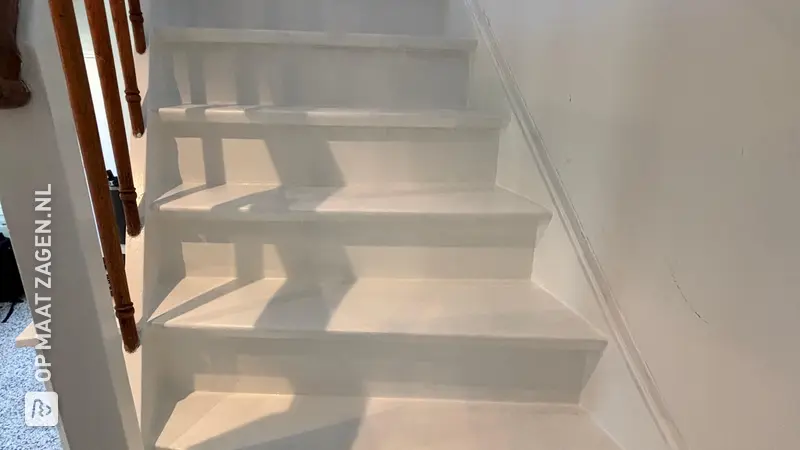
The photos show different stages of the renovation. In the initial state, the gaps between the white treads are clearly visible. The staircase curves upwards to the left, with fan-shaped treads around the bend. A white, vertical newel post marks the interior. Along the wall, round white handrails on metal brackets follow the staircase.
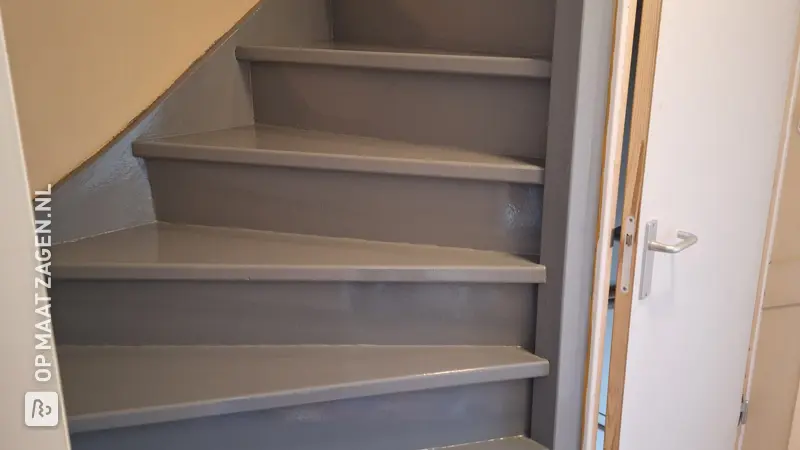
In the following images, the lower openings were closed first. Later, you can also see panels on the back of the treads of the upper section of the stairs. Mounting holes and a few pieces of tape are still visible there. In the final detail photo, the white risers and existing treads on the walking side already form an almost continuous whole. The treads protrude slightly in front of the panels, preserving the profile of the staircase.
A light base in the hallway
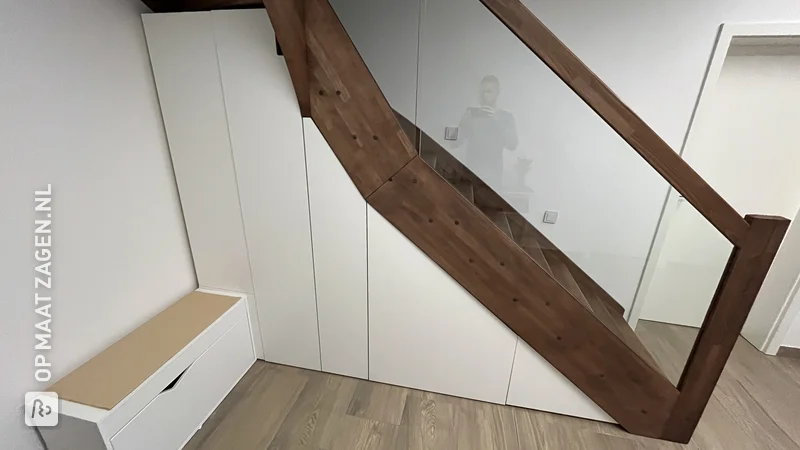
The staircase is situated in a hallway with light-colored walls. In the renovation photos, you can see a wood-colored herringbone floor and a floor hatch next to the stairs. In the previous situation, there were gray floor tiles. The space under the spiral section of the staircase remains open on the side. Therefore, you do not see a completely boarded-up stair cupboard here, but an existing staircase where the gaps between the treads are being closed.
The white finish works particularly well in this compact space: the new panels visually connect with the stairs, railings, and walls. The renovation is not yet fully completed in the photos. Pipes and an open wall edge are visible next to the stairs, and tools and DIY materials are still standing there.
Why you should close off an open staircase
With risers, you eliminate the view between the treads. As a result, your staircase looks less cluttered, and small items can no longer fall through those gaps. At Roel's, the recognizable curve of the staircase is preserved. You are therefore primarily renewing the appearance, while using the existing shape as a starting point.
Custom solutions for every opening
If you want to close off your stairs yourself, measure each opening individually and number the corresponding panels. Especially with a spiral staircase, the dimensions and connections can vary. Fit the parts dry first, i.e., without glue, before permanently attaching them. Clean surfaces and remove dust before gluing or painting, and follow the application instructions of your glue and paint products.
For this DIY project, OPMAATZAGEN.nl supplied the cut-to-size wood. This takes a significant portion of the sawing off your hands, allowing you to focus on fitting, assembling, and finishing. The precise distribution of the specified sheet materials across the stair components cannot be determined from the photos.
Making it yourself gives you freedom of choice
Just like Roel, you can tailor the dimensions, material selection, and finish to your own staircase. You decide which parts to tackle and how much to do yourself. This also gives you control over the budget: you can compare material prices and save on installation costs. However, do take fasteners, glue, and finishing into account in your budget. After all, a beautiful result also lies in the connections.
The specified wood and panel materials
Plywood Interior Poplar Primed
Plywood Interior Poplar Primed is primed poplar plywood for interior applications. You benefit from the relatively low weight of poplar wood, which is convenient when fitting and working with individual panels. The applied primer provides a handy base for further painting; however, always check what pretreatment the chosen paint system requires.
MDF Natural
MDF Natural has a smooth, uniform surface without visible wood grain. This makes it attractive if you want a sleek painted finish. You can work with it precisely and finish it neatly. Pay extra attention to the absorbent saw edges: use a suitable edge sealer or primer to prepare them well for painting.
Phenolic Plywood Acacia dark brown is plywood with a dark brown phenolic film. This top layer provides a smooth, wear-resistant, and easy-to-clean surface. Handy when you are looking for a practically finished panel. If you intend to glue or paint over this material, check the suitability of the coating and the necessary pretreatment beforehand.
Tip! Also check out our handy DIY tips!
Step by step guide
Preparation
- Measuring stair treads
Montage
Order via custom sawing
- Gluing and installing stair treads
Finish
- Pre-drill the holes with a drilling jig
- Sealing and painting
What's in your project?
- Included: Complete kit incl. fittings and instructions
- Included: Design via 3D configurator
- Included: Fully made to your own measurements
- Not included: Edge finish of your choice
- Not included: Round or curved shapes also possible
- Not included: Each part available in a different wood type
Made-to-measure self-build kit
Prefer a complete kit? Design your furniture in our 3D configurator and receive all parts, fittings and instructions in one package.
- Not included: Complete kit incl. fittings and instructions
- Not included: Design via 3D configurator
- Included: Fully made to your own measurements
- Included: Edge finish of your choice
- Included: Round or curved shapes also possible
- Included: Each part available in a different wood type
Inspiration cutlist
Want to make this DIY project? Check out Roel's saw list and complete your order easily.
Materials used


Total price
€ 366,91
Add Roel's cutlist straight to your cart
My experience with OPMAATZAGEN.nl
Order
Delivery
General experience