- OPMAATZAGEN.nl
- Do it yourself
- DIY Projects
DIY camper box for a Dacia Dokker mini camper, by Simone
DIY camper box for a Dacia Dokker mini camper, by Simone

Create this project yourself with sheet material cut to size by OPMAATZAGEN.nl!

Simone designed this entirely themselves: from cutlist to finish. Get inspired by the materials used below — and then think about how you would tackle it. We make sure the wood is accurate to the millimetre; the rest is up to you.
Build your own camper box for your Dacia Dokker
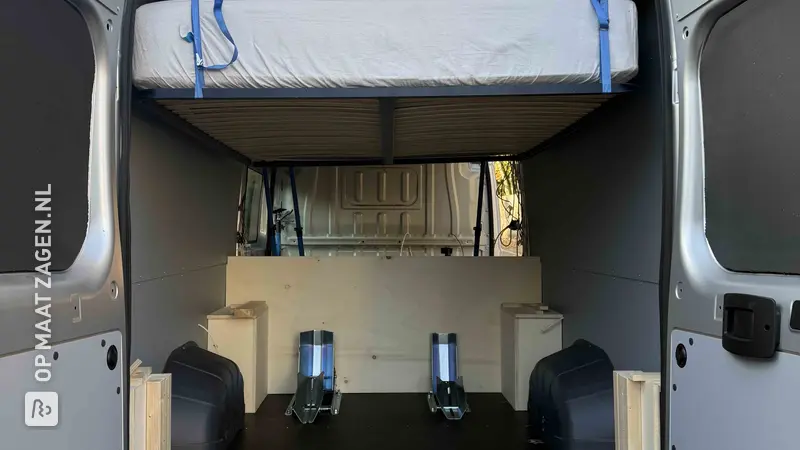
Converting a compact car into a personal mini-camper? This project by Simone will immediately make you want to start making plans. Simone built this wooden camper box entirely herself, using custom-cut wood from OPMAATZAGEN.nl. The design combines a large, flat platform with storage compartments underneath. This way, you utilize not only the available length and width, but also the space under the platform.
The photos show the various construction phases: from individual panels to an assembled interior being fitted indoors. Here, the camper box is still in the living room and on the workbench, not in the Dacia Dokker. The final placement and furnishing, such as with a mattress, are not shown.
A light wooden platform with smart storage space
Three long sections as a basis
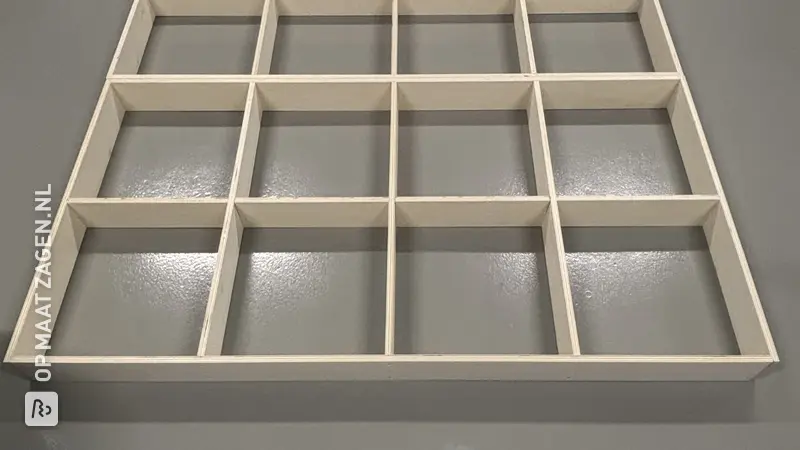
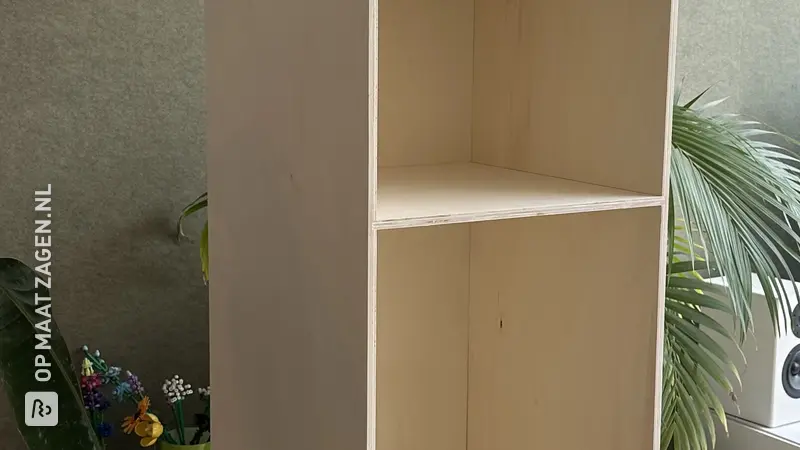
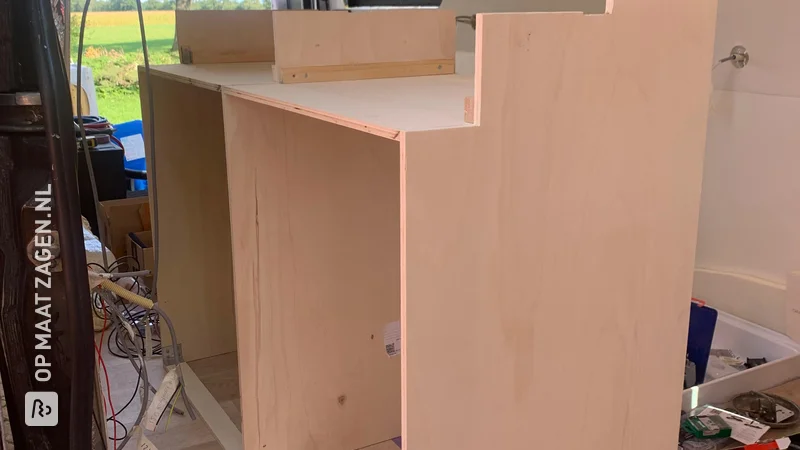
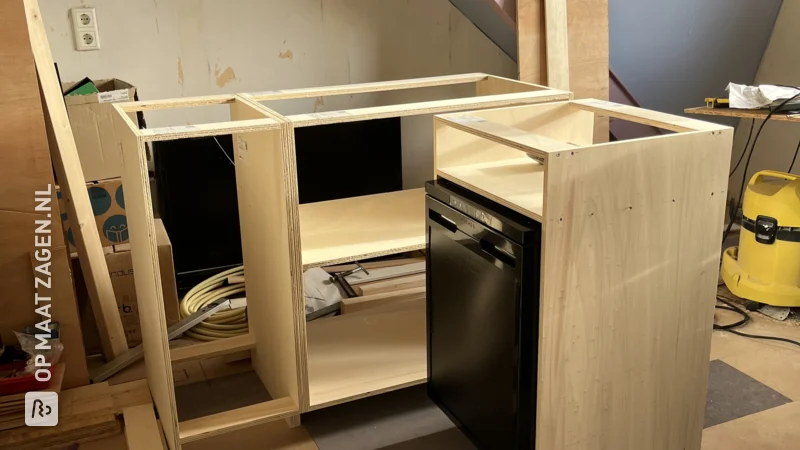
The base consists of a rectangular box with a bottom plate, outer walls, and two dividers. This creates three elongated compartments that remain open at the front. While trying it on, a blue foldable crate sits in the middle compartment. This allows you to immediately see how you can store loose items in an organized manner. Small, elongated openings have been made in the bottom at various points.
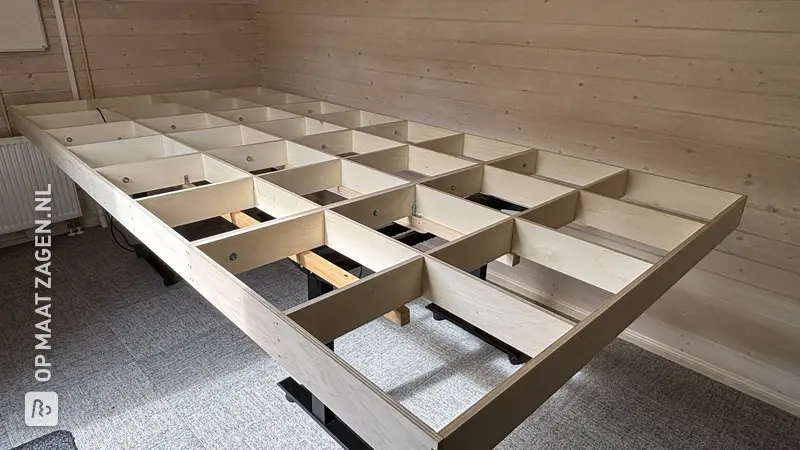
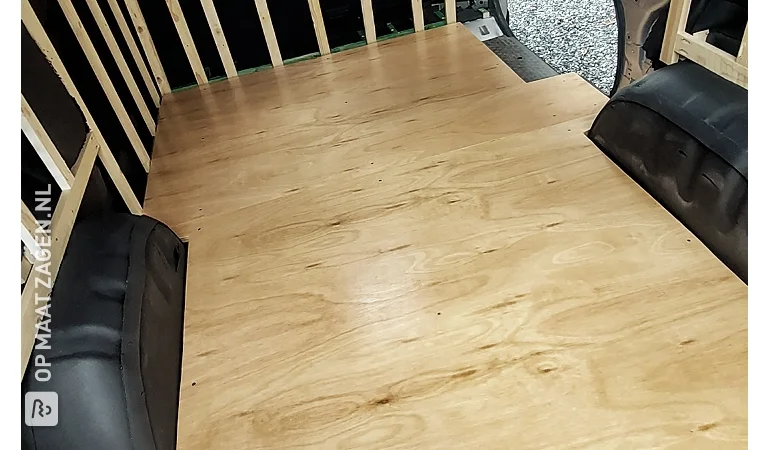
In the later photos, a wide platform made of multiple sheet metal parts rests on top of this base. Along the edges and above the partitions, you can see rows of screw heads and pencil lines. Narrow wooden slats are visible at the bottom of the compartments. The open front ensures that you remain accessible to the storage space beneath the platform.
Separate parts for a personal layout
In addition to the wide base, you see additional flat panels and a smaller, rectangular superstructure with an open side. In one of the configurations, a narrow panel protrudes forward. In another photo, a dark, soft transport bench is fitted next to the raised superstructure. This nicely illustrates why, when building a custom camper box, you consider not only the external dimensions but also the items you want to take with you.
The wood has a light, creamy tint. The grain, a few knots, and the layered panel edges remain visible. No opaque color finish is visible. The straight lines and muted wood color give the structure a simple, practical appearance.
Customization for a compact mini camper
This camper box is designed for a Dacia Dokker. Especially in a mini camper, you want to carefully allocate the available space: a flat base for a sleeping arrangement, with room for luggage underneath. The combination of long storage compartments and additional components makes this design interesting if you want to bring together various functions in a small area.
Do you want to make something similar yourself? Then measure not only the interior space, but also the passageway through which you bring the parts inside. In your design, take into account the wheel arches, the position of the front seats, and items that need to remain accessible. Furthermore, ensure you have suitable mounting in the car before you set off.
Self-built, cut to size by OPMAATZAGEN.nl
Simone handled the construction and assembly herself. OPMAATZAGEN.nl supplied the wood cut to size. In the first photo, the various rectangular panels are still standing loosely against a wall. During assembly, you can see a corner clamp, wood glue, and screws, among other things. Afterwards, the parts are brought together indoors and tested.
With pre-cut panels, you can focus on assembly, fitting, and finishing. You determine the dimensions, section layout, and material yourself. You also keep a grip on your budget: you choose which parts you need and handle the installation yourself. What you ultimately spend naturally depends on your choice of materials, hardware, and finish.
The wood used: Plywood Interior Poplar B/BB
For this project, Plywood Interior Poplar B/BB was used: poplar plywood for interior applications. This sheet material is relatively lightweight and easy to work with, which is handy when making and fitting multiple parts for a camper box. The light color provides a calm base that you can finish to your own taste. The designation B/BB refers to the quality of the two outer sides; therefore, they may differ in appearance. Because this is interior plywood, protection against moisture and condensation is important. Therefore, pay attention to the edges of the sheet during the finishing process.
Tip! Also check out our handy DIY tips!
Step by step guide
Preparation
- All dimensions were measured in the car. A rough sketch was made on paper of what it should look like. A template for the floor plate was made out of cardboard so that it could then be marked out on the wood.
Montage
- Ordered wood, cut everything to size, and had the leftover pieces delivered along with it. The leftover pieces came in handy when expanding the box with a sliding panel. First, assembled the rear box. Then continued with the front box. Both boxes are connected with a separate panel so you can sleep on top of them. In between, I kept checking the fit in the car to see if everything still fit. Changed a few things here and there. Shortened the cabinet because the car isn't perfectly straight at the top and is shorter than at the bottom.
Finish
- Now it is time to fill in screw holes and start sanding, priming, and finishing everything.
- When everything is really completely finished, I'll make the cushions and curtains, and then I can go camping!
What's in your project?
- Included: Complete kit incl. fittings and instructions
- Included: Design via 3D configurator
- Included: Fully made to your own measurements
- Not included: Edge finish of your choice
- Not included: Round or curved shapes also possible
- Not included: Each part available in a different wood type
Made-to-measure self-build kit
Prefer a complete kit? Design your furniture in our 3D configurator and receive all parts, fittings and instructions in one package.
- Not included: Complete kit incl. fittings and instructions
- Not included: Design via 3D configurator
- Included: Fully made to your own measurements
- Included: Edge finish of your choice
- Included: Round or curved shapes also possible
- Included: Each part available in a different wood type
Inspiration cutlist
Want to make this DIY project? Check out Simone's saw list and complete your order easily.
Materials used

Total price
€ 337,54
Add Simone's cutlist straight to your cart
My experience with OPMAATZAGEN.nl
Order
Delivery
General experience