- OPMAATZAGEN.nl
- Do it yourself
- DIY Projects
Hobby Cabinet for 3D Printer and Laser Printer, by Sander
Hobby Cabinet for 3D Printer and Laser Printer, by Sander


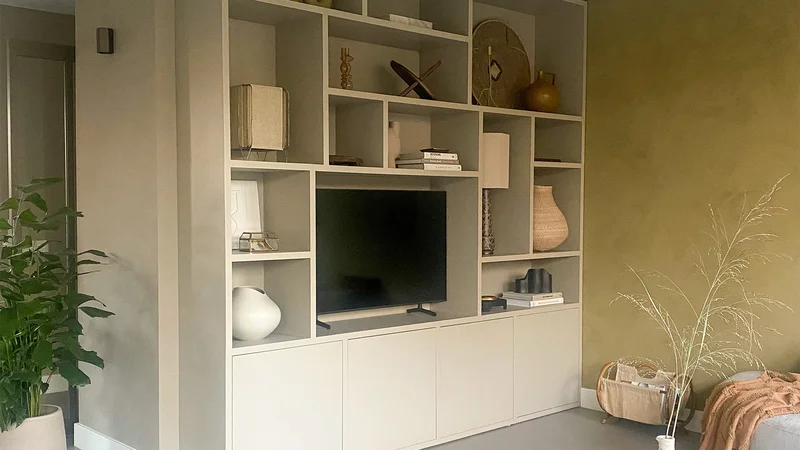
Create this project yourself with sheet material cut to size by OPMAATZAGEN.nl!

Sander

Average
2 minutes
Bring order to your workspace with this hobby cabinet
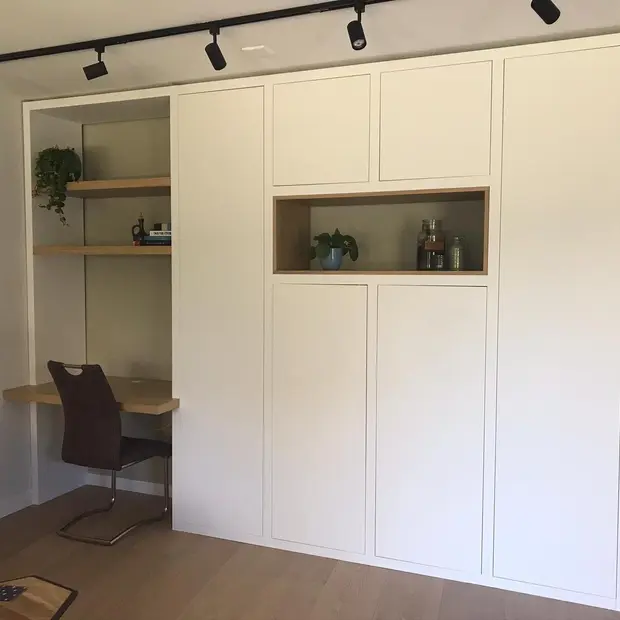
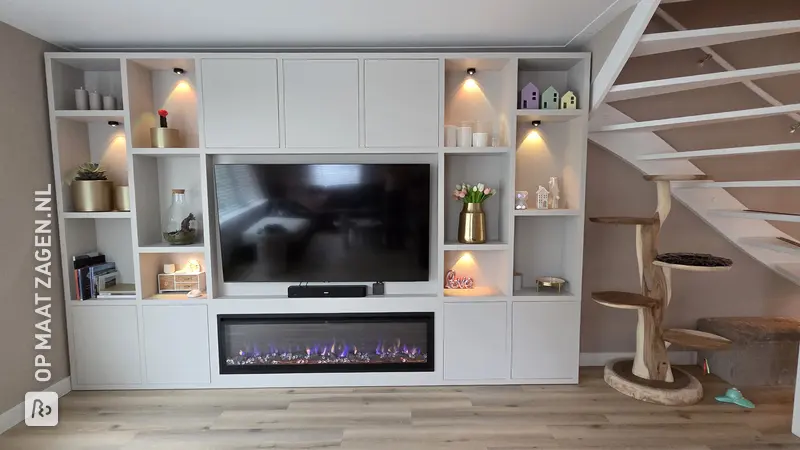
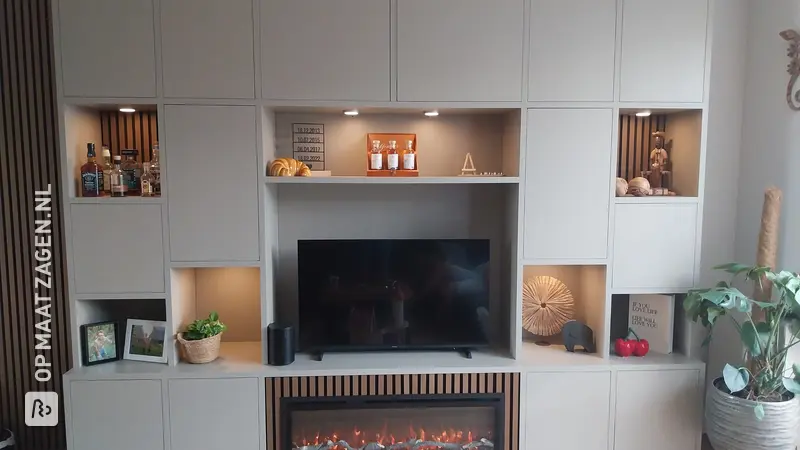
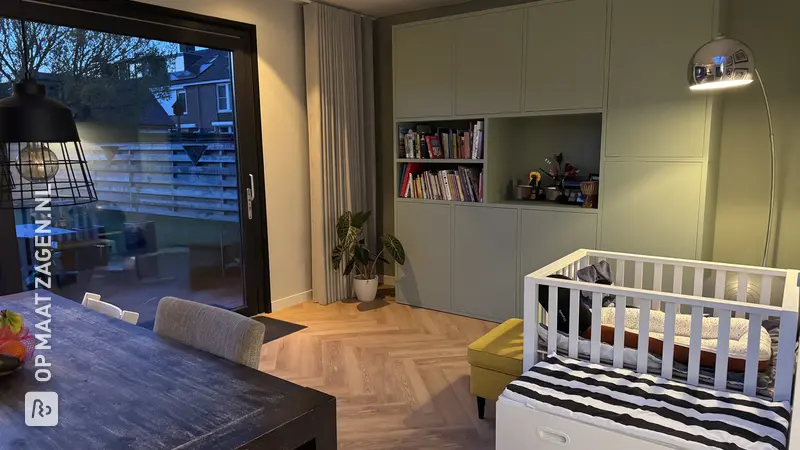
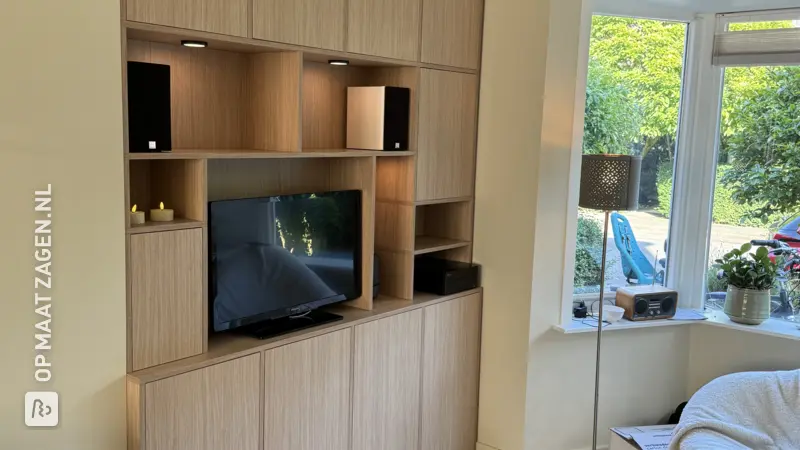
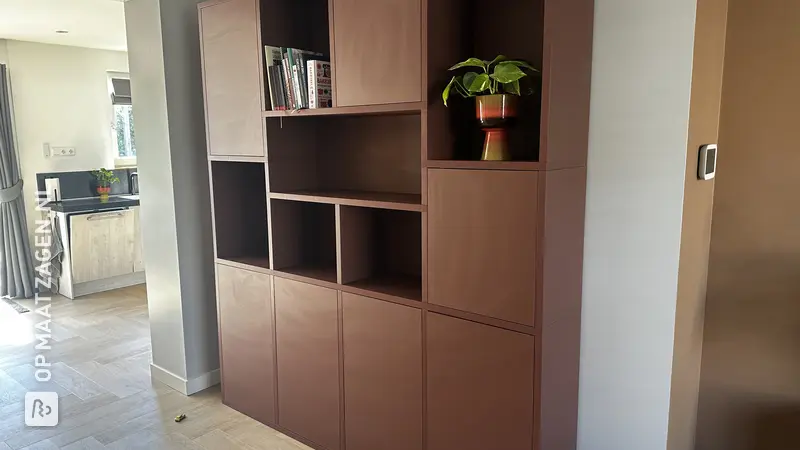
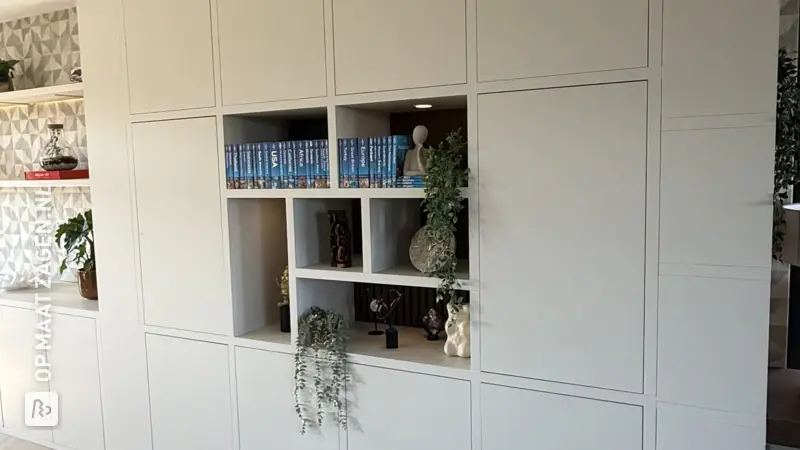
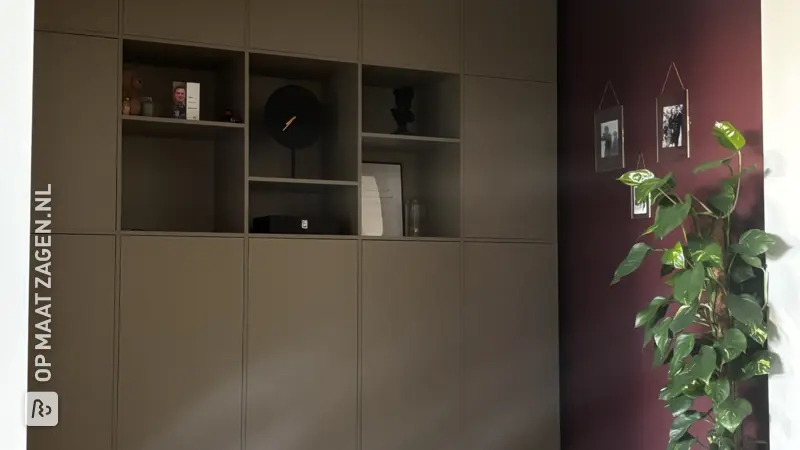
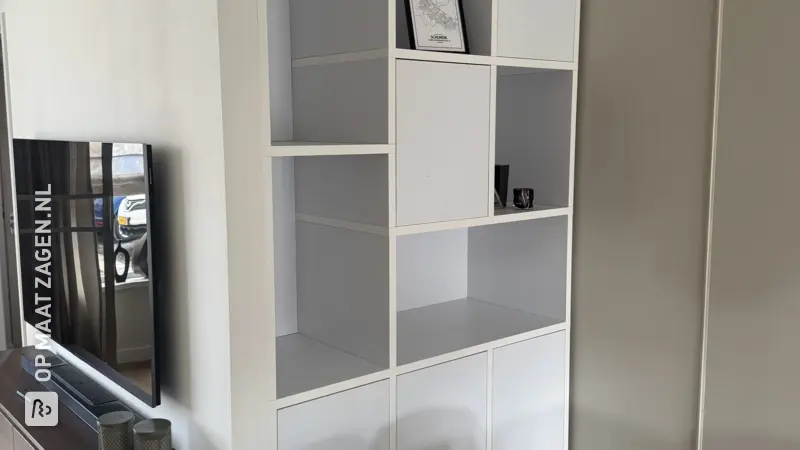
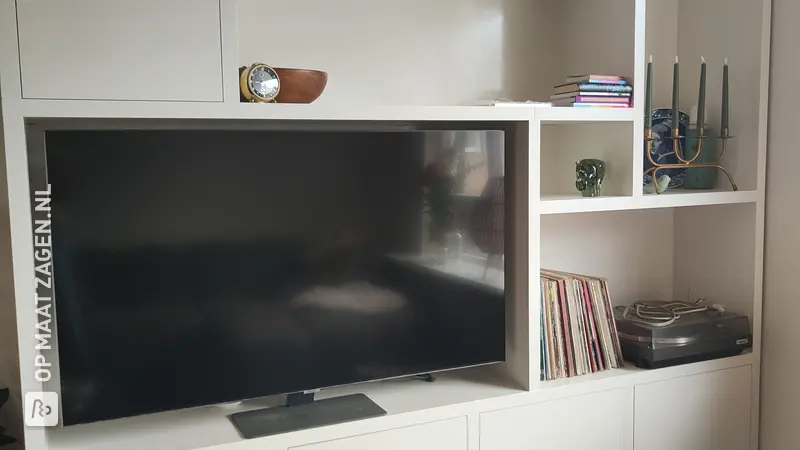
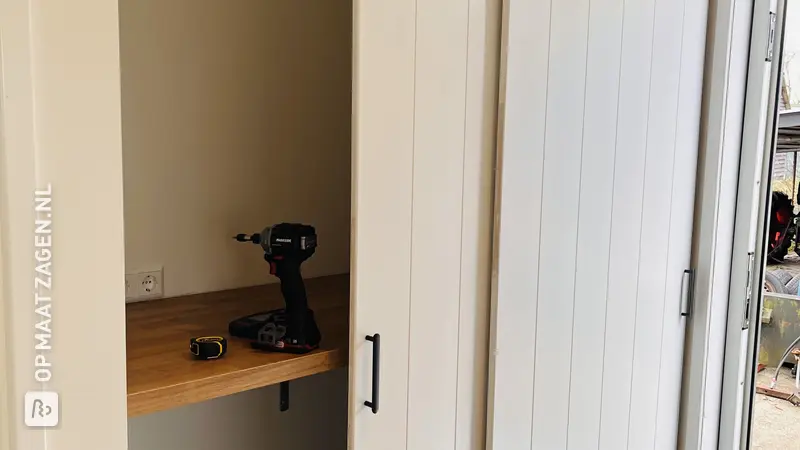
Have you ever wished your workspace was organized and stylish, without compromising on functionality? Sander did exactly that with his custom-made hobby cabinet designed for a 3D printer, laser printer, and drawers, fitting perfectly into his office.
The Construction of the Hobby Cabinet
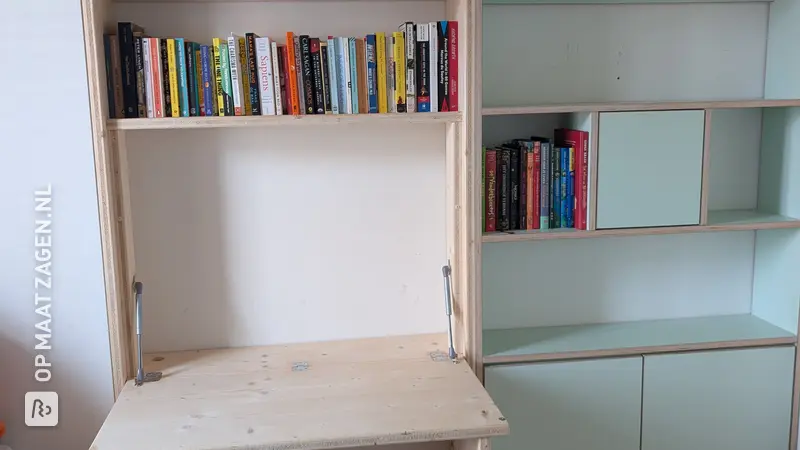
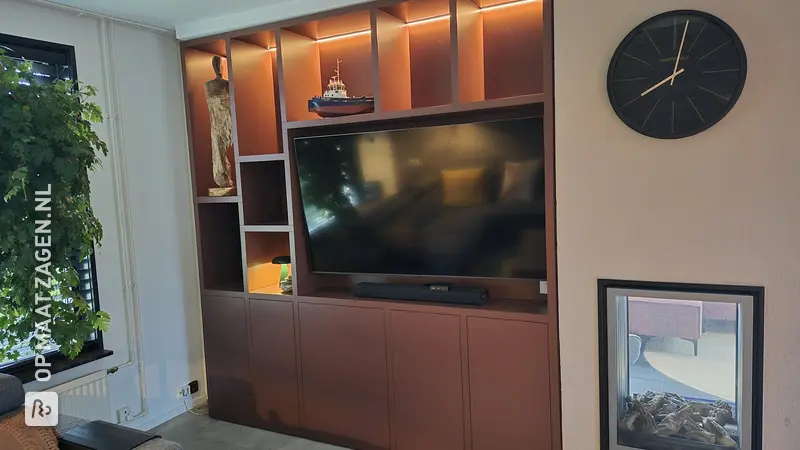
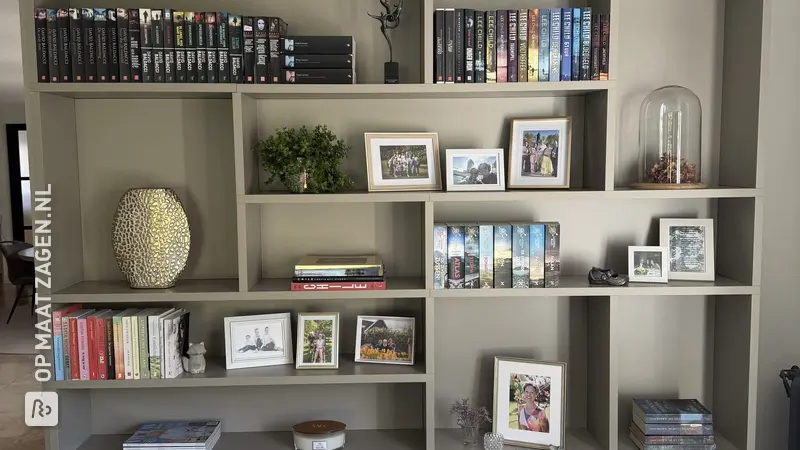
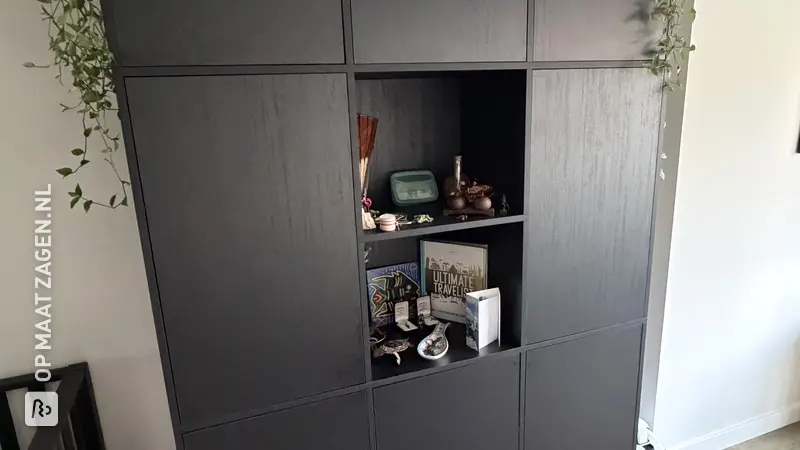
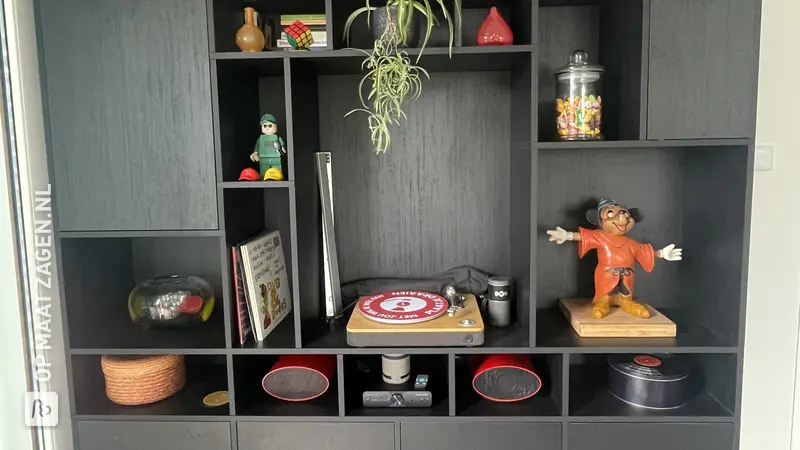
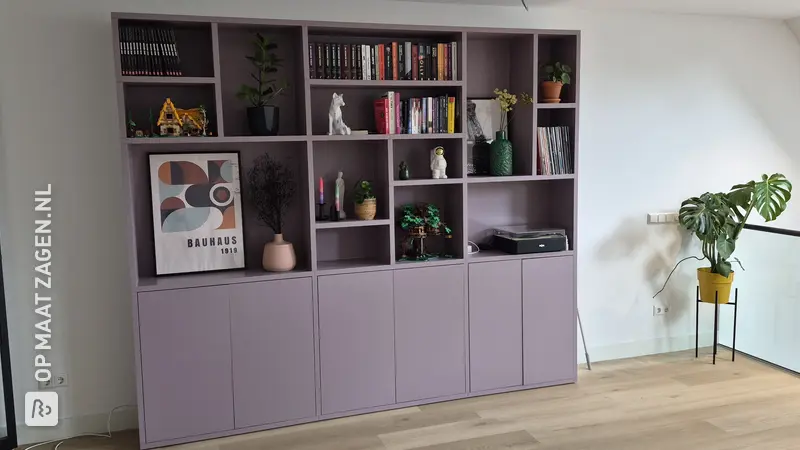
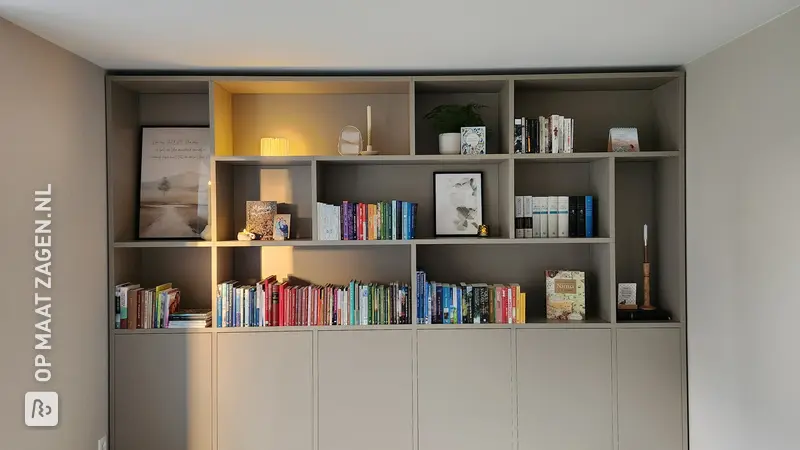
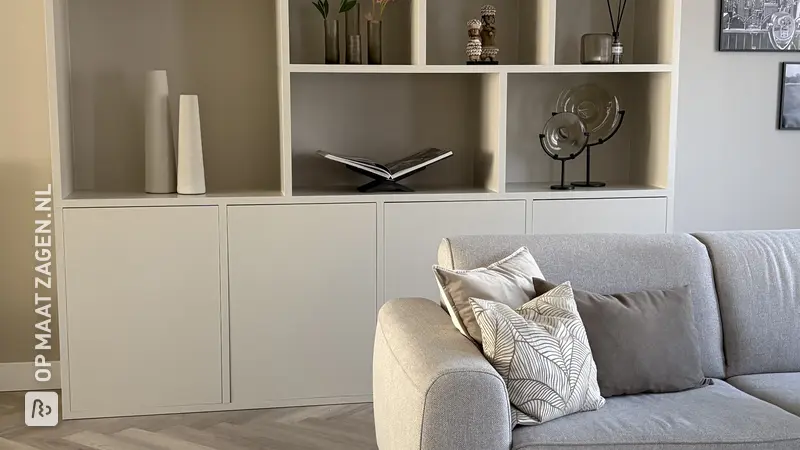
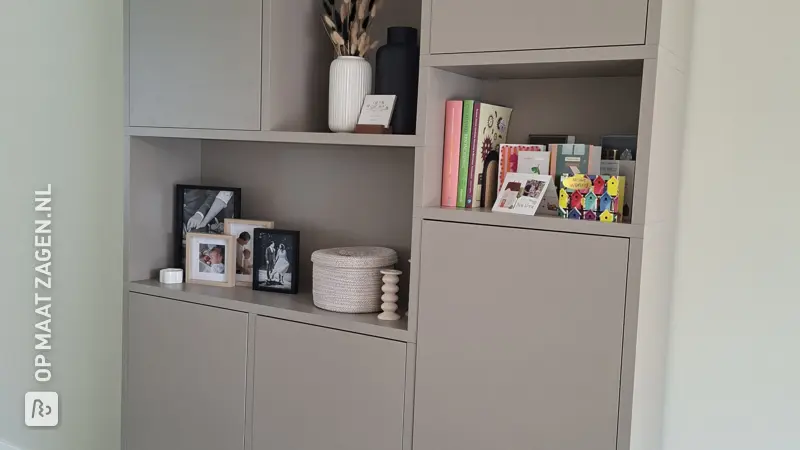
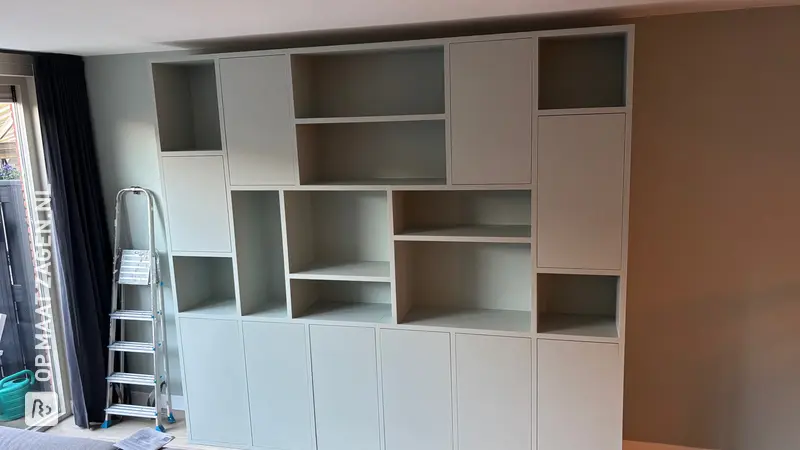
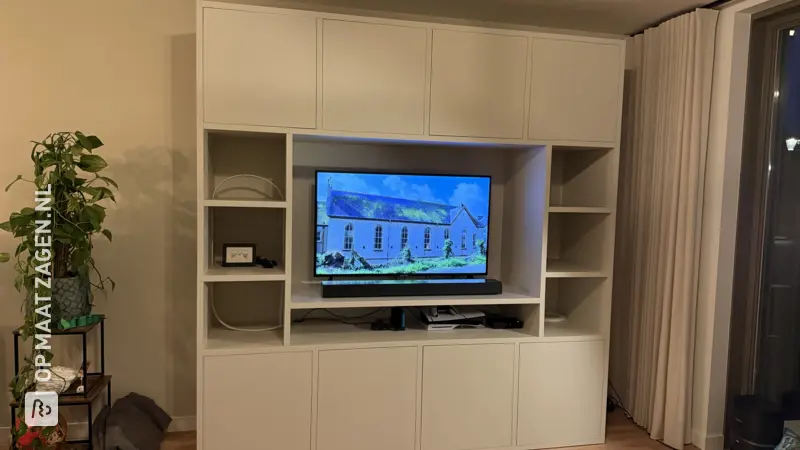
The hobby cabinet is crafted from high-quality Plywood Interior Poplar B/BB. The cabinet features a sleek, minimalist look with natural wood tones that beautifully complement any interior. With multiple shelves, it offers ample space for both printers and creative materials.
The Perfect Place
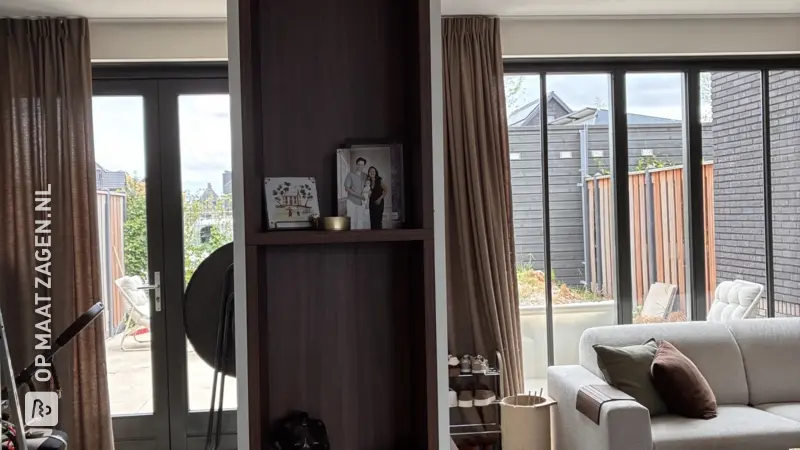
Mounted next to the door in his home office, the cabinet forms an integrated part of the space. It makes optimal use of the available space while simultaneously ensuring an organized and efficient work environment.
Unique Features
This cabinet is not only functional but also flexible. The low shelf accommodates a laser printer, ideal for quick and easy printing. The subsequent shelves provide space for a 3D printer and materials in the drawers below. The choice of custom-cut wood from OPMAATZAGEN.nl gives the cabinet a neat finish that you wouldn't get from standard furniture.
Why Make It Yourself?
The biggest advantage of making your own furniture is the freedom you have in determining the exact dimensions, materials, and finish. This not only adds a personal touch but can also be significantly more budget-friendly.
The Benefits of Plywood Interior Poplar B/BB
Chosen for its versatility, Plywood Interior Poplar B/BB offers an excellent foundation for a project like this. It is lightweight, easy to work with, and provides a sleek, modern look.
Building Tips
Good preparation is essential. Ensure you have all the necessary tools at hand and work systematically. Start by carefully measuring the space and draw a design that makes optimal use of every centimeter.
Thanks to the help of OPMAATZAGEN.nl, the wood was cut perfectly to size, allowing Sander to get started immediately and see quick results. This is how DIY stays fun and simple!
Tip! Also check out our handy DIY tips!
Step by step guide
Preparation
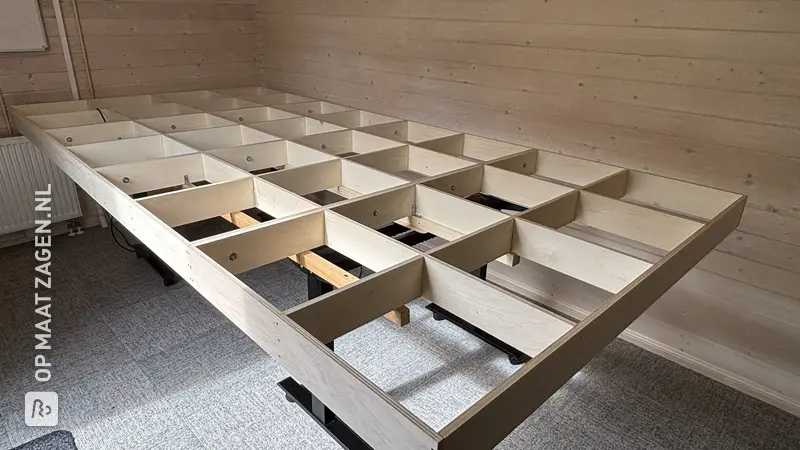
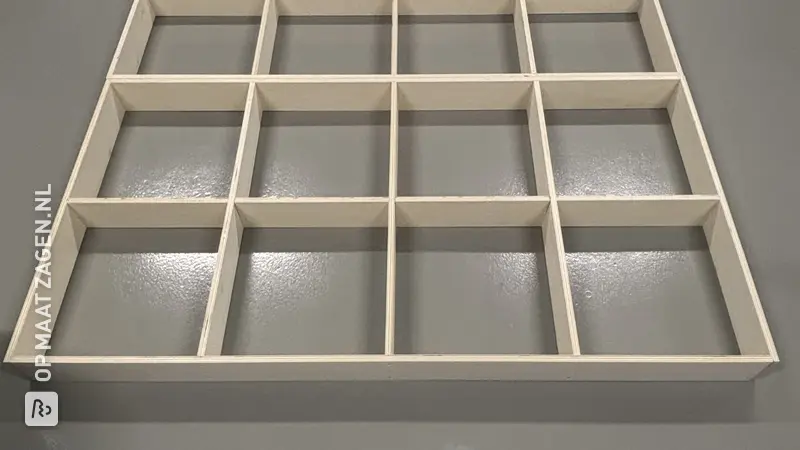
- Milling slots with the router.
Montage
- Glue the beams exactly into the grooves.
Finish
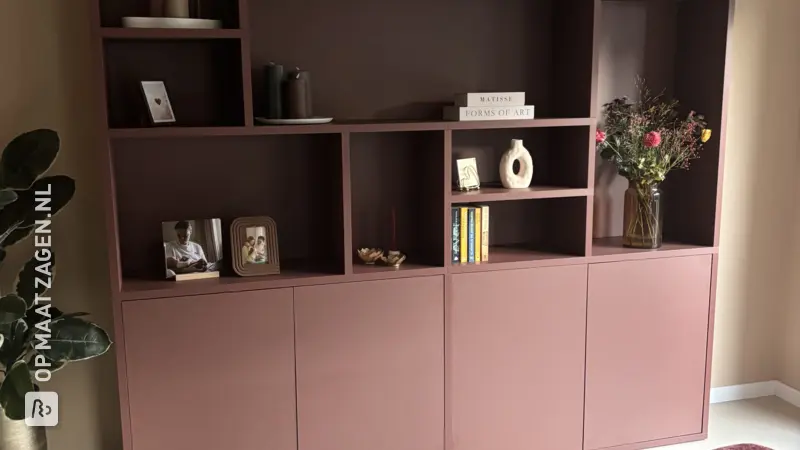
- Old rose stain to preserve the wood grain.
What now?
Want to make this DIY project? Check out Sander's saw list and complete your order easily.
€ 344,54
All materials used
View all sheet materials
My experience with OPMAATZAGEN.nl
Order
Delivery
General experience