- OPMAATZAGEN.nl
- Do it yourself
- DIY Projects
DIY burgundy built-in cabinet for the living room, by Simone
DIY burgundy built-in cabinet for the living room, by Simone

Adapt this design to your situation
The design from Simone is ready as a starting point. Adjust dimensions, colour and layout right away.
Make this furniture yourself using OPMAATZAGEN.nl

Simone designed this piece of furniture with TOSIZE Furniture. Would you like to make custom furniture too? Design your own piece with our 3D configurator and receive a complete flat-pack kit, including installation kit. Curious about the possibilities? Discover the available colors, watch our assembly guides or read the frequently asked questions.
A custom-made built-in closet with space for your belongings and style
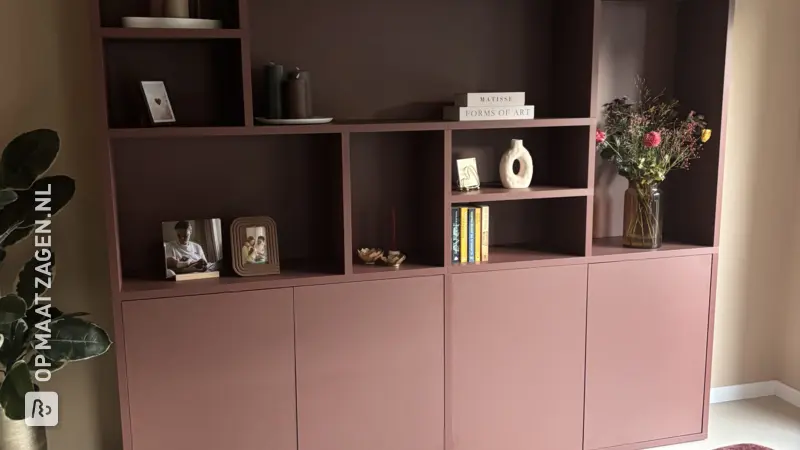
Want to utilize an entire wall for storage without your living room looking like a storage room? This burgundy built-in cabinet shows just how beautiful that can be. Simone made this project entirely herself, using custom-cut wood from OPMAATZAGEN.nl. The result combines closed base cabinets with a playful collection of open compartments. The Histor Burgundy Wine finish gives the design a warm, distinctive look.
From an empty wall to a custom-made cabinet
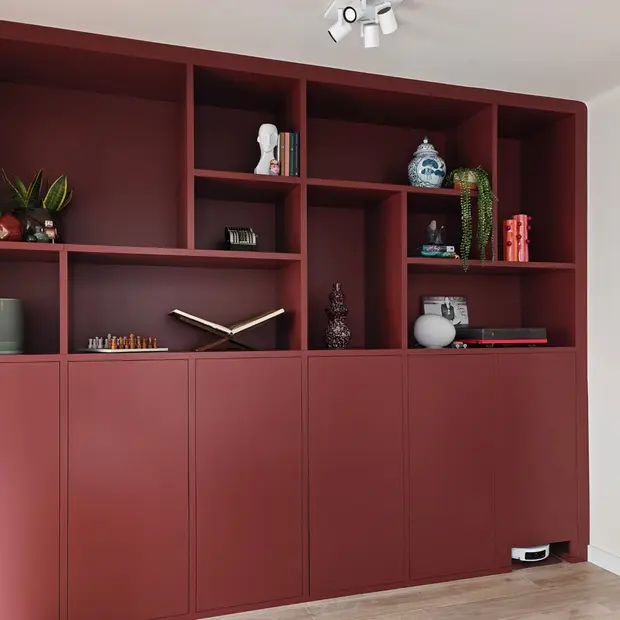
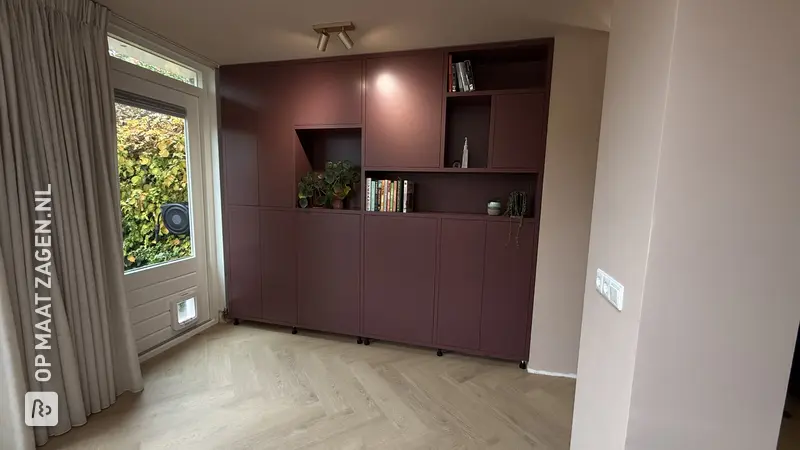
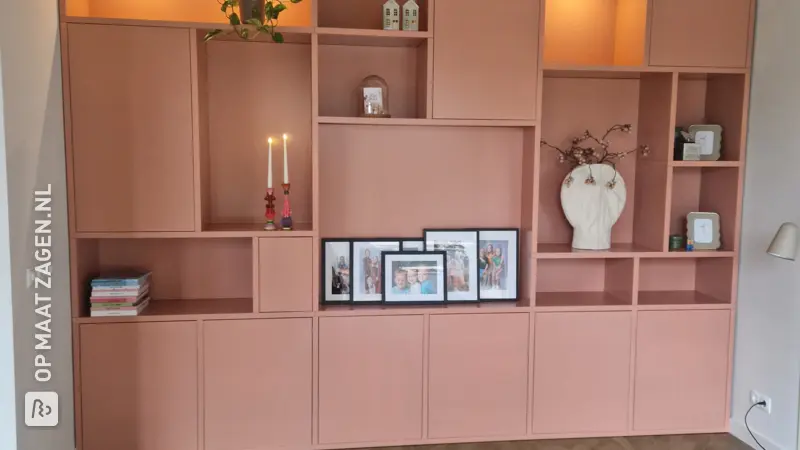
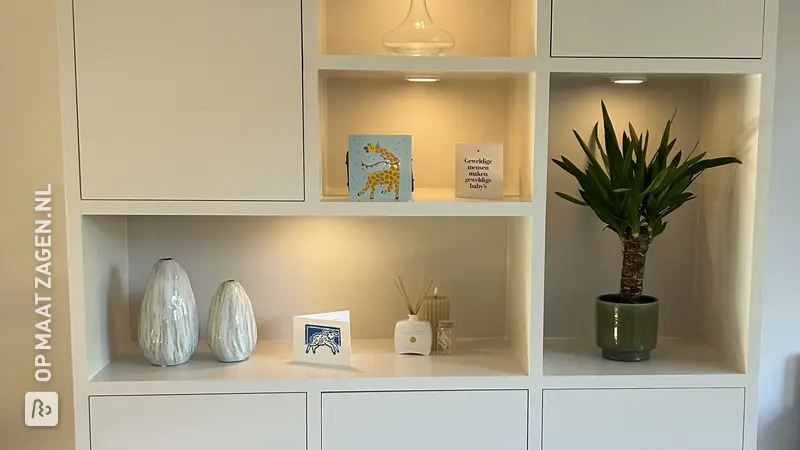
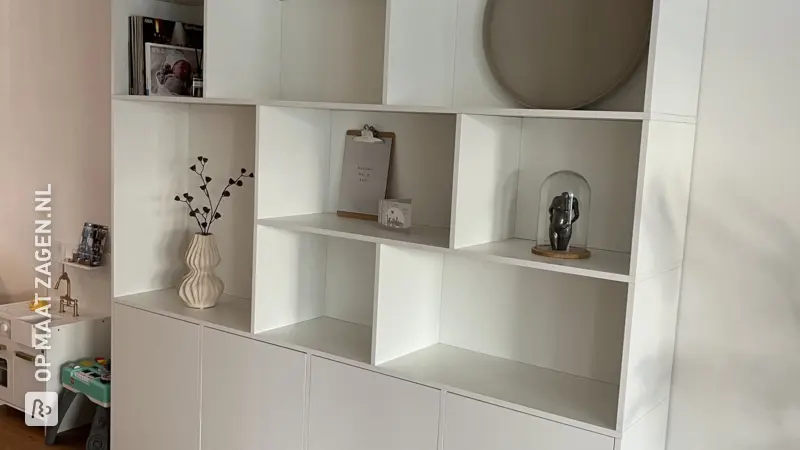
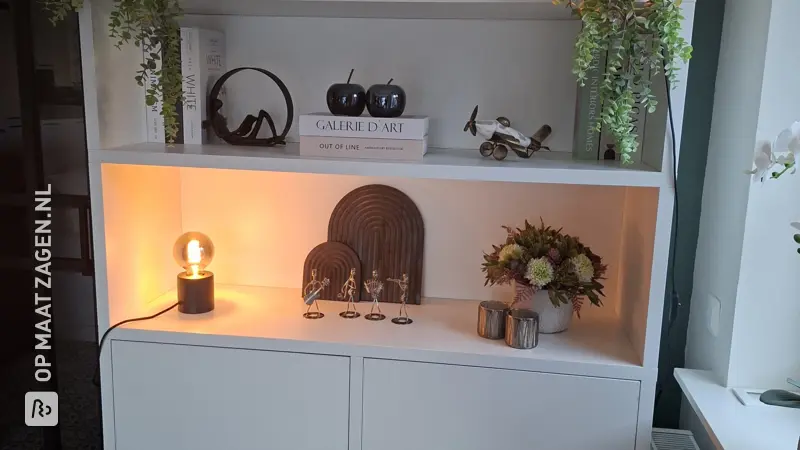
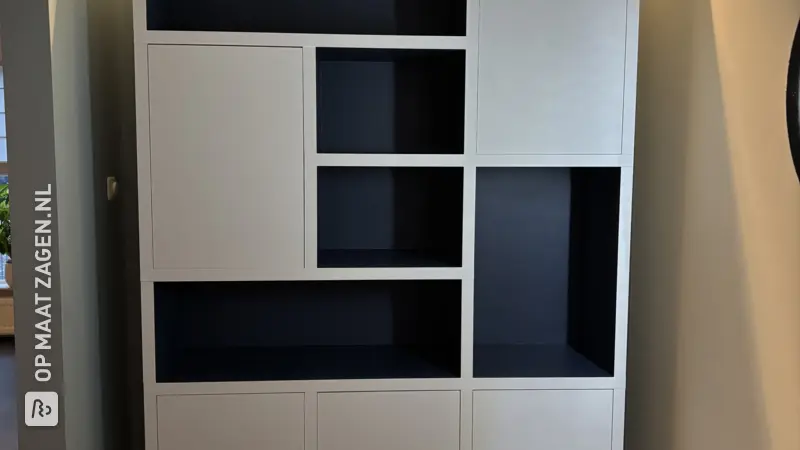
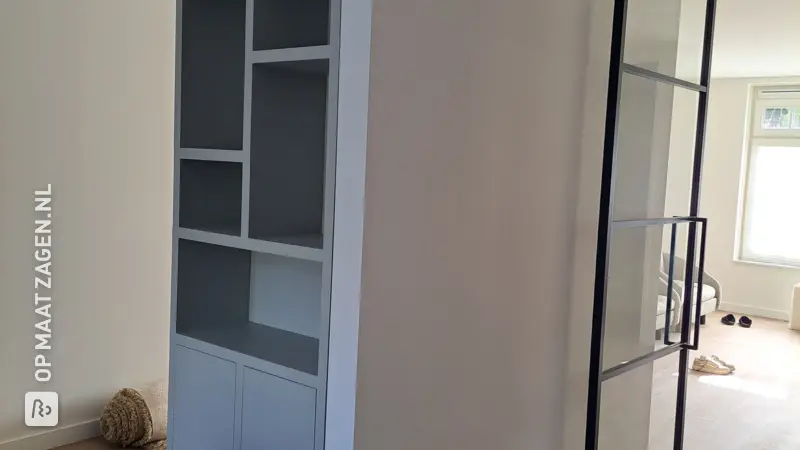
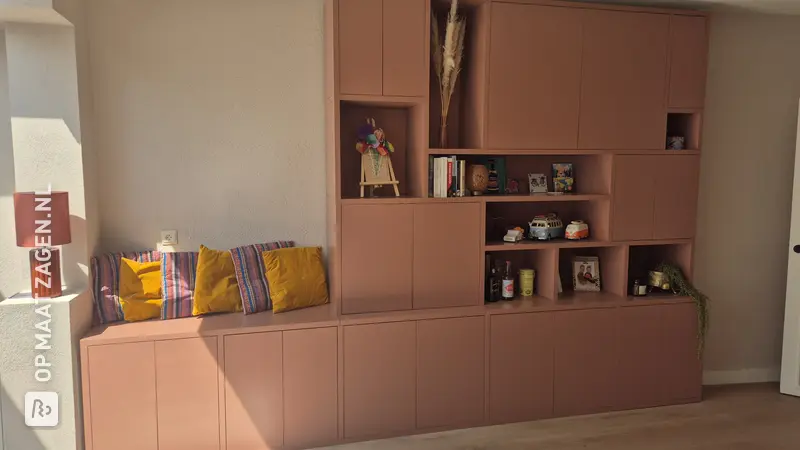
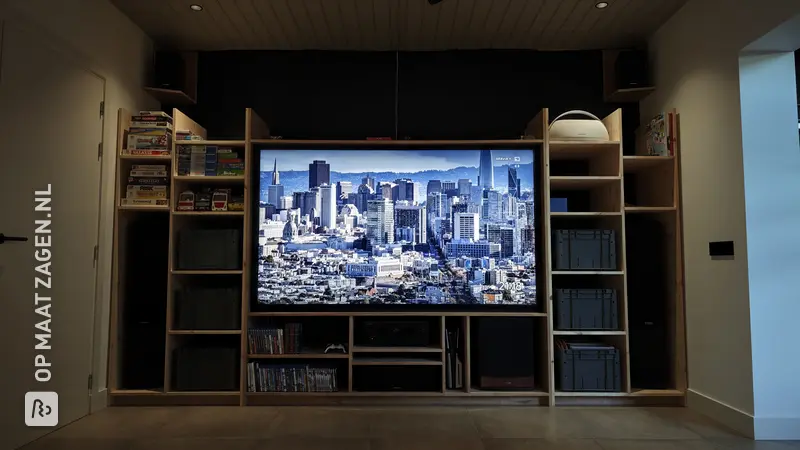
The photos show how an empty wall between two doorways is transformed into a virtually wall-filling cabinet. The piece of furniture extends from the floor to just below the ceiling. This utilizes the available height and gives the cabinet a truly built-in appearance. The deep burgundy color stands out beautifully against the white walls and above the light wood-look floor.
Closed base cabinets and asymmetrical open compartments
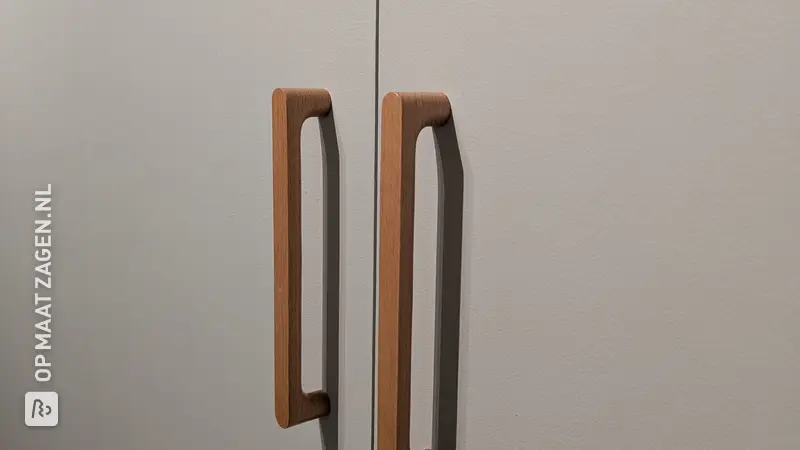
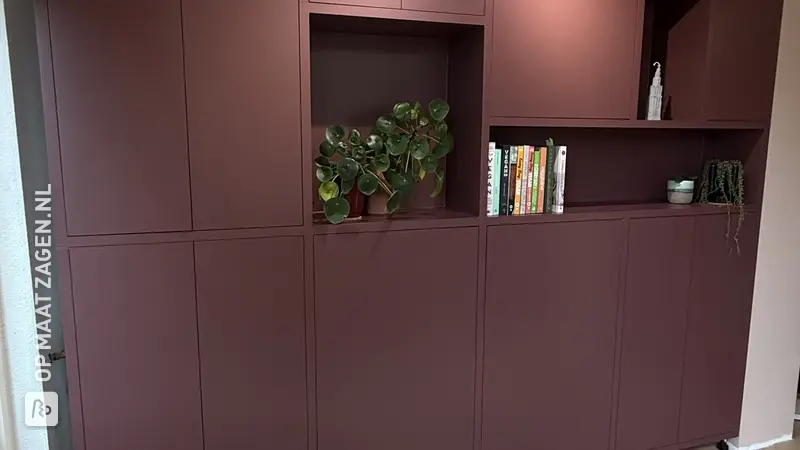
The lower section consists of six tall, flat doors without visible handles. The narrow gaps between the fronts maintain a calm appearance. Above this, wide, narrow, tall, and low open compartments alternate. The staggered partitions make the design lively, while the straight lines provide cohesion. The interiors and back walls of the open compartments are also finished in burgundy.
In the final result, you see plants, books, a white bust, a blue and white pot, vases, and small decorative objects. An open book on a stand and a small chess set find their own place in the wide compartments. This way, you can display your favorite items while keeping other things out of sight behind the doors.
A smart place for the robot vacuum cleaner
In the bottom right, there is a low, rectangular recess for the robot vacuum cleaner. In the detail photo, you can see the device with the charging station standing behind the front panel. This way, even a practical household appliance gets a fixed place in the design. Furthermore, the construction photos show a recess in a back panel, allowing an existing power outlet to remain accessible. It is precisely such details that make a custom-built cabinet personal and convenient to use.
Build it yourself with cut-to-size wood
The progress photos clearly show the construction: first the light panels and vertical partitions, then the complete compartment division and the doors. Next, the components receive their burgundy finish. A frame surrounding the cabinet ensures a neat integration with the room. In the final image, the rounded upper corners of this frame stand out in particular: a soft detail alongside all the straight compartments.
For this project, OPMAATZAGEN.nl supplied the wood cut to size. This allows you to use your own dimensions and section layout as a starting point, instead of adapting your design to standard cabinet sizes. The sawing is prepared, so you can proceed with assembling, mounting, and finishing yourself.
Freedom in dimensions, material, and budget
By building a built-in wardrobe yourself, you determine the size of the open compartments, how much closed storage space you need, and which color suits your living room. You also keep control over your choice of materials and budget. You can save on outsourced assembly work, but be sure to factor hinges, fasteners, and paint into your budget. This way, you create a plan that is not only beautiful but also feasible.
Warm modern design
The rounded outer corners, flat fronts, and asymmetrical compartments give this finished cabinet a warm, modern style. Histor Burgundy Wine makes the large piece of furniture distinctive without requiring much extra color. You soften the clean base with green plants, ceramics, and personal finds. This way, storage space immediately becomes an atmospheric part of your living room.
The material used: MDF Primed
MDF Primed is an MDF board with a pre-applied primer. The smooth, even surface is pleasant for a painted cabinet: there is no visible wood grain, allowing you to give doors, shelves, and partitions the same calm appearance. The primer reduces the need for preparatory painting on the board surfaces. Sawed edges and treated areas still require attention for an even final result. With this material, you can beautifully combine the clean lines and the deep burgundy finish of this design.
Tip! Download our handy TOSIZE Furniture checklist!
Tips from Simone
Furniture from Simone is finished in the color
Histor Burgundy Wine
What's in your project?
- Included: Complete kit incl. fittings and instructions
- Included: Design via 3D configurator
- Included: Fully made to your own measurements
- Not included: Edge finish of your choice
- Not included: Round or curved shapes also possible
- Not included: Each part available in a different wood type
TOSIZE Furniture kit
Complete package with fittings and instructions
 MDF Primed 30 mm
Total price
€ 2.157,95
Kit and cutlist go into your cart together
- Not included: Complete kit incl. fittings and instructions
- Not included: Design via 3D configurator
- Included: Fully made to your own measurements
- Included: Edge finish of your choice
- Included: Round or curved shapes also possible
- Included: Each part available in a different wood type
Cut to size
Separate cut-to-size panels, edge finish of your choice

Total price
€ 2.157,95
Kit and cutlist go into your cart together
085 888 29 55