- OPMAATZAGEN.nl
- Do it yourself
- DIY Projects
Handmade custom-made MDF wardrobe doors, by Luc
Handmade custom-made MDF wardrobe doors, by Luc

Create this project yourself with sheet material cut to size by OPMAATZAGEN.nl!

Luc designed this entirely themselves: from cutlist to finish. Get inspired by the materials used below — and then think about how you would tackle it. We make sure the wood is accurate to the millimetre; the rest is up to you.
Making your own wardrobe doors: a sleek wall unit by Luc
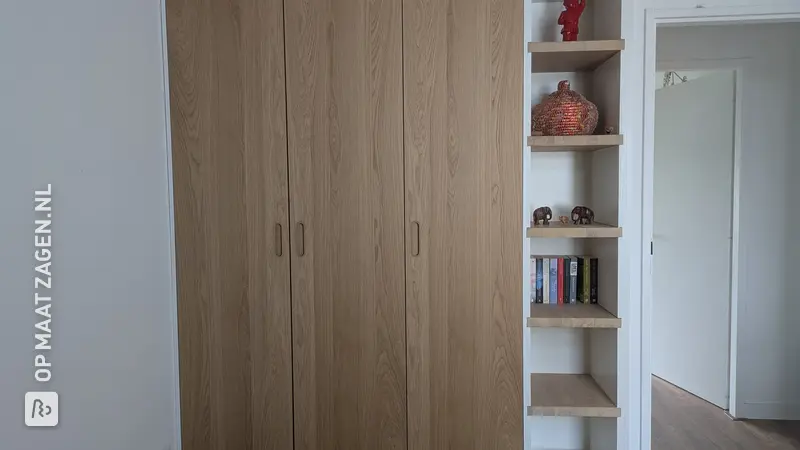
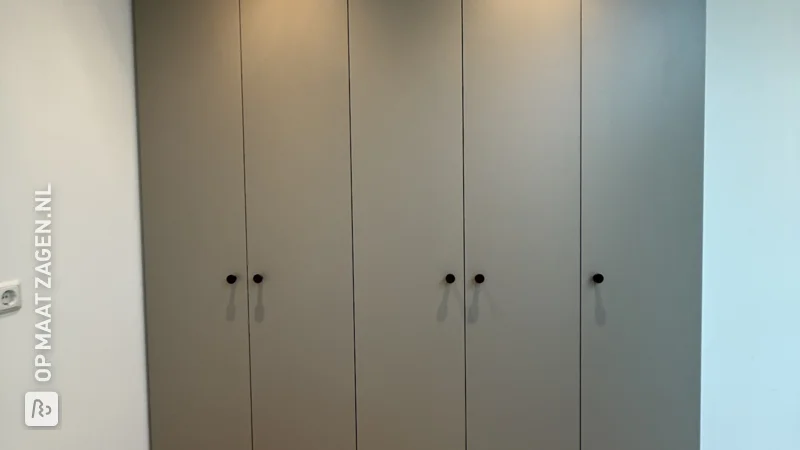
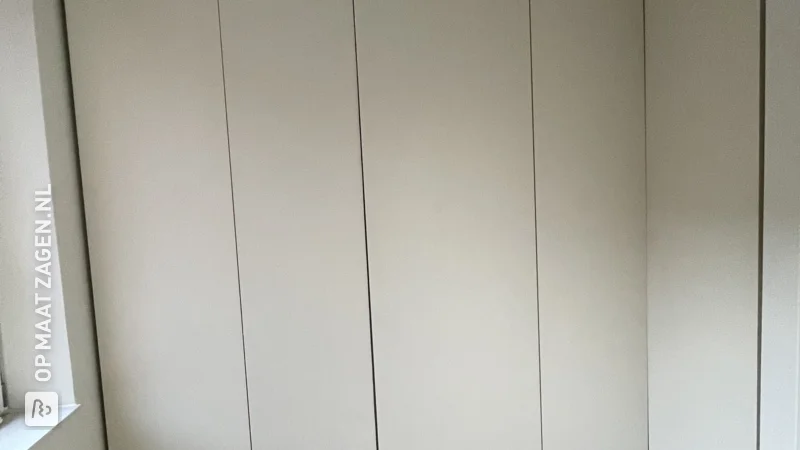
Do you want a wardrobe that blends beautifully into your room? With homemade doors, you give the entire wall a calm look. You can see this in this DIY project by Luc: six tall, light grey wardrobe doors with slender wooden handles. Luc made the project entirely himself, using MDF Primed that OPMAATZAGEN.nl cut to size for him.
From wall to wall and almost to the ceiling
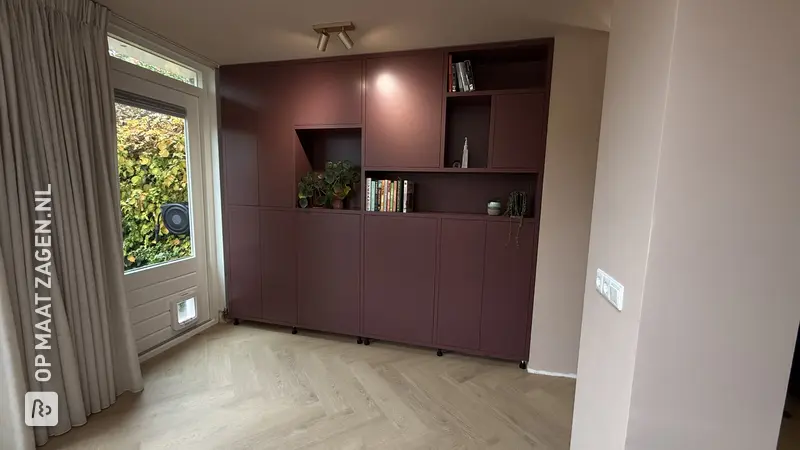
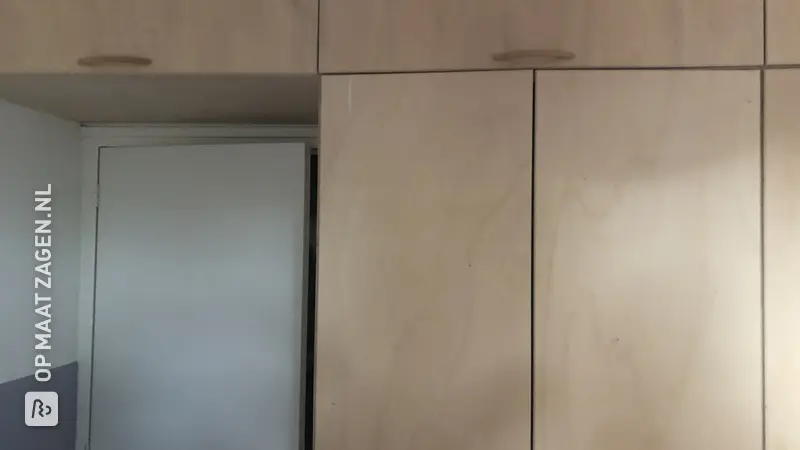
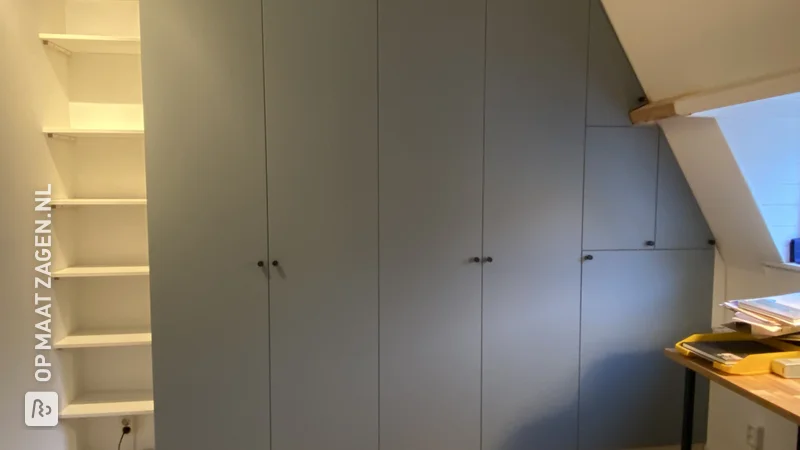
In the overview photo, you can see a wardrobe that fills almost the entire back wall. The doors extend from just above the floor to almost the ceiling. Narrow strips along the sides ensure a neat connection to the room. The light grey tone matches the surrounding walls, while the wood-coloured floor and handles add warmth. This provides ample enclosed storage space without the wardrobe looking cluttered.
Six doors with a continuous horizontal line
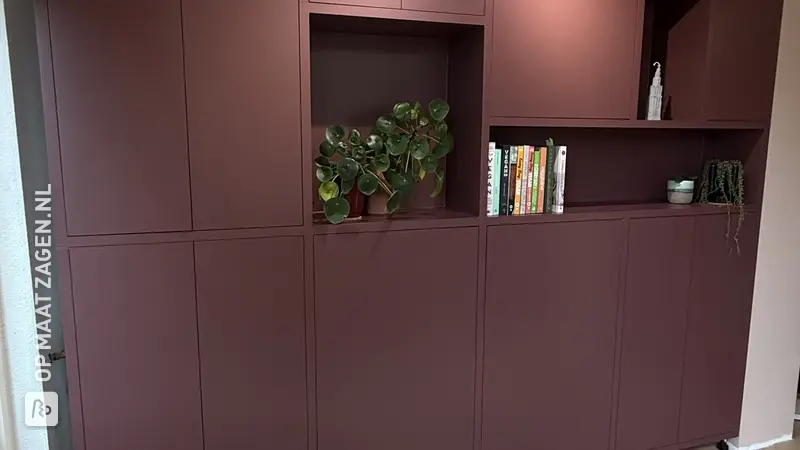
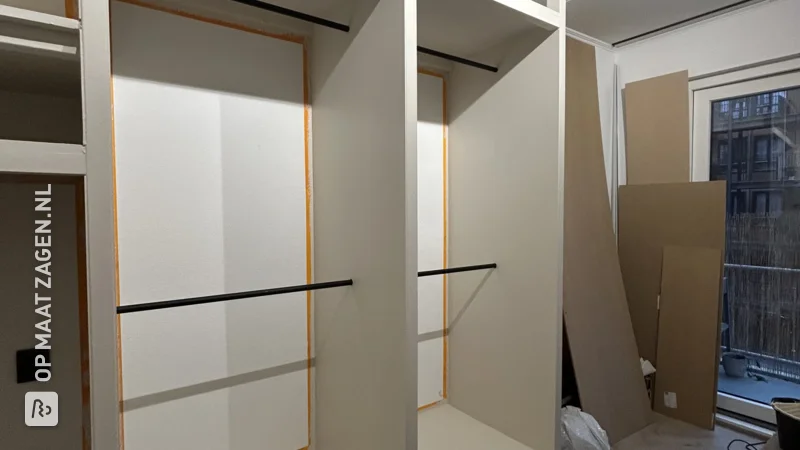
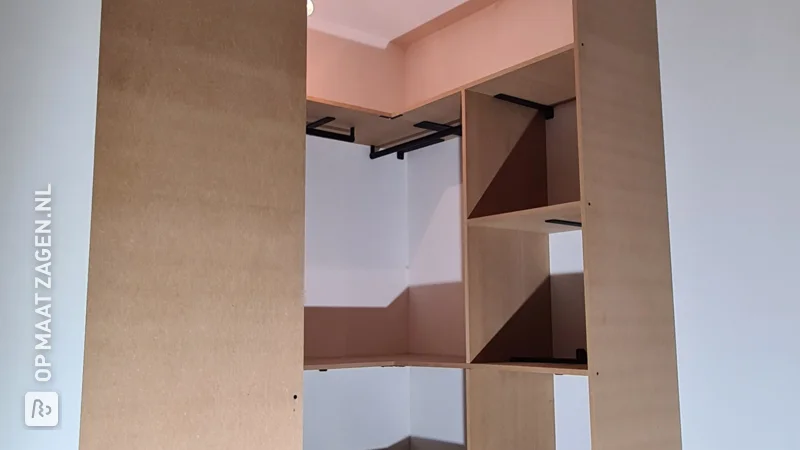
The cabinet has six narrow, rectangular doors with flat fronts. A horizontal seam runs across the full width at the top. In the detail photo of the interior, you can see how the top section is attached to the bottom door part with two metal connecting strips. These strips are out of sight once the doors are closed. A clever detail that creates a unified look for the tall fronts on the outside.
Wooden handles and concealed hinges
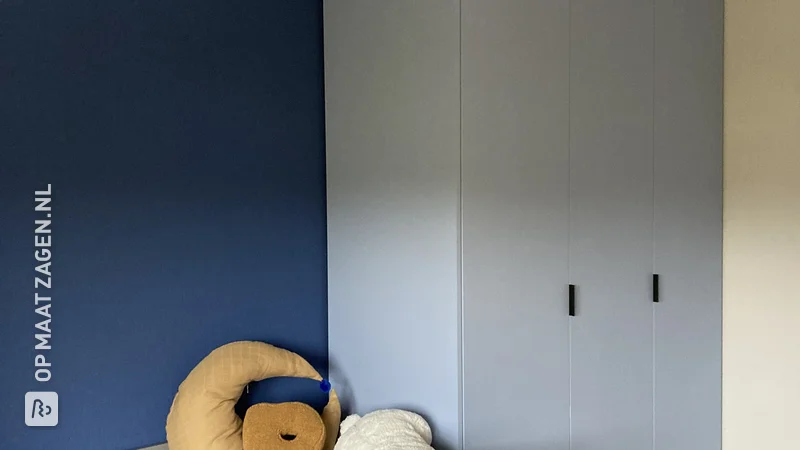
Each door features an elongated wooden pull handle with rounded corners. The visible wood grain provides a natural contrast with the painted MDF. On the inside, you can see a cup hinge: a hinge that is partially recessed into the door and is not visible when the cabinet is closed. Also visible are the white cabinet interior, a shelf, and rows of pre-drilled holes. By carefully adjusting the hinges, you can make the gaps between the doors beautifully even.
Get started yourself with cut-to-size MDF
For this project, OPMAATZAGEN.nl supplied the sheet material cut to size. With that, the foundation for the matching door components was ready, and Luc could proceed with the finishing and assembly himself. In the work photo, you can see the painted parts stacked horizontally, with loose wooden blocks in between and newspapers protecting the workspace. The photo also shows that you don't need a large workshop for such a project, although sufficient space to work safely and allow parts to dry is certainly nice.
Measure carefully and adjust slowly
Do you want to make wardrobe doors yourself? Then measure the opening at several heights and check if the wardrobe is level. When determining your door dimensions, take into account the necessary gaps and the installation instructions for your hinges. Choose the number and type of hinges according to the manufacturer's instructions, suitable for your door size and material. Allow paint to cure completely before stacking parts or mounting hardware to avoid damaging the finish.
Customization that you keep in your own hands
By making it yourself, you determine the dimensions, material, color, and handles. This means you don't have to adapt your design to standard door sizes. You also keep a grip on your budget: you choose the hardware and finish yourself and carry out the installation yourself. Do factor in costs for paint, hinges, handles, and mounting hardware. It is precisely the combination of matching cut work and your own DIY work that makes this an inspiring project.
Scandinavian style
With its light fronts, simple lines, and wooden handles, the finished cabinet takes on a Scandinavian look. There is little ornamentation, but precisely because of this, the warm handles and the even distribution of the doors stand out. The nearly ceiling-high design makes the cabinet feel like an integral part of the room, rather than a standalone piece of furniture.
The sheet material used: MDF Primed
MDF Primed is MDF that has already been primed. This provides a practical base for painted wardrobe doors. The smooth surface has no visible wood grain, allowing you to create a calm, opaque color finish. Before painting, check the application instructions and pre-treat saw edges where necessary: these can absorb more paint than the pre-treated surfaces. With careful sanding, dust removal, and the topcoat, you give your doors a polished look.
Tip! Also check out our handy DIY tips!
Step by step guide
Preparation
- Treat all primed MDF pieces with edge sealer.
- Lightly sand everything and then paint in the desired color. Lightly sand between coats as well.
Montage
- Extend the doors with metal plates so that they fit just below the ceiling, allowing the space above the cabinet to be used as well.
Finish
- Mount the hinges and door handles using templates.
What's in your project?
- Included: Complete kit incl. fittings and instructions
- Included: Design via 3D configurator
- Included: Fully made to your own measurements
- Not included: Edge finish of your choice
- Not included: Round or curved shapes also possible
- Not included: Each part available in a different wood type
Made-to-measure self-build kit
Prefer a complete kit? Design your furniture in our 3D configurator and receive all parts, fittings and instructions in one package.
- Not included: Complete kit incl. fittings and instructions
- Not included: Design via 3D configurator
- Included: Fully made to your own measurements
- Included: Edge finish of your choice
- Included: Round or curved shapes also possible
- Included: Each part available in a different wood type
Inspiration cutlist
Want to make this DIY project? Check out Luc's saw list and complete your order easily.
Materials used

Total price
€ 355,16
Add Luc's cutlist straight to your cart
My experience with OPMAATZAGEN.nl
Order
Delivery
General experience