- OPMAATZAGEN.nl
- Do it yourself
- DIY Projects
Storage unit with custom-made worktop and shelves, by Johan
Storage unit with custom-made worktop and shelves, by Johan

Create this project yourself with sheet material cut to size by OPMAATZAGEN.nl!

Johan designed this entirely themselves: from cutlist to finish. Get inspired by the materials used below — and then think about how you would tackle it. We make sure the wood is accurate to the millimetre; the rest is up to you.
A homemade storage shed with space for DIY projects
A place for your suitcases, tools, and a small job? With a worktop and stacked storage shelves, you make smart use of a storage area. Johan built this project entirely himself, using custom-cut wood from OPMAATZAGEN.nl. The result is an organized combination of workspace and storage, fitting perfectly between the walls.
From individual components to a complete workstation
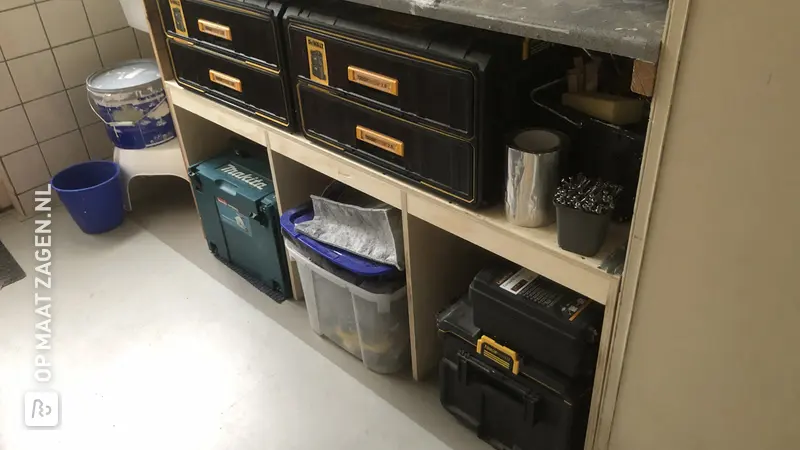
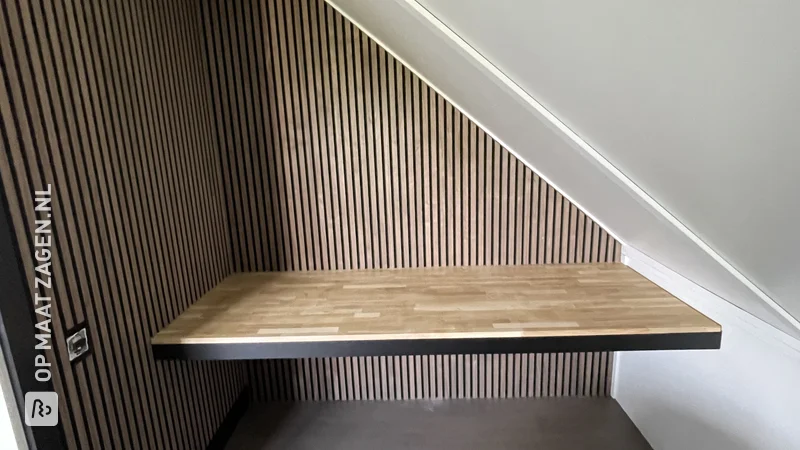
The photos show the assembly step by step. First, narrow, brown strips of various lengths are laid out, with screws already partially tightened. Next, you can see how horizontal strips are attached to the back wall and the two side walls. These provide support for the shelves. The light wall cladding features a visible wood grain and screw heads; above the cladding, the walls are white. The floor is light grey.
A wide worktop on black legs
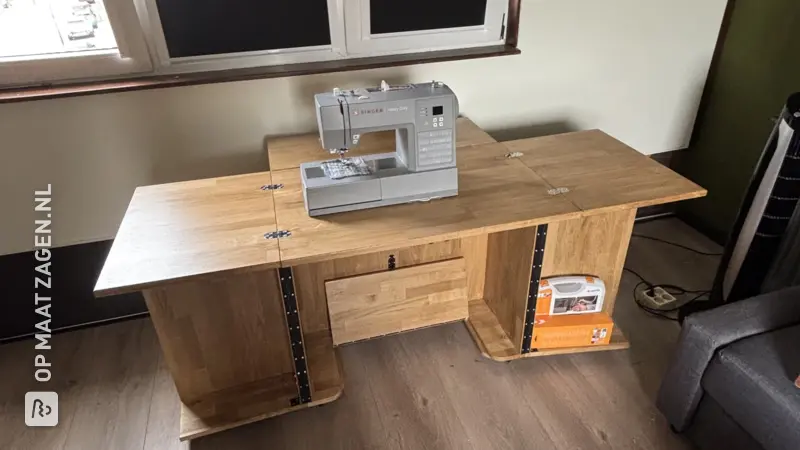
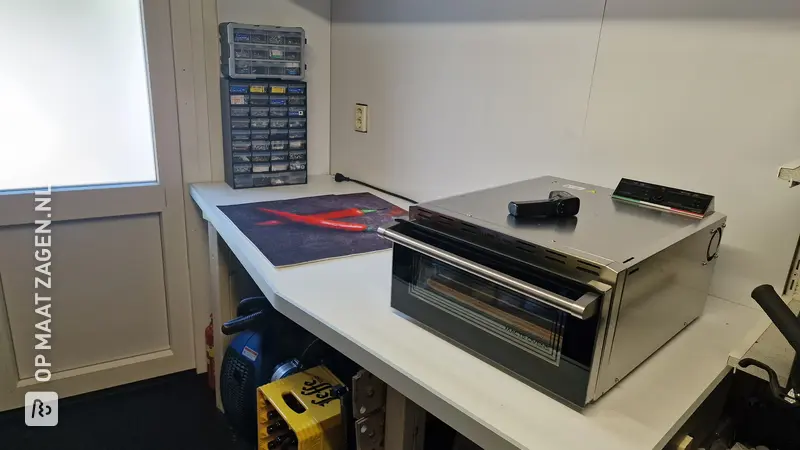
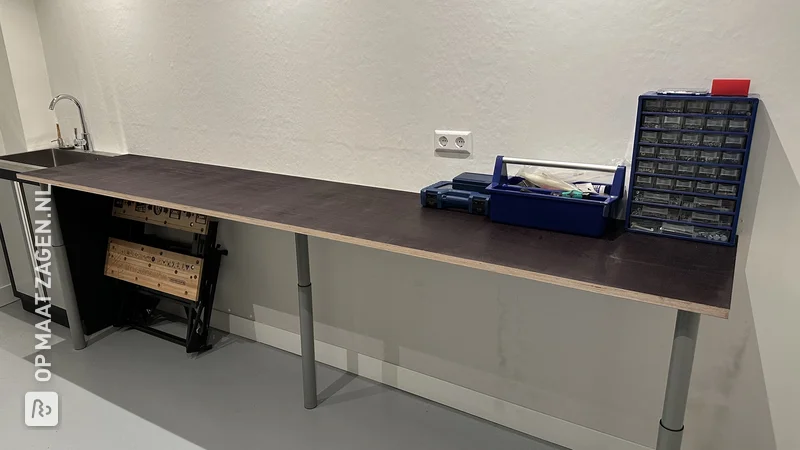
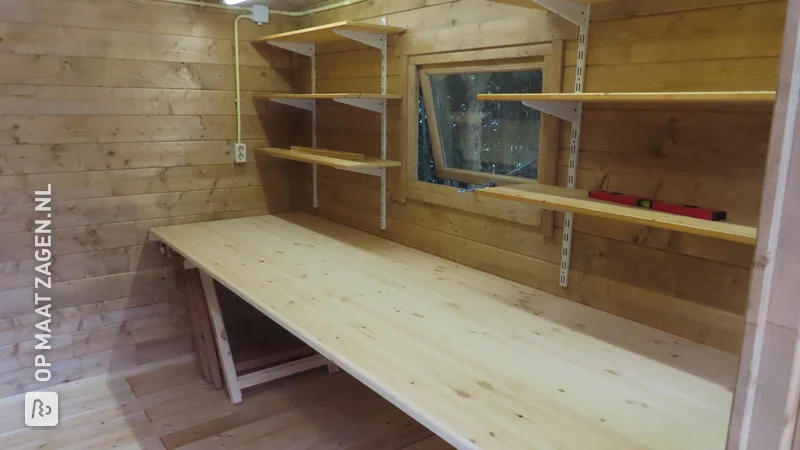
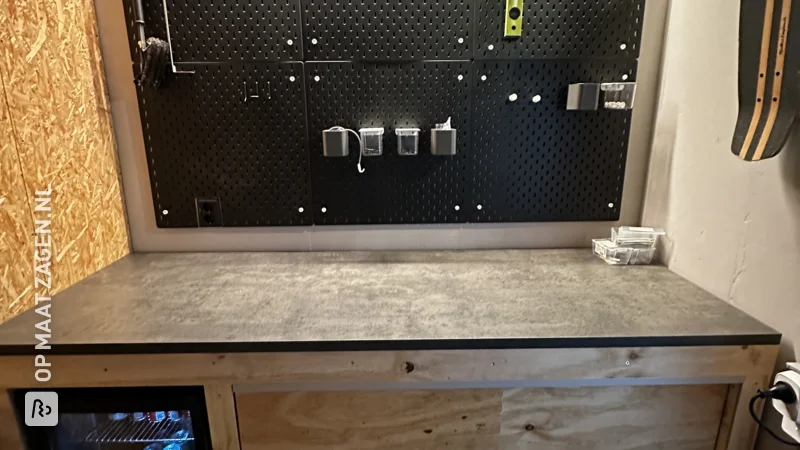
The rectangular worktop runs almost the full width of the storage area and connects to the side walls. It has a natural brown color and stands on four black, round legs. The open space under the worktop leaves room for larger items. In the final photo, you can see bags, a cooler, and a tall red bin, among other things. This way, you utilize not only the work surface but also the space underneath.
Three storage shelves stacked on top of each other
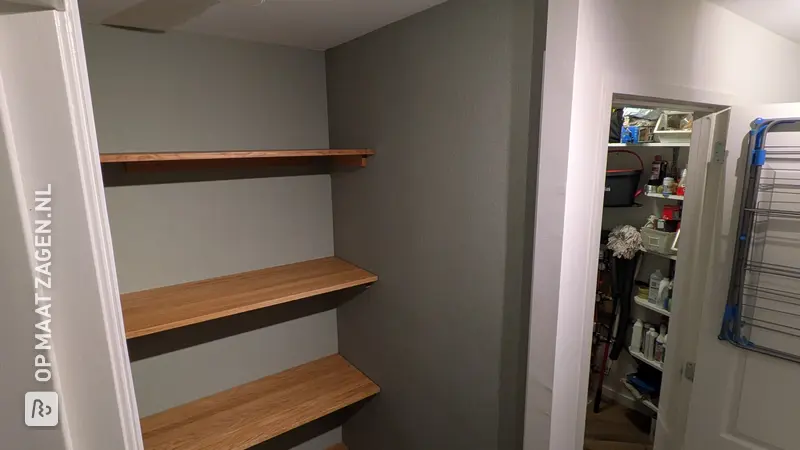
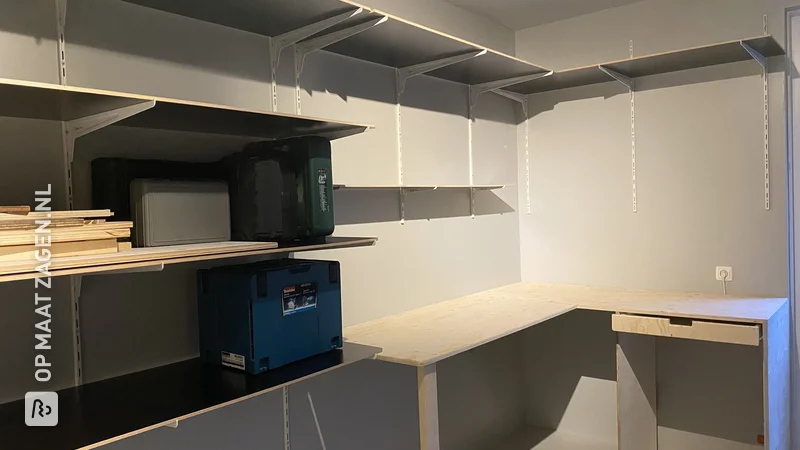
Three wide storage shelves are installed above the worktop. The top shelf accommodates tall boxes, while the other shelves display suitcases, shoes, pots, and smaller packages, among other items. The open layout makes everything clearly visible. A generous section of wall remains free between the bottom shelf and the worktop. Two handsaws and a caulking gun hang there: handy if you want to grab your tools immediately during a job.
Storage space that matches the storage unit
It is precisely in this narrow, high space that custom work truly comes into its own. You utilize the width of the back wall while simultaneously making use of the height. There are no freestanding cabinets on the worktop, leaving you with a continuous surface for small jobs. In the final photo, a large part of that surface is clear, with a tool box on the left. You can immediately see how storage and working can go hand in hand here.
Make it yourself with cut-to-size wood
For this DIY project, Johan used wood that was cut to size by OPMAATZAGEN.nl. He did the assembly and fitting out himself. By having the parts cut to the desired size in advance, you don't have to work with large sheets at home. You can focus your attention on measuring, fastening, and making the parts fit together neatly.
Designing a storage unit yourself gives you freedom: you choose the height of your worktop, the depth of your storage shelves, and the spacing between the different levels. You also tailor your choice of materials and finish to your usage. Furthermore, by assembling it yourself, you can save on installation costs. The final cost depends on the dimensions, the material, and the chosen mounting method.
Practical tips for your own layout
Measure the width at multiple heights before ordering: walls are not always perfectly straight. Determine the distance between your shelves based on the items you want to store and check the mounting strips with a spirit level. Choose screws and any wall plugs that match the surface. This ensures a clean and tidy installation.
Functional workshop style
The fitted storage unit features a simple, functional workshop style. The natural brown countertops, the light wood grain on the walls, and the black legs combine to create a calm base. No cupboard doors or decorations, but open shelves and tools within easy reach. This creates a personal workspace where everything has its own place.
The sheet material used: MDF Natural
MDF Natural is the specified sheet material for this project. It has an even, smooth surface without wood grain, making it pleasant to use for sleek worktops and storage shelves. It is easy to work with and paint if you want a different look later. For a painted finish, use a suitable MDF primer and pay extra attention to the absorbent saw edges. MDF Natural is intended for dry indoor spaces: keep this in mind if you are furnishing a storage area yourself.
Tip! Also check out our handy DIY tips!
Step by step guide
Preparation
- Select the type of wood, determine/calculate the desired thickness, and measure the structure.
Montage
- Drill holes in the support battens and partially screw in the screws. Determine the heights of the shelves and screw the battens securely into the wall, ensuring they are level. The shelves rest loosely on top.
Finish
- This little project is purely practical and requires no further aesthetic finishing.
What's in your project?
- Included: Complete kit incl. fittings and instructions
- Included: Design via 3D configurator
- Included: Fully made to your own measurements
- Not included: Edge finish of your choice
- Not included: Round or curved shapes also possible
- Not included: Each part available in a different wood type
Made-to-measure self-build kit
Prefer a complete kit? Design your furniture in our 3D configurator and receive all parts, fittings and instructions in one package.
- Not included: Complete kit incl. fittings and instructions
- Not included: Design via 3D configurator
- Included: Fully made to your own measurements
- Included: Edge finish of your choice
- Included: Round or curved shapes also possible
- Included: Each part available in a different wood type
Inspiration cutlist
Want to make this DIY project? Check out Johan's saw list and complete your order easily.
Materials used

Total price
€ 293,24
Add Johan's cutlist straight to your cart
My experience with OPMAATZAGEN.nl
Order
Delivery
General experience