- OPMAATZAGEN.nl
- Do it yourself
- DIY Projects
Homemade Toilet Vanity Cabinet Surround, by Jurriën
Homemade Toilet Vanity Cabinet Surround, by Jurriën


Create this project yourself with sheet material cut to size by OPMAATZAGEN.nl!

Jurriën

Average
2 minutes
A Stylish Addition to the Toilet
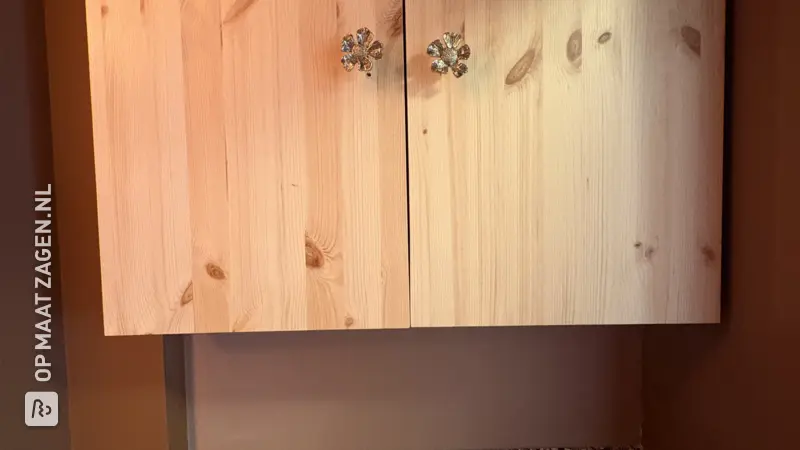
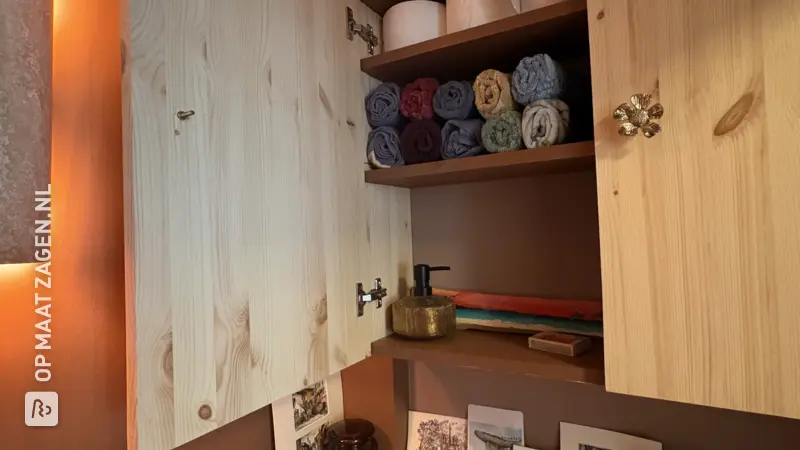
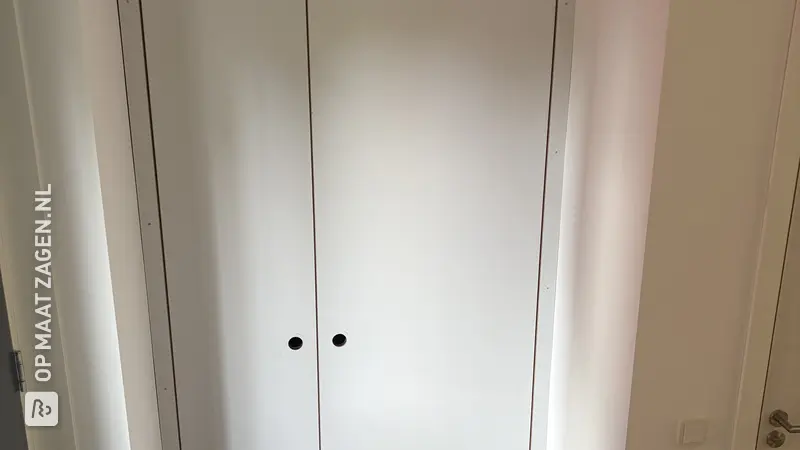
Discover Jurriën's creation: a beautiful, handmade vanity unit for the toilet. This unique piece of furniture is not only stylish but also functional; it creates a tidy appearance by neatly concealing the pipes and providing extra storage space.
The Structure and Materials
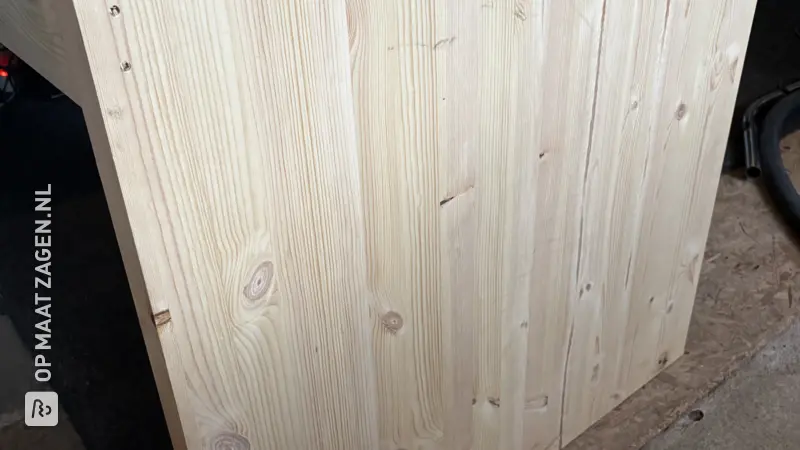
The cabinet is made of Timberboard Pine light, carefully cut to size by OPMAATZAGEN.nl. This light wood gives the furniture a natural and serene appearance that perfectly complements the calm colors of the toilet. The cabinet features clean, minimalist lines and convenient round handles, contributing to a modern look.
Space Optimization
Strategically placed next to the toilet and under the sink, this vanity unit makes optimal use of limited space. The cabinet offers storage space without compromising freedom of movement in this often small room.
The Advantage of Cut-to-Order Wood
With cut-to-size wood, you can take control of the design and execution yourself. It offers you the freedom to choose materials and dimensions that perfectly match your personal taste and interior. Moreover, it is often more budget-friendly!
Timberboard Pine light: A Sustainable Choice
Timberboard Pine light is a popular choice for DIY projects due to its durability and ease of workability. It is lightweight and easy to work with, making it an excellent choice for both beginners and experienced DIYers.
So, are you also ready to make your own vanity unit? With the right materials and a little help from OPMAATZAGEN.nl, you too can transform your bathroom into an organized and stylish space.
Tip! Also check out our handy DIY tips!
Step by step guide
Preparation
- Sketch the cabinet and then measure the space where the built-in unit needs to go. If there are slanted walls, work from the sections that are straight and mask off with painter's tape as a reference throughout the project.
Montage
If the walls and floor are crooked in various places, work from points that are straight and/or level. You cannot correct the crookedness of the floor, but you can level the base board using adjustable feet. If the wall against which the cabinet rests is crooked, measure the depth at various points from the tapped spot to determine how the back of the board needs to be cut. This can easily be done with a jigsaw. After that, you can screw the outer boards in place. I chose small corner brackets, which are easy to screw on. Mark the sink on the top panel and cut it out with a jigsaw or handsaw. Next, you can mount the inner boards. Then the doors; this is easily done with a door hinge set, which allows you to drill holes for the hinges in the correct location. Finally, you can drill the cabinet into the tiles so that it remains stable.
Finish
Seal everything with silicone sealant and adjust your hinges so that the doors hang straight next to each other.
What now?
Want to make this DIY project? Check out Jurriën's saw list and complete your order easily.
€ 144,45
View all sheet materials
My experience with OPMAATZAGEN.nl
Order
Delivery
General experience