- OPMAATZAGEN.nl
- Do it yourself
- DIY Projects
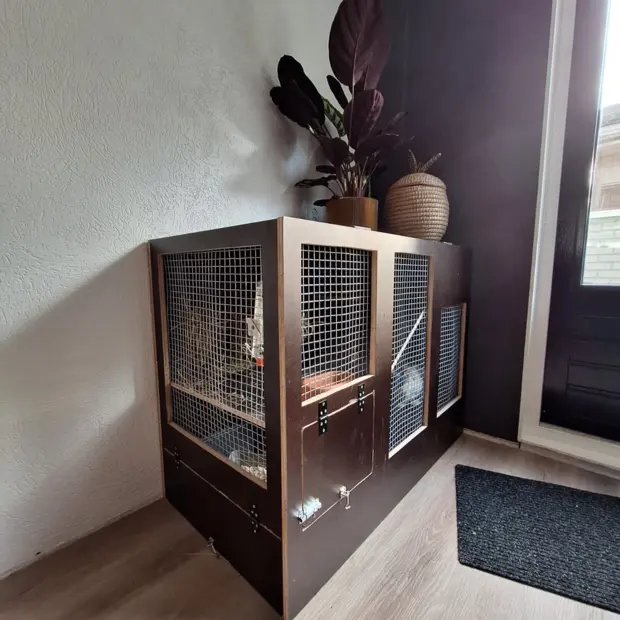
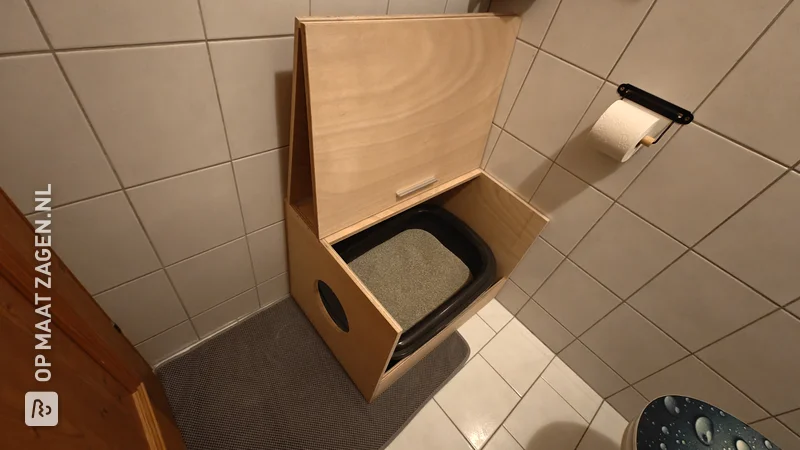
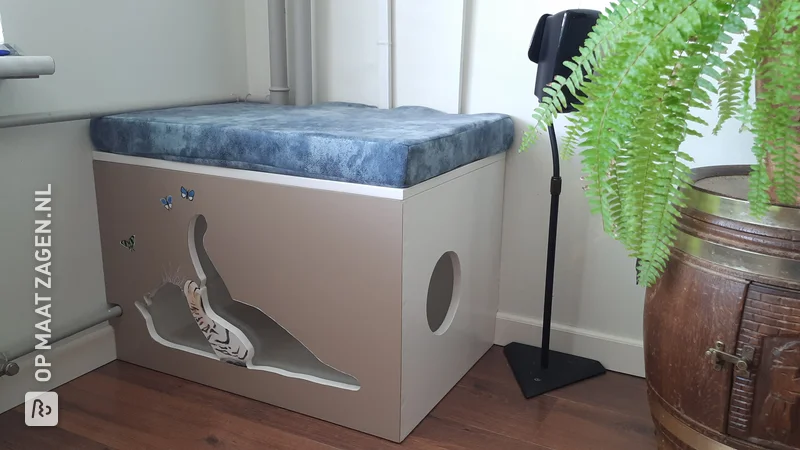
Make your own box for the litter box, by handyman expert Ivonne
Make your own box for the litter box, by handyman expert Ivonne
Create this project yourself with sheet material cut to size by OPMAATZAGEN.nl!
Ivonne
Above average
3 minutes
Discover how to make your own cat litter box with the help of handy DIY tips. This DIY guide will walk you through the process of creating a functional and aesthetically pleasing cabinet to discreetly hide the litter box. Learn how to choose materials, determine dimensions and implement smart solutions to create a tidy and stylish space for you and your cat.
Description
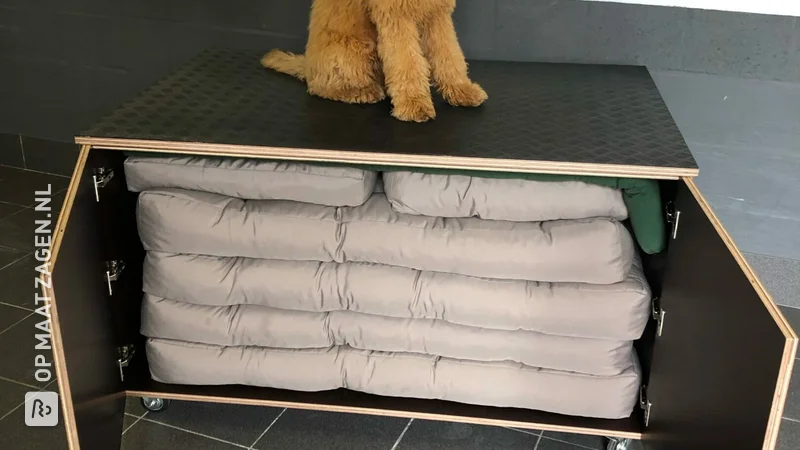
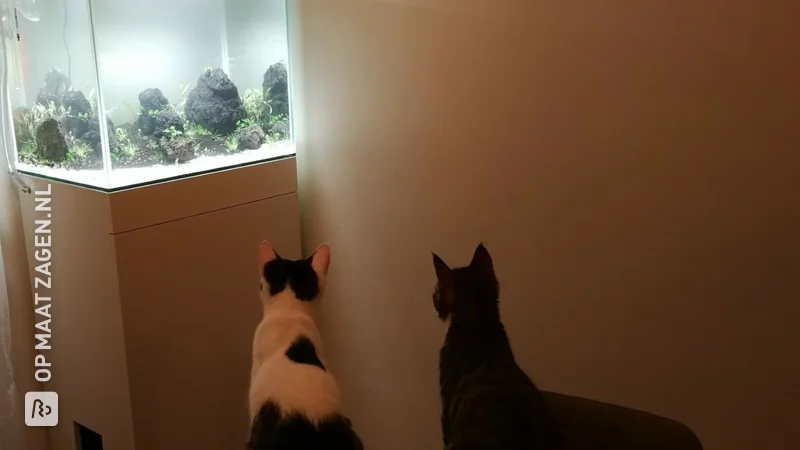
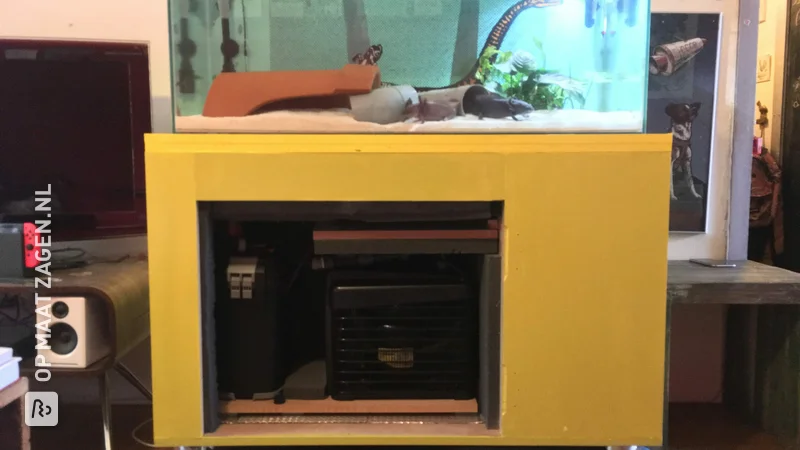
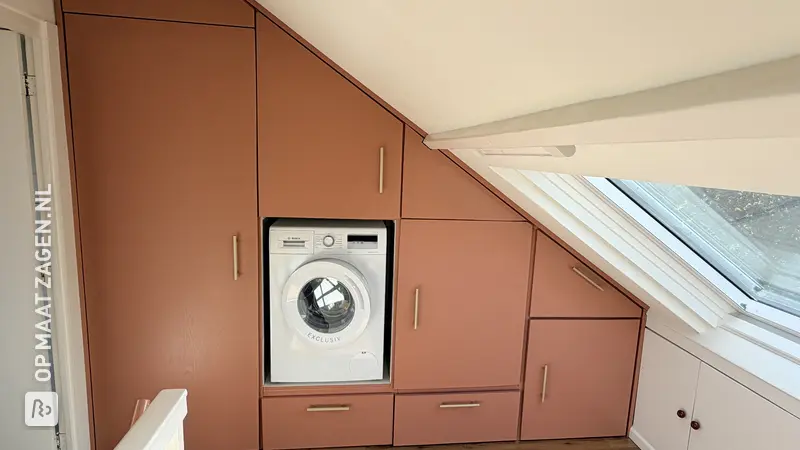
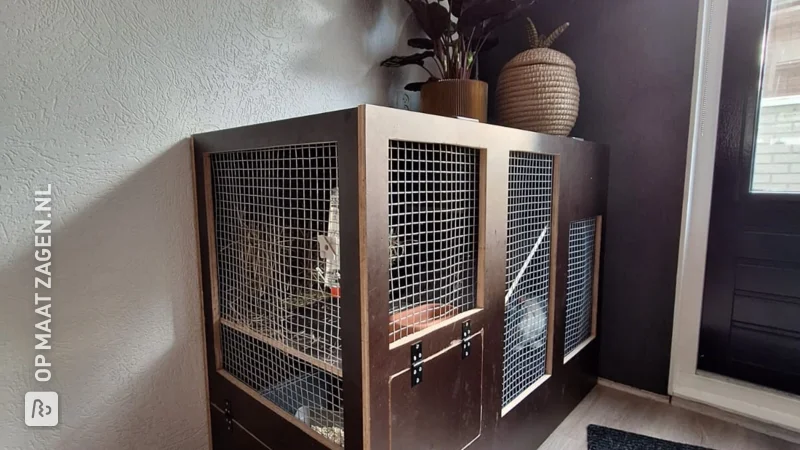
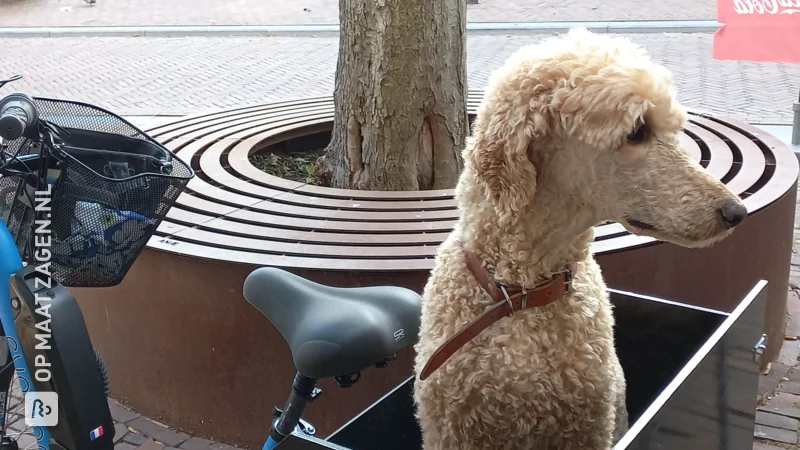
Do you have a cat? And is the litter box also such an eyesore in your interior? We have come up with a solution! Hide the litter box in a nice cupboard, so that your cat can do its business in peace and it does not bother you as much. How do you do that? Read it step by step here.
How I made this project
Cut to size:
- See attached cutting list
Tools:
- Drill
- Wood drill 1.5 mm
- Screws 3x16 and 4x40
- Piano hinge brass 25 mm x 100 cm
- Hack saw
- Chair corner 40x15 mm (10 pieces)
- li>
- Magnet snapper (2 pieces)
- Wood glue
- Construction glue
- Tape
- Pencil and tape measure
Optional:
- Carpet tile
- Snap-off knife
Step by step explanation
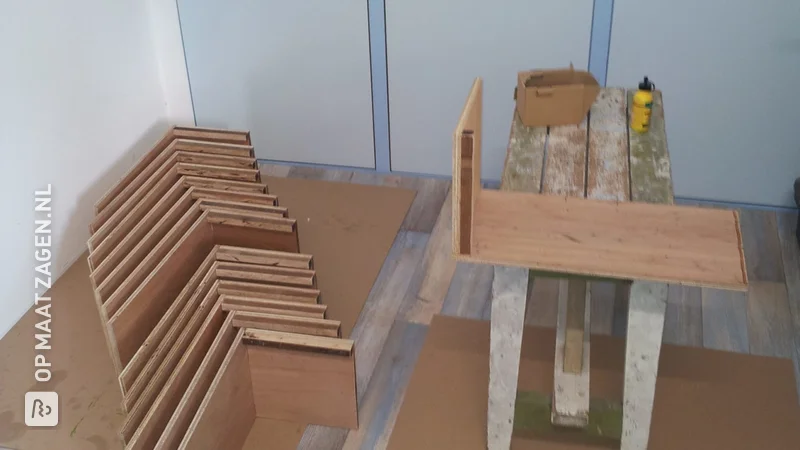
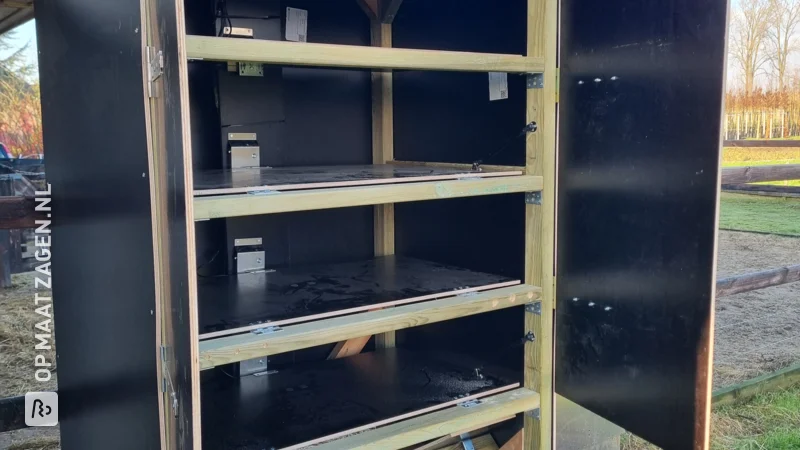
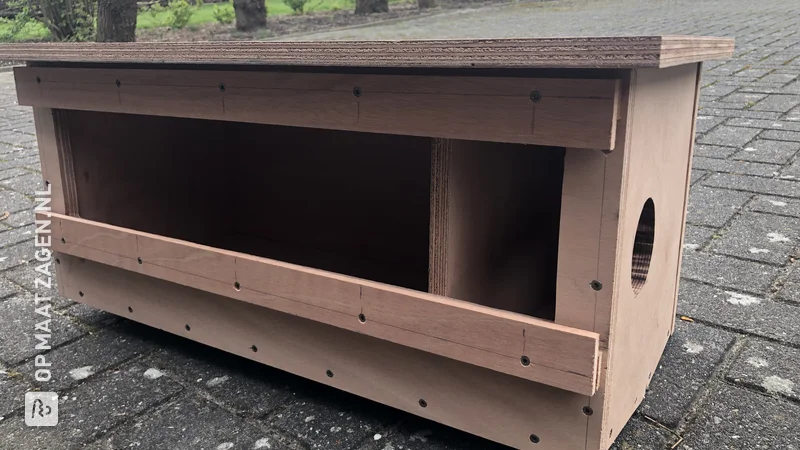
We have already sawn all the material accurately to the millimeter. It's your job to attach the planks together. You do this as follows:
Step 1:
Get all your materials and tools ready for use. This takes a little more time upfront, but it helps enormously if everything is within reach during the job.
Step 2:
Start with the bottom and side of the cabinet. Attach the side to the bottom with the corners and make sure that the corners fall far enough inwards to give enough space for the doors and the back wall.
Step 3:
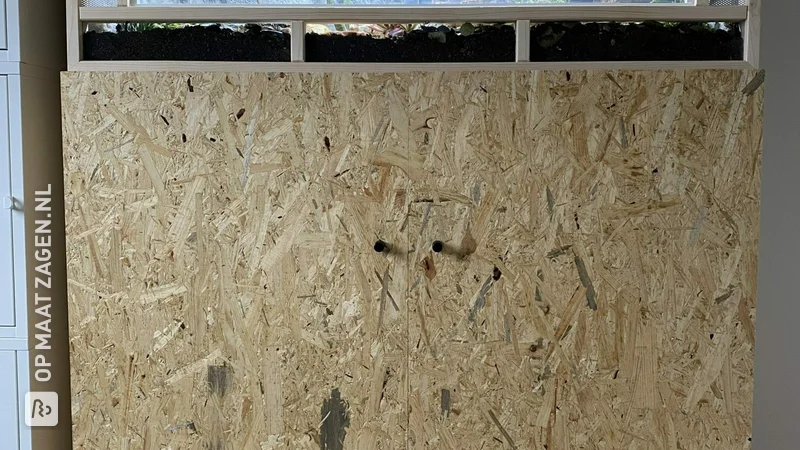
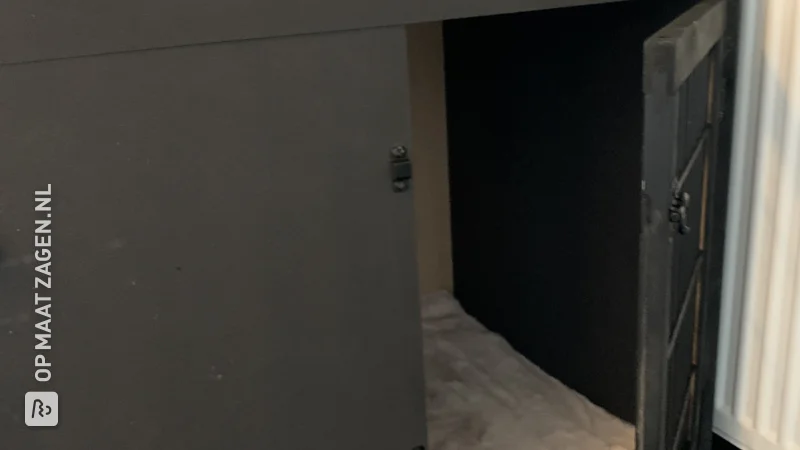
Then confirm the back wall, top and the dividing wall in the same way. Take into account the position of the chair corner on the back wall: make sure that it is not visible outside the dividing wall.
Step 4:
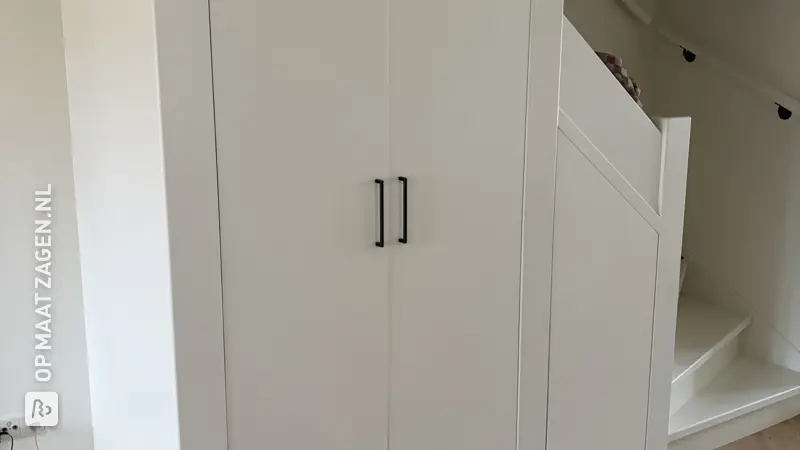
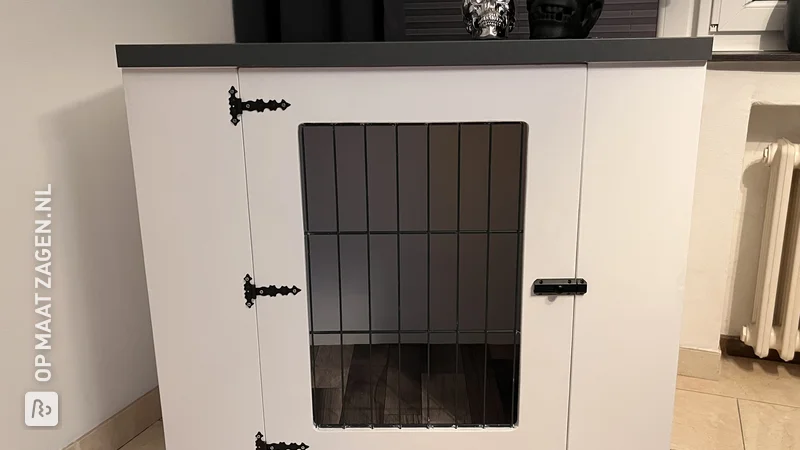
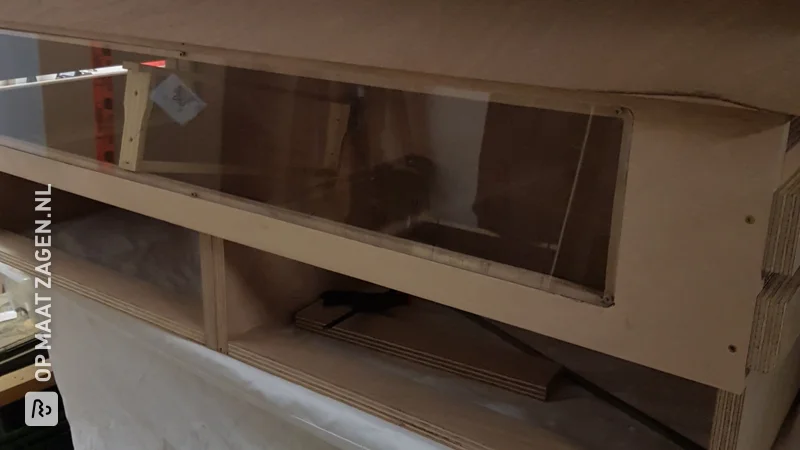
Attach the doors with the piano hinge. First cut the hinge to size with a hacksaw and then attach the hinge to the front side of the door. It is very important to pre-drill the screw holes in the end of the board! Otherwise the material will split. You can then screw the hinge to the cabinet. To ensure that the doors stay closed, screw the magnetic catch on the inside of the cabinet and the metal plate on the doors.
Step 5:
Attach the doorknobs to the doors. You can easily sand away pencil lines from marking.
Step 6:
For the legs, glue the parallelogram shapes onto the rectangular shapes. You can easily remove excess glue with a damp cloth. Then screw them together for extra strength. You can then screw them to the bottom.
Step 7:
If you want to attach carpet to the sloping side, cut it to size first. To cut straight, you can use the plank as a guide for the knife.
Step 8:
Glue the sloping side with construction adhesive. By taping the plank, it cannot shift while the glue dries. You can use two more screws at the bottom for extra strength.
Step 9:
Once the sloping side has dried, you can remove the tape and glue the carpet on it. We also used construction adhesive for this. Also tape this down while drying!
Step 10:
Time to enjoy the end result! Place the litter box behind the doors and you have turned an 'eyesore' into an eye-catcher in your home!
Dimensions of my DIY project
~90.0 x ~40, 0 x ~50.0 cm
Tip! Also check out our handy DIY tips!
What now?
Want to make this DIY project? Check out Ivonne's saw list and complete your order easily.
€ 194,94
All materials used
View all sheet materials


.webp)