- OPMAATZAGEN.nl
- Do it yourself
- DIY Projects
A beautiful homemade plywood dog crate by Shara


Create this project yourself with sheet material cut to size by OPMAATZAGEN.nl!
Shara
Average
3 minutes
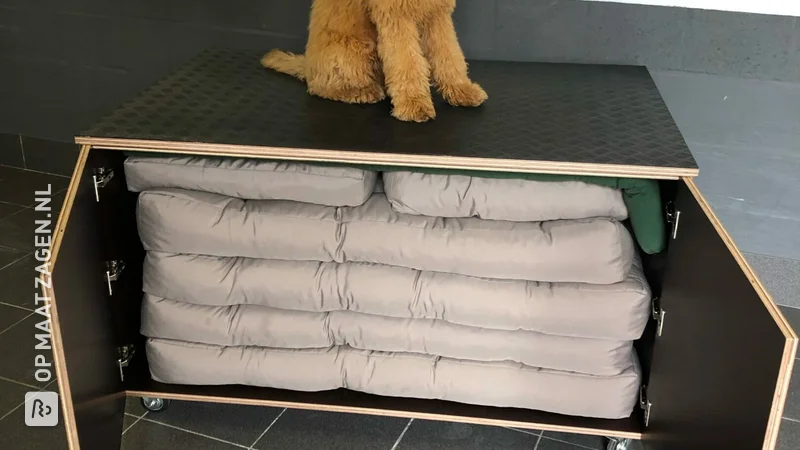
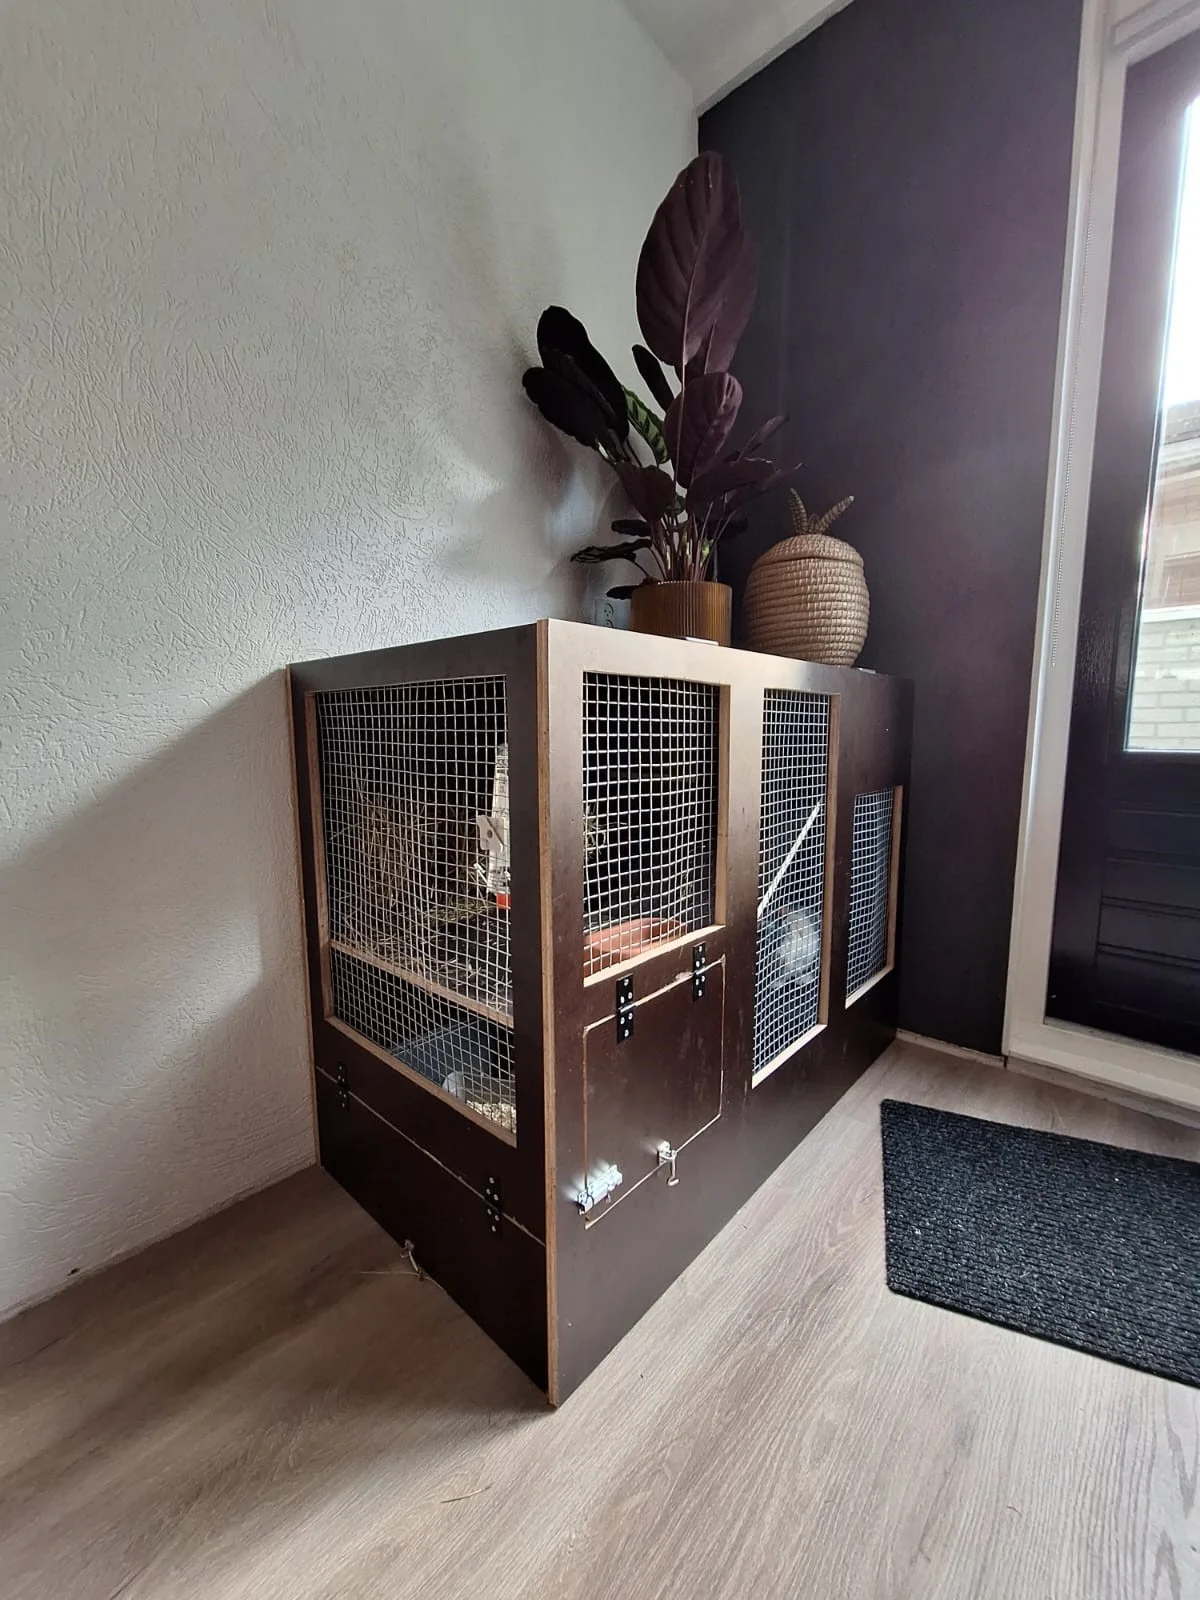
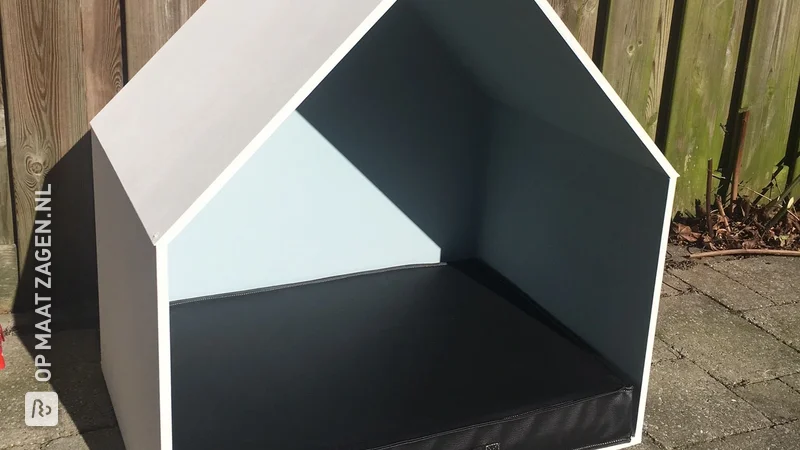
How nice is it to make a beautiful dog crate for your Labrador yourself? Shara got to work with custom poplar plywood. The result is a truly unique piece of furniture. Which, in contrast to many commercially available benches, looks very nice in the living room. And the dog loves it!
Description from Shara
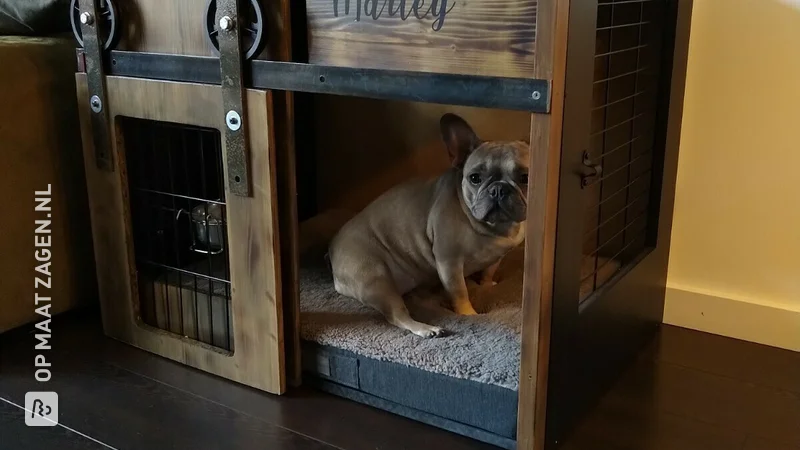
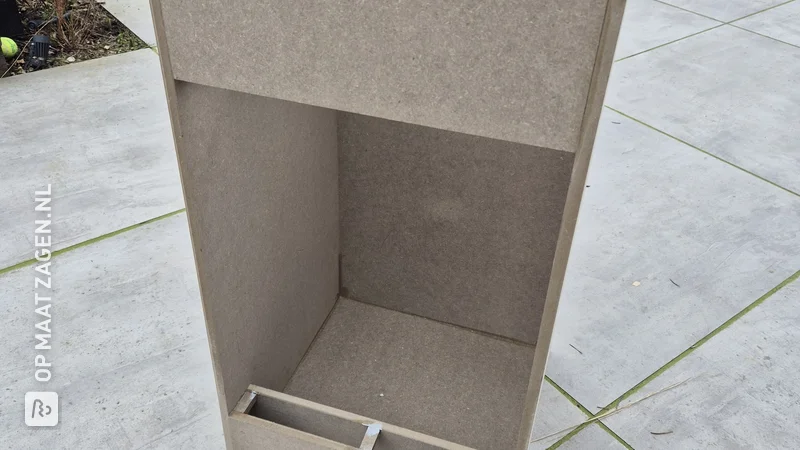
Do it yourself... Since there are no affordable and at the same time visually appealing dog crates to buy, I have now built a dog crate furniture myself (H: 86 W: 100cm D: 60cm).
How I did this project
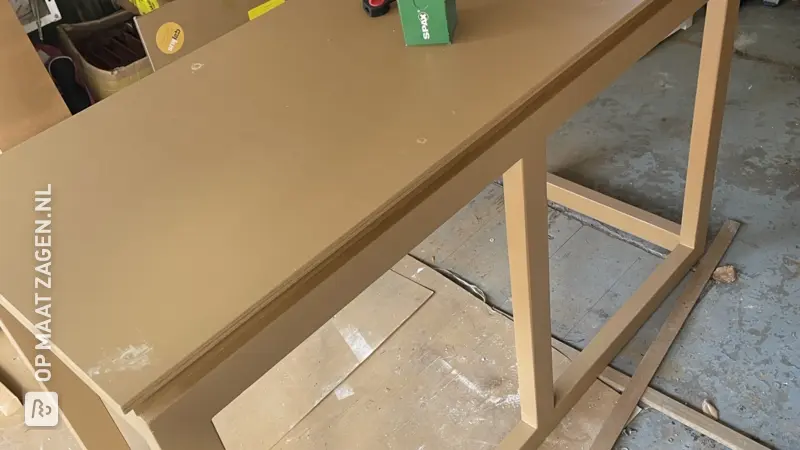
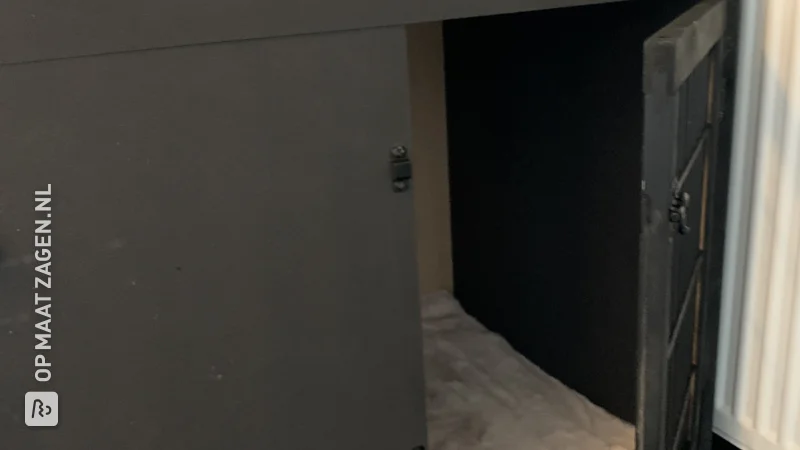
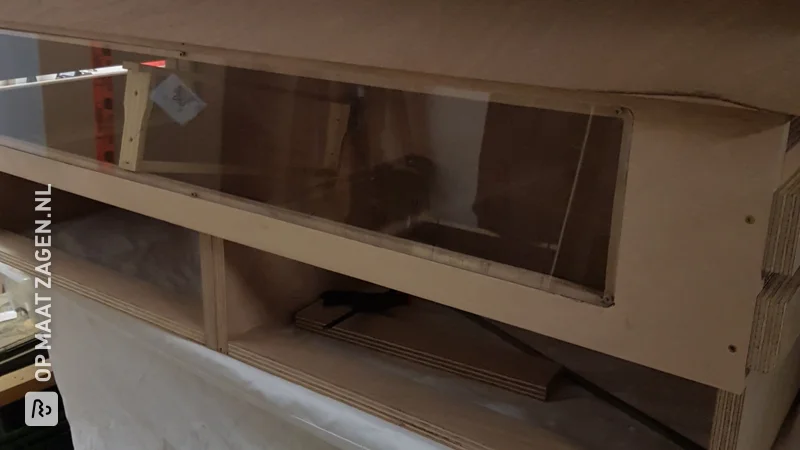
The box: - First, varnish all 18mm wooden panels - Then screw the panel for the back wall (81.8cm x 100cm) from behind to the base panel (100cm x 60 cm). - Then screw both side panels (80cm x 58.2cm (I made a mistake here and ordered 80cm x 60cm, which is why I had to saw off another 1.8mm) to the bottom panel and to the rear panel from behind. - Then screw the two narrow panels for the front (20cm x 80cm) to the bottom panel and to the side panels from the front. - Then screw the roof battens on from above, put the kitchen worktop (100cm x 63.5cm) on top and screw it to the box's basic frame from below through the battens. Now for the door: - Draw a frame on both 9mm panels (20cm from the edge on all four sides and round off the corners) - Saw out the frame - Cut the bar mat (fence) to the right size (50cm x 80cm) and place it on the frame. - Mark the bars on the panel and mill grooves into the frames at these points. - Insert the bar mat into the grooves between lay the two frames and when everything fits, apply glue over the entire surface and screw both frames together with the rod mat in between. - Paint the frame of the door. Now attach the door to the box with hinges and attach a latch to the other side. All screws were screwed in countersunk and then filled with white wood filler. Give all parts where the screws were filled a final coat of paint. Now all that's missing is a suitable cushion or mat. I glued PVC in here and cut an old topper to the right size, for which I then sewed a nice cover. I also screwed 8 castors underneath so that the box can be easily moved for cleaning. Done - our Labrador bitch loves her new box.
Dimensions of my DIY project
H: 86 W: 100cm D: 60cm (plus castors)
Tip! Also check out our handy DIY tips!
What now?
Want to make this DIY project? Check out Shara's saw list and complete your order easily.
€ 358,87
View all sheet materials




.webp)

