- OPMAATZAGEN.nl
- DIY tips
Making your own bar
Making your own bar
Would you like to make your own bar? For in your kitchen, for example, as an extension of your kitchen island or for in the garden? In this article, we explain what to look out for when making your own bar.
Neste artigo:
- Como fazer a sua própria barra à medida
- Que materiais são necessários para fazer uma barra
- How to make a drawing for a bar to size?
- How high to make a bar
- How much legroom do you need under a bar
- What base do you use for a bar
- How to connect the sheet materials of a bar What material to use for a bar
- Examples of bars made by our handymen
- Getting started with your own bar
How to make your own bar to size
What do you want to make a bar for? Perhaps you want to extend the kitchen island in your kitchen, as we see with many of our handymen. Or do you opt for a separate bar table?
Making your own bar doesn't have to be complicated. Good preparation is already a big part of the job. And well-sawn wood material too, of course. So order your board material from OPMAATZAGEN.nl, and you can be sure that it will be delivered to your home exactly to size. That will save you a lot of work!
What stuff do you need to make a bar
Before starting your own bar, it is wise to get the following items ready:
- Cordless drill: to easily pre-drill holes and turn the screws in your sheet material
- Checkered paper, pencil, eraser, ruler: to make a drawing of your bar
- Dowels or corner joints: it depends on how you want to connect the different boards of your bar table together
- Primer, edge sealer, lacquer: most timbers from OPMAATZAGEN.nl have yet to be finished worden
- Screws: to connect the different parts together
- Sandpaper: always handy to have on hand to smooth away unevenness or to neatly sand your drill holes
- Tape measure or folding rule: always handy to have on hand to smooth away unevenness or to neatly sand your drill holes
- Level: to build everything nice and straight
How to make a drawing for a bar to size
By making a drawing or sketch first, you will think carefully about the design and realisation of your bar. How will you mount the base? Will you attach one side of the bar to the wall? Moreover, you also need to know the exact sizes of all the sheet materials, so you can easily order them later from OPMAATZAGEN.nl.
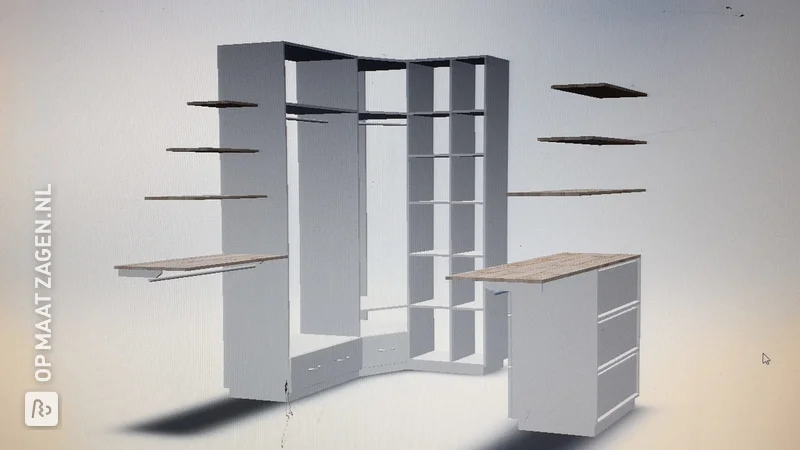
You can make a sketch with graph paper, a pencil, ruler and an eraser. Are you going for a more complicated design, like handyman Sander with his multifunctional bar cabinet? Then it is better to use a digital programme, such as SketchUp or FreeCAD.
While drawing your design, also think about how you will connect different sheet materials. Will you use corner anchors or dowels? Will you have the boards mitred cut or not? And maybe you want to have the top of your bar cut in a certain shape. That too can be done at OPMAATZAGEN.nl.
Ultimately, it's about working out the sketch so that you know the exact measurements of all the materials needed.
Tip: you can mark each board with the label of your choice when you place your order. That way, once your wood is delivered to your home, you will know exactly which board belongs where in your design.
How high to make a bar
The height of your bar depends on a number of factors. If you want a bar that connects to an existing kitchen worktop, then it's obvious to keep the same height. Should you have more influence on the height of your bar, keep in mind that the average height of a bar is 95.0 to 110.0 centimetres. That leaves enough room to sit comfortably at it.
Do you already have stools you want to put underneath? Then determine the final height of your bar based on that.
How much legroom do you need under a bar
You obviously want to be able to fit your legs well under your bar table. Therefore, keep a distance of 25.0 to 30.0 cm between the seat of your bar stool and the bottom of the bar.
What base do you use for a bar
For a bar, you can make the base in different ways. For example, you can use table legs and screw them under the table top. Another option is to use a steel frame.

How to connect the sheet materials of a bar
Among our handymen, we see many bar tables where the legs also made of sheet material are made. This gives the whole thing a nice, unified look and is very sturdy.
How do you connect the sheet materials if you choose to do this? Then you have a number of options:
Corner anchors
By screwing corner anchors under your bar table, you can firmly join the different boards together. Pre-drill the holes first, though.
Screws and glues
You can also simply screw the boards together. Combined with wood glue, this also ensures a sturdy connection. Do pre-drill the holes and finish the screw holes neatly with putty.
View our range of handyman supplies
Dowel connection
With a dowel joint, you drill holes in both materials. Use a drill stop or a piece of tape on the drill bit to avoid drilling too deep. Then use wood glue to insert the dowels and join the boards. A nice, solid connection, which you won't see on the outside.
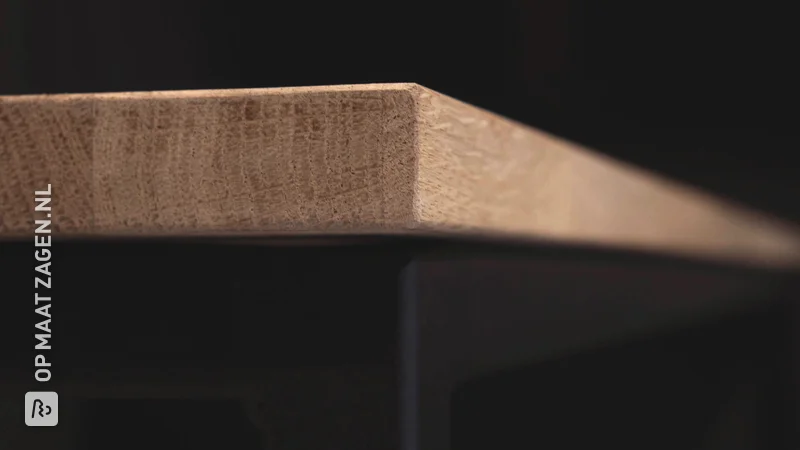
Mitre joint
You can OPMAATZAGEN.nl choose to have the boards mitred for an even nicer finish on the corners. You can then glue the boards together.
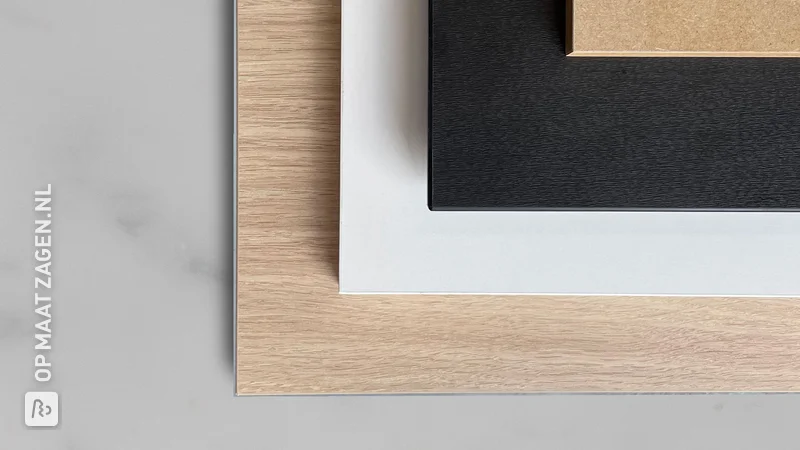
What material do you use for a bar
You can use almost any of the materials in our range for a bespoke bar. Just what you like. Think MDF, plywood, plywood, concrete plywood, furniture panels or joinery panels. In the DIY projects of our handymen, we often see the use of plywood and carpentry panel.
Plywood
Plywood boards are great for bars, as it is a versatile and strong material. We have many variants of this type of wood available in our webshop. Think poplar, birch, okoumé or a variant with a top layer.
Plywood has a natural appearance, just like solid wood. Because several layers are glued together crosswise, a strong board is created.
Timberboard
Timber panel is widely used in furniture and interior design. It is a very suitable material for making a bar. Carpentry panels consist of solid (glued) elements. Will you go for a plain matt black look or a warm, luxurious red cherry look?
Examples of bars made by our handymen
You don't have to come up with everything yourself. Our handymen preceded you in making your own bar. Below you will find the inspiration you need, take advantage of it!
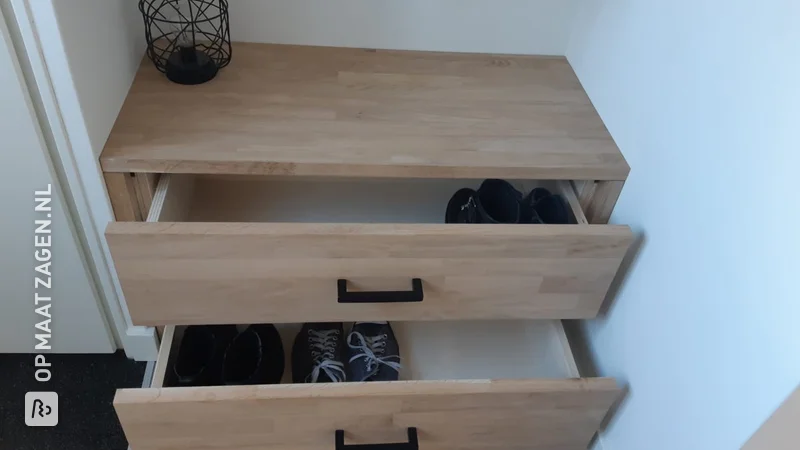
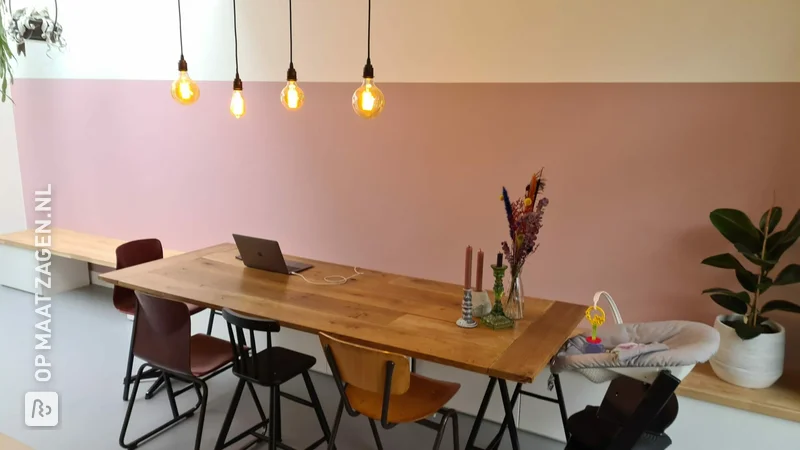
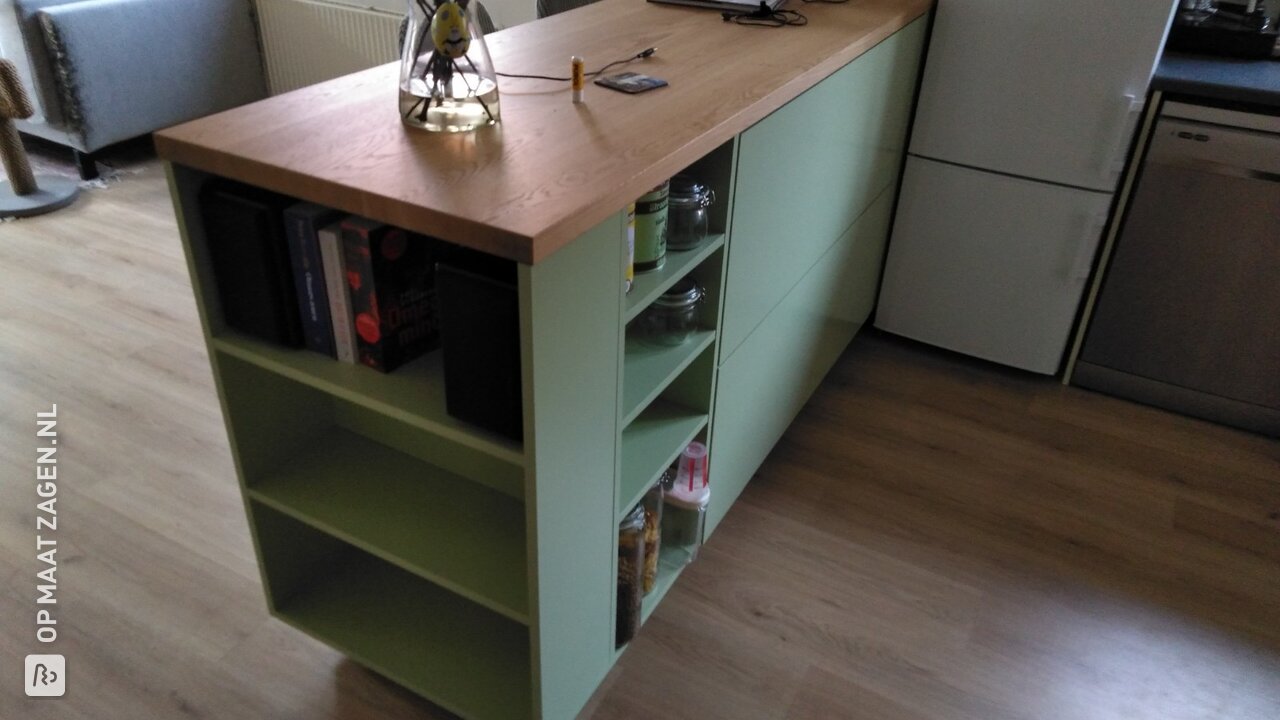
Kitchen worktop extension
Hilda decided to extend her kitchen worktop considerably with a solid wood lumber panel. She treated this with a colourless oil, which gives it a nice, rustic look.
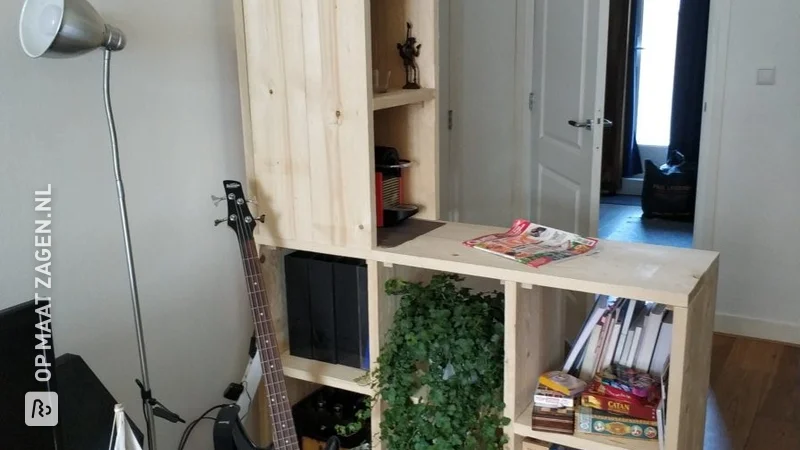
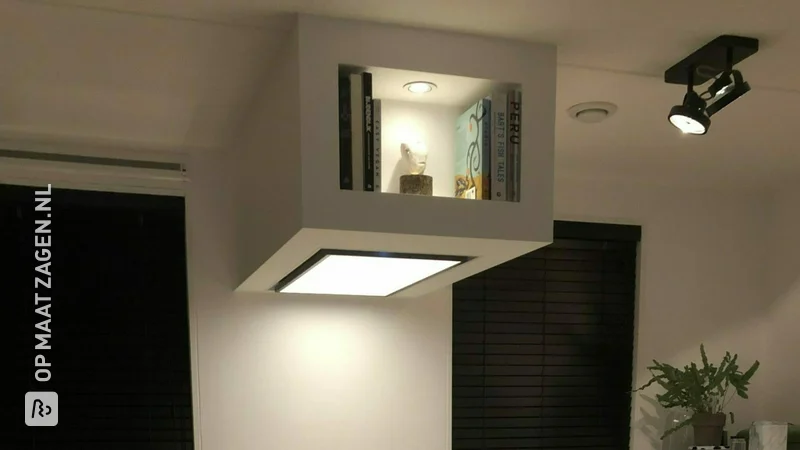
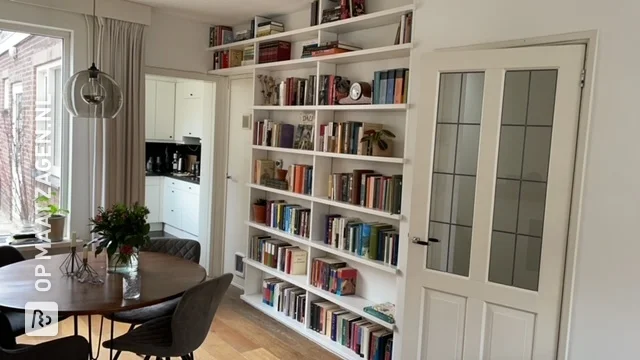
Bar running through into bookcase
A continuous bar in a bookcase and with a wine fridge underneath? For handyman Andre, that's no problem at all.
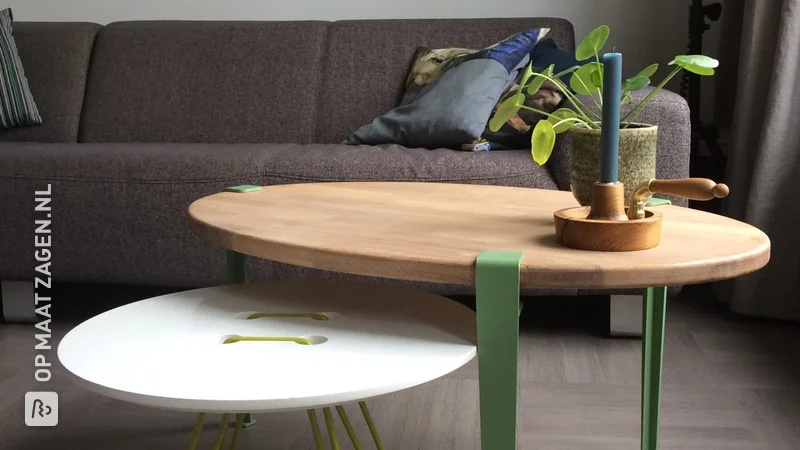
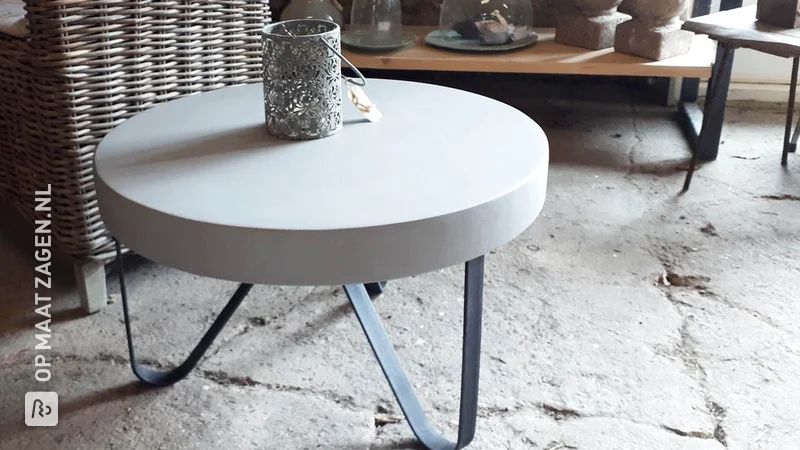
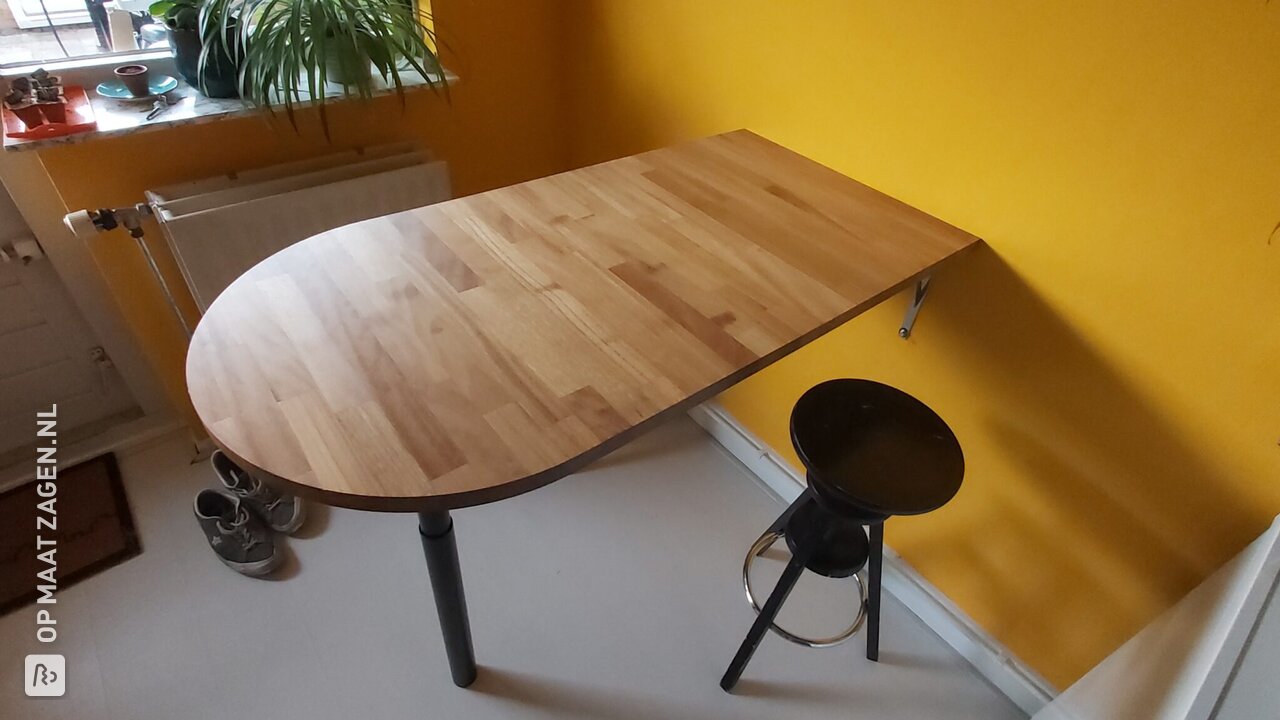
Bar table in unique shape
A bar table does not have to be rectangular it can also be beautifully rounded. Roy ordered this rounded tabletop from us and turned it into a beautiful bar table.
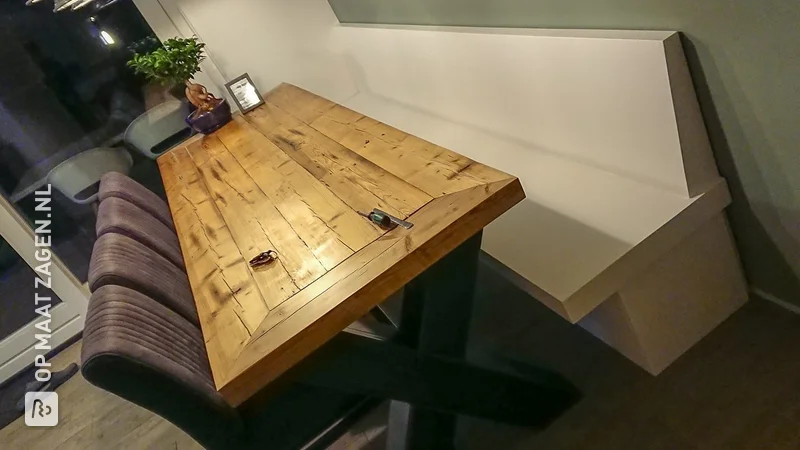
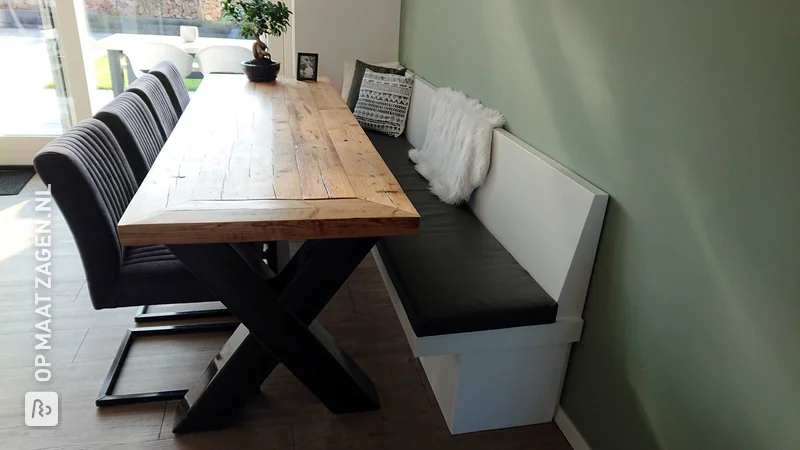
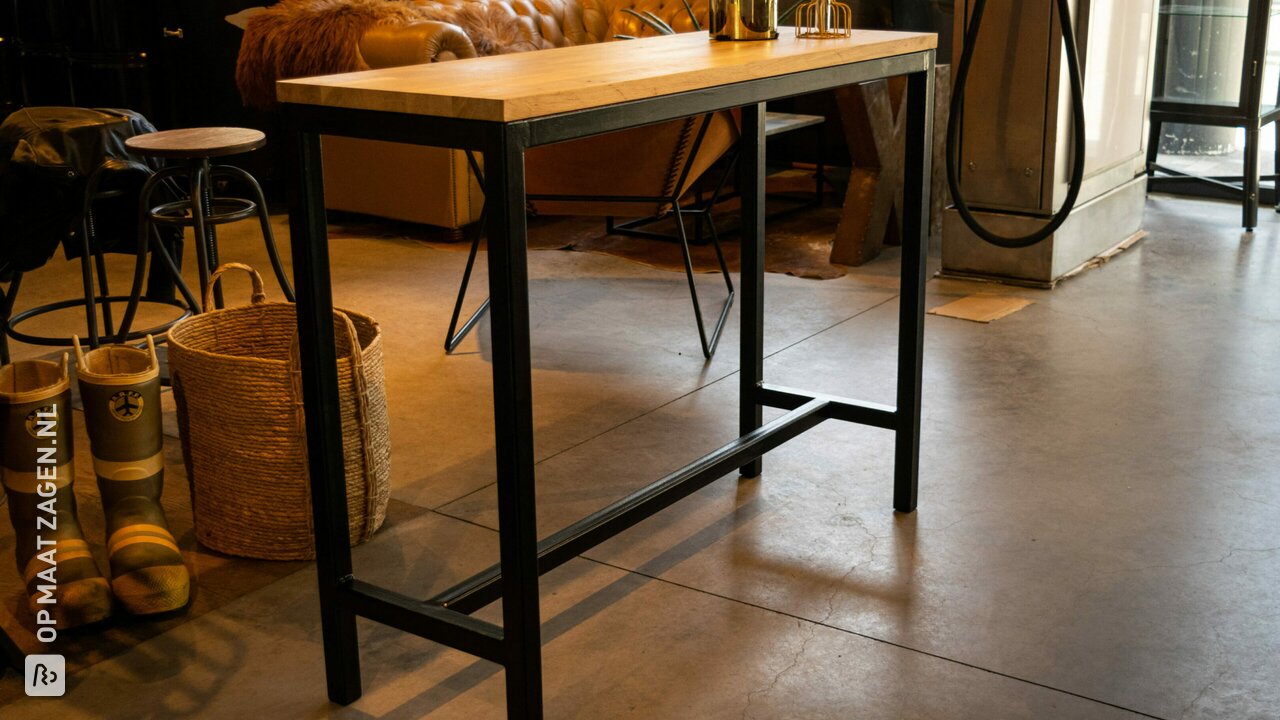
Bar table in solid oak
Using a steel frame and a rustic oak joinery panel, handyman Peter made this stylish bar table. To prevent scratches, the oak has been finished with a clear varnish.
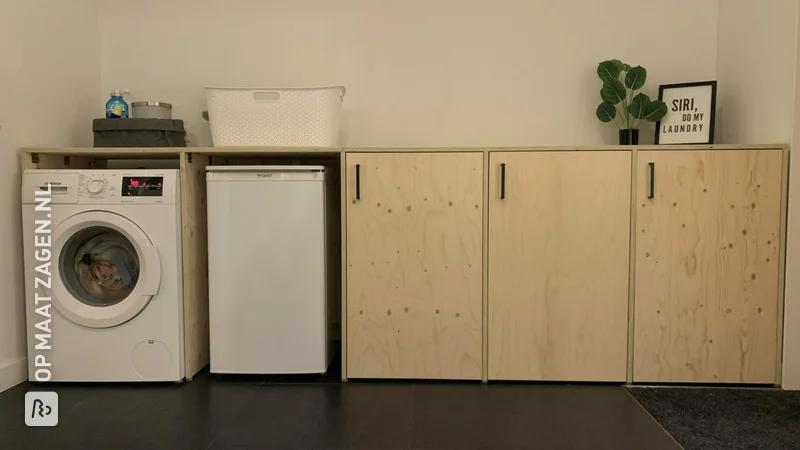
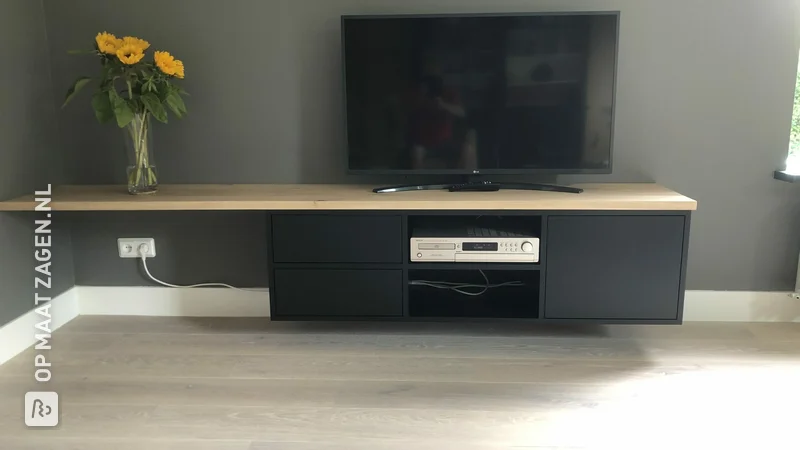
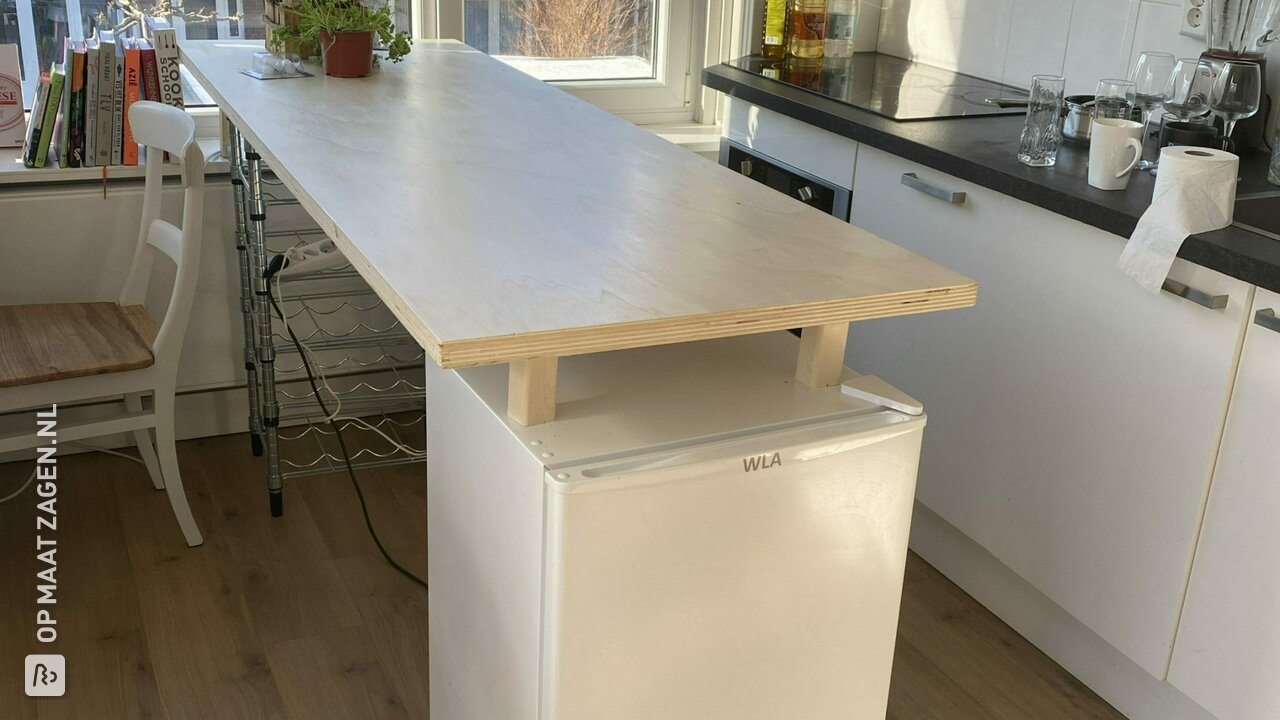
Bar and cooking island with fridge underneath
Handyman Josefien needed more space for cooking. So for this DIY project she used a plywood board supported by a fridge and a window sill. Clever!
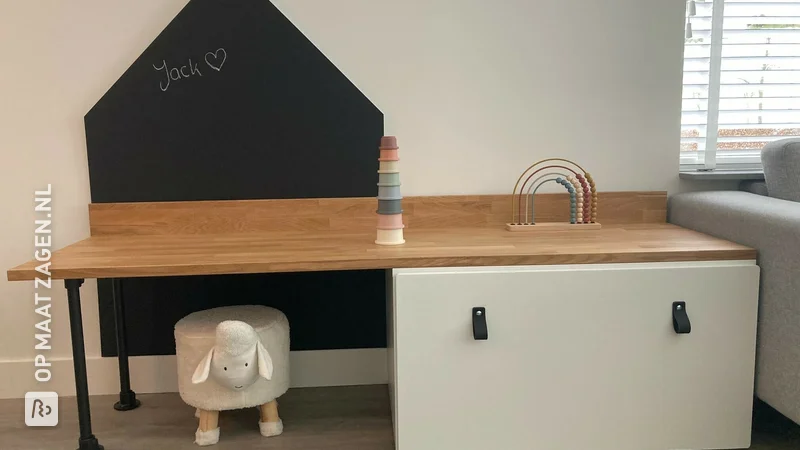
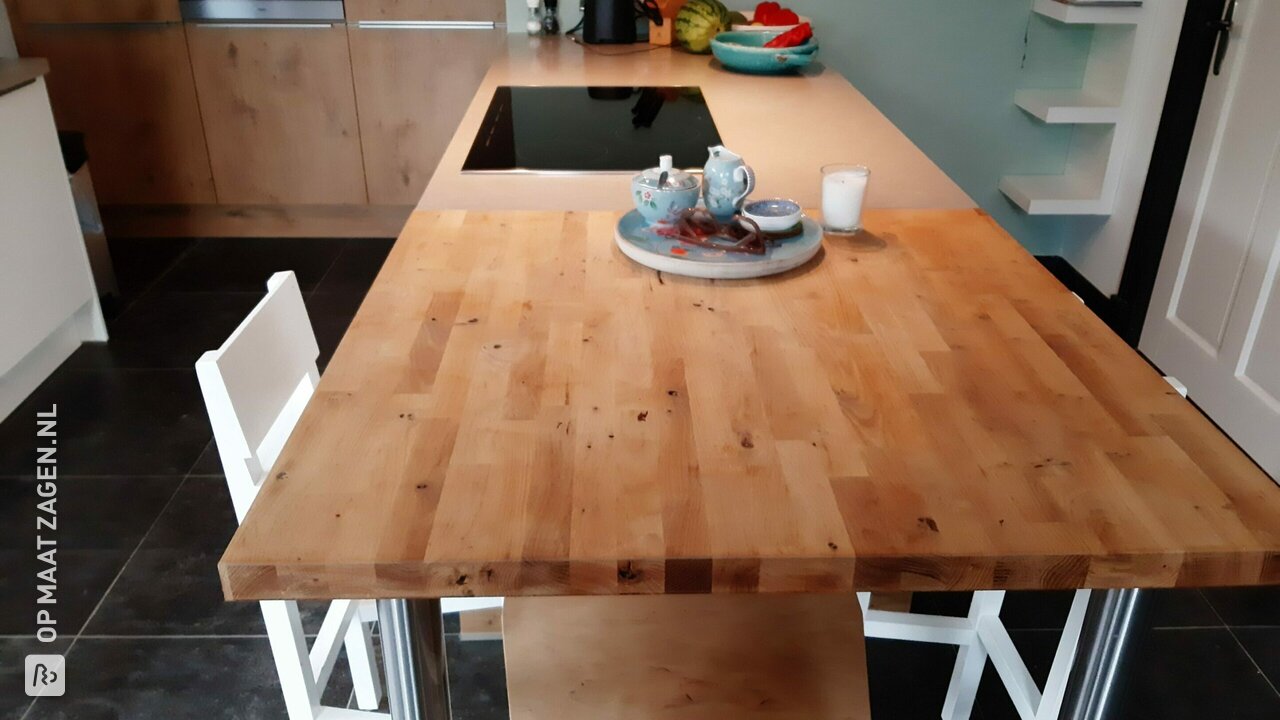
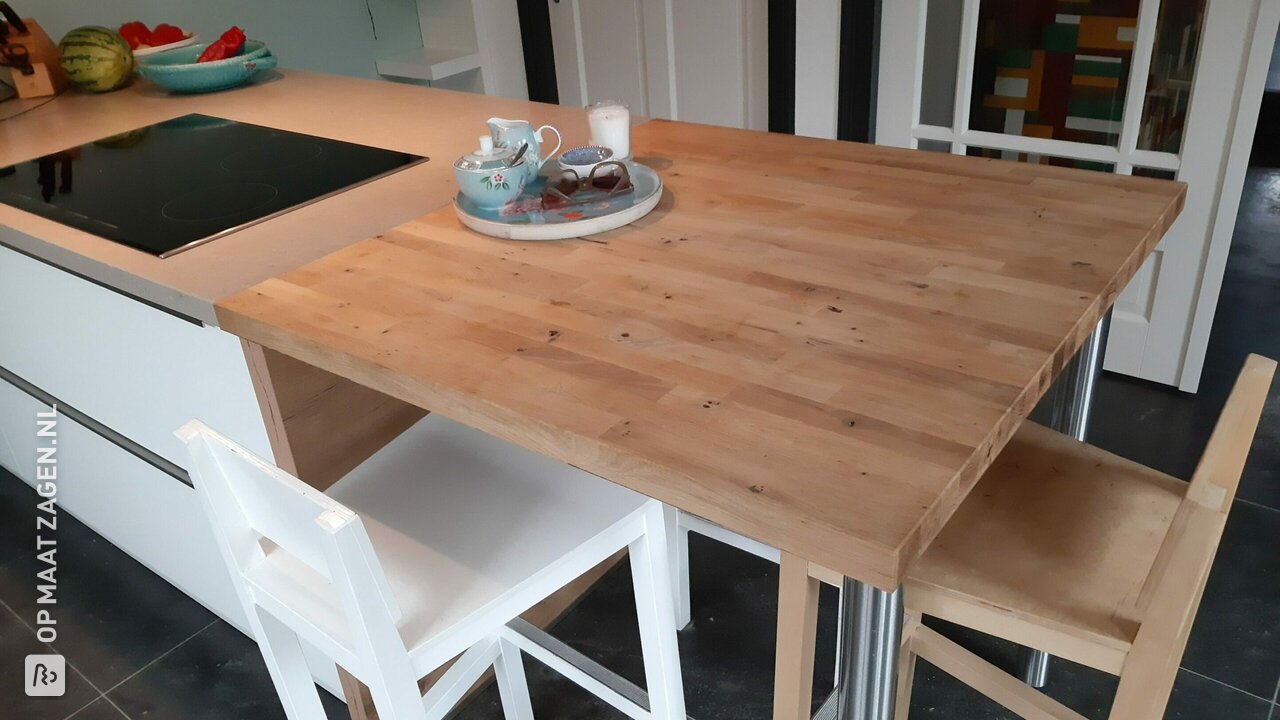
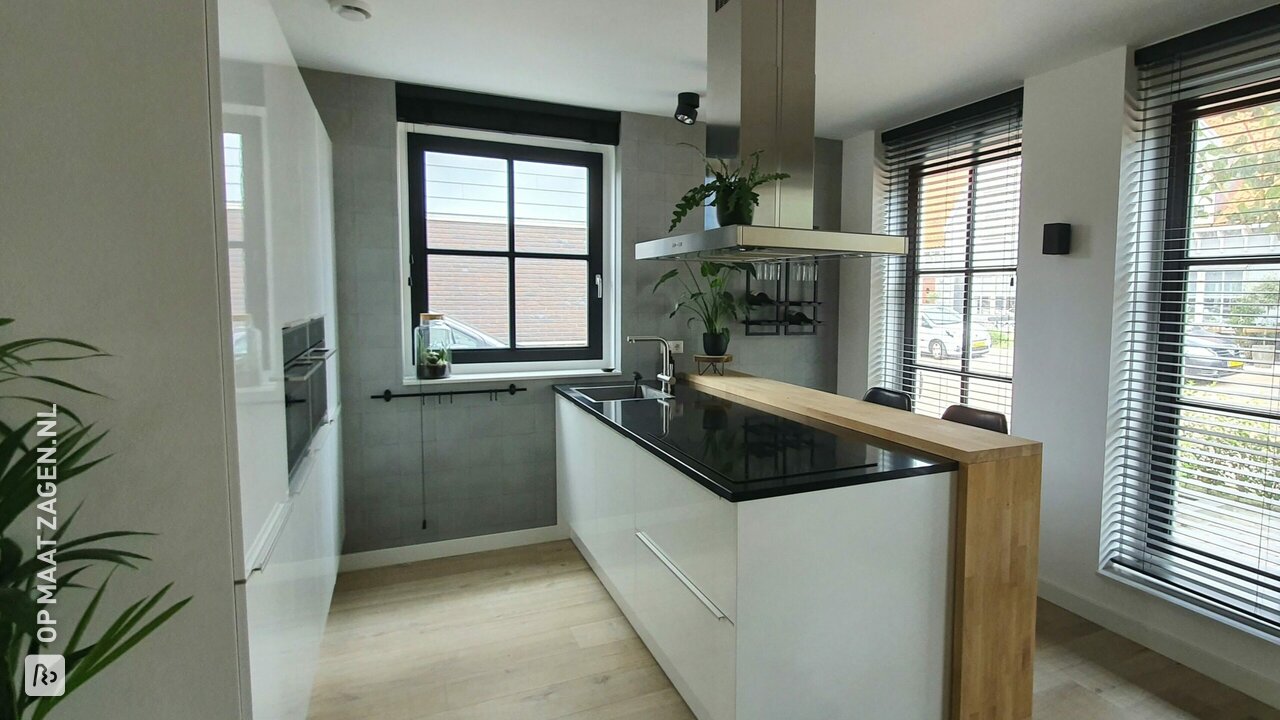
Oak bar connected to kitchen island
If you want to make a breakfast bar at kitchen island, check out handyman Jeroen's project. He used only oak carpentry panels. A beautiful result!
Handyman Denise also made a similar bar at the kitchen island. Stylish and a very nice addition to the kitchen.
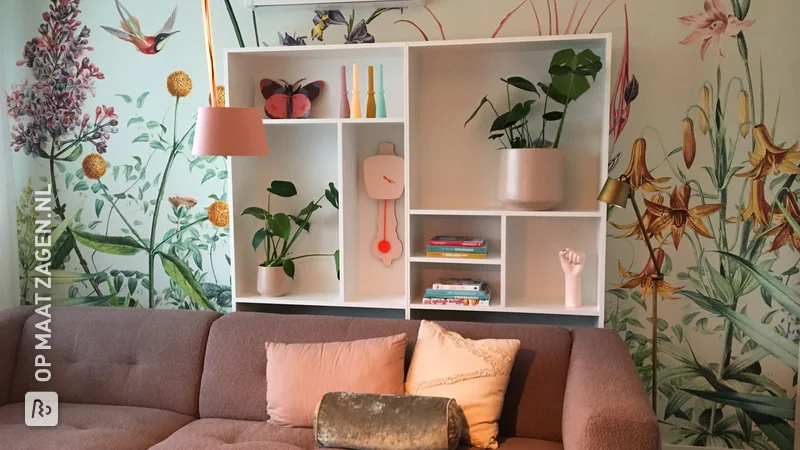
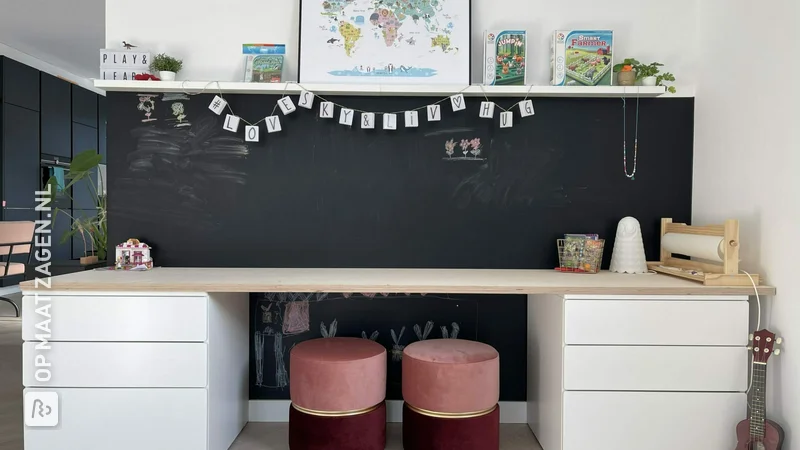
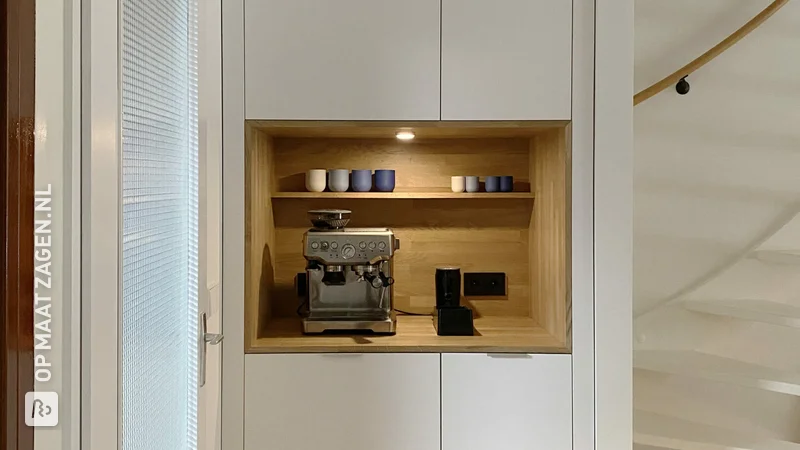
Kitchen island with cookbook cabinet
Why not combine a bar with a cabinet for all your cookbooks? So creative is Janet, who had us finish the beech wood of her bar with bookshelves for an extra beautiful result.
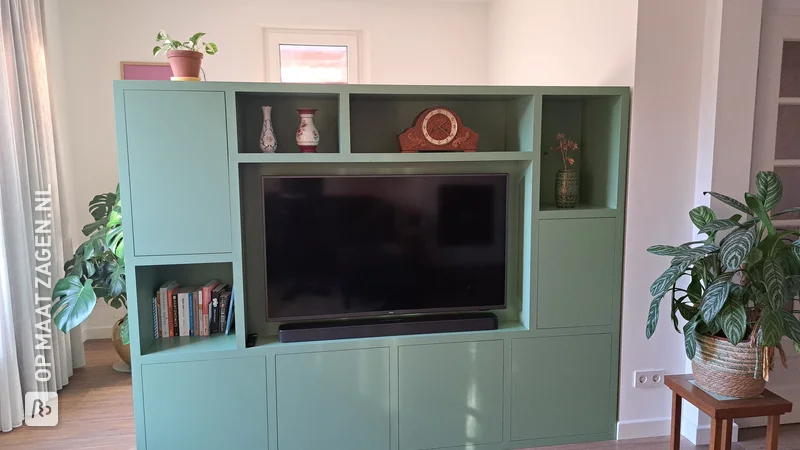
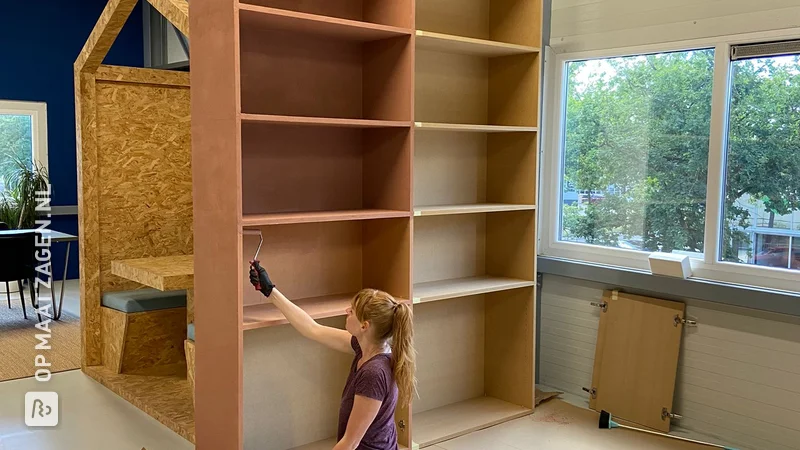
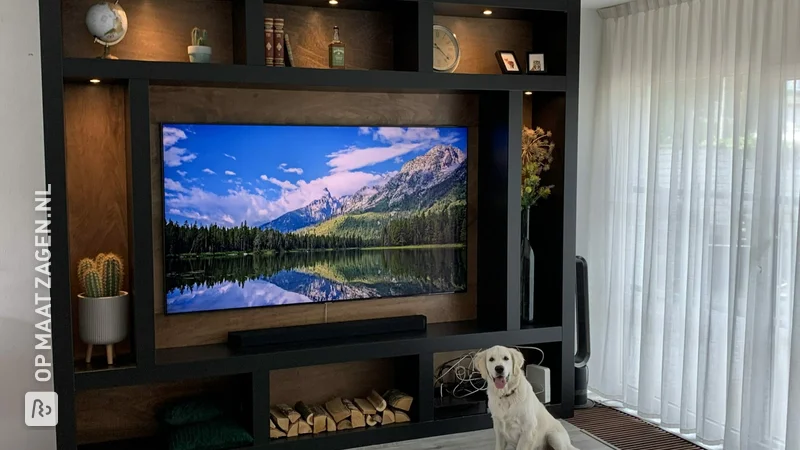
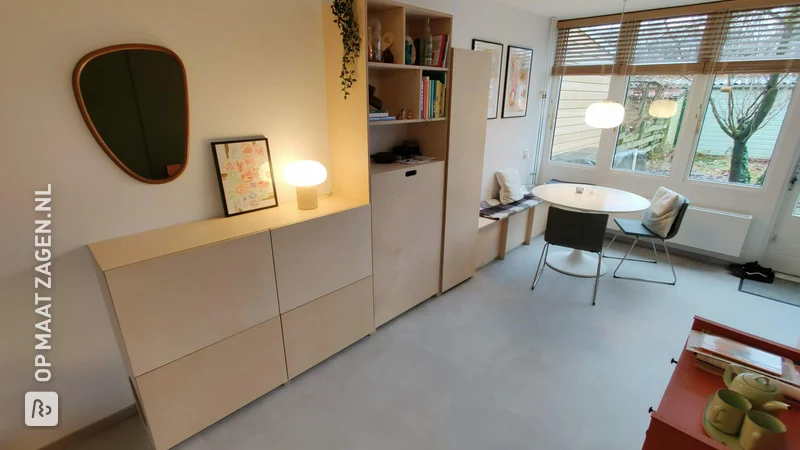
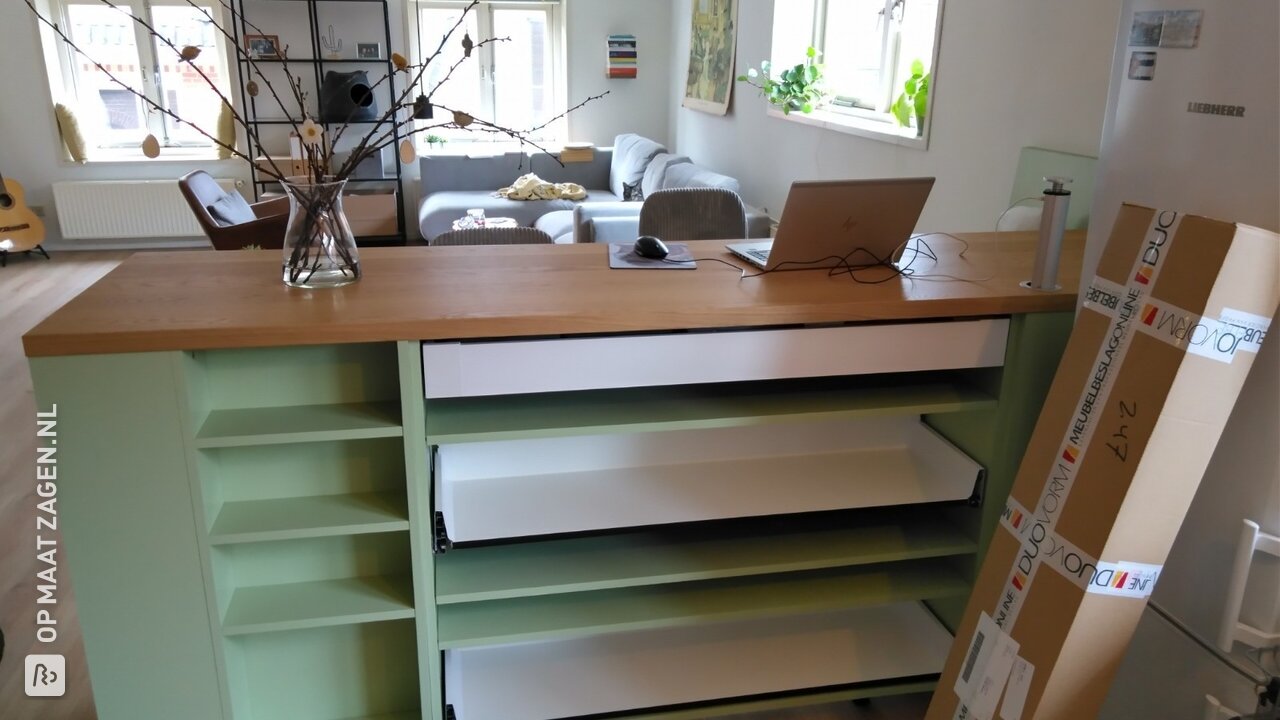
Multifunctional bar cabinet
Do-it-yourselfer Sander pulled out all the stops with a multifunctional bar cabinet that provides space for kitchen drawers, open shelves, a seating area for working and drinking and storage for books, the music system and a 3D printer.
At OPMAATZAGEN.nl, we are quite handy, but we don't copy it so easily. Chapeau!
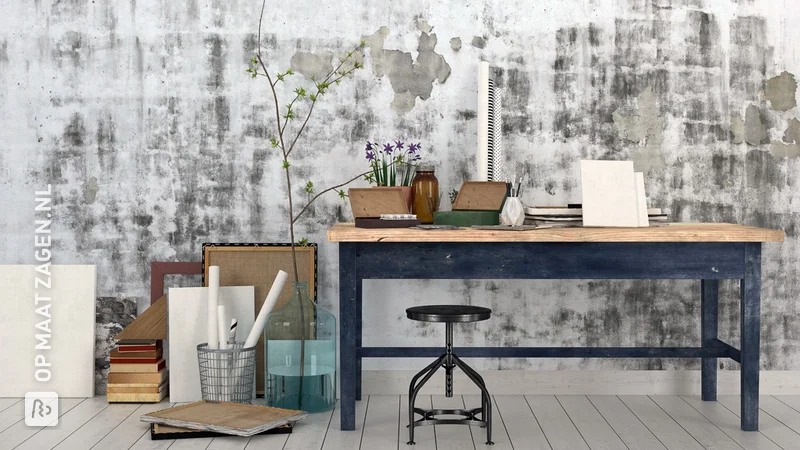
Panel of carpentry panel in a workshop
Our board materials are also ideal as counters in a shop. Jeanette used pine boards so they would last for years.
First steps with your own bar
Were you inspired by the examples provided by our craftsmen? We hope this article has helped you to build your own custom-made bar.
Of course, we are also happy to help you get precisely cut sheet material. We can easily deliver it to your home.
Is your project finished and are you proud of it? Then we would love to see photos of your custom-made bar, so you can inspire other DIYers with your project!