- OPMAATZAGEN.nl
- DIY tips
Making your own cut-to-size cove
Making your own cut-to-size cove
Want to make your own cove? A cove on the wall or ceiling is a great way to achieve a neat, sleek look in your home. For example, you can hide pipes, a cooker hood or cables in a cove. You can also incorporate recessed spotlights or a light strip in a cove. In this article we explain how to make your own cut-to-size cove.
In this article:
- How to Make a Cove Yourself?
- What Do You Need to Make a Custom Cove?
- What Is the Cove Used For?
- How to Create a Drawing or Sketch for a Cove?
- How to Mount a Cove?
- What Wood Do You Use for a Cove?
- How to Finish a Cove?
- How Much Does Making a Cove Cost?
- Examples of Coves Made by Our DIYers
- Get Started with Your Own Custom Cove
How to Make a Cove Yourself?
Making a cove yourself isn't complicated, but you need to take your time with it. It starts with figuring out the purpose of your cove: do you want to hide an extractor hood in it, or is the cove solely for installing lighting?
Then, you start by making a drawing, ordering the necessary materials, and can begin constructing the cove.
An essential part of making a cove is, of course, your choice of certain types of wood. You can easily order the wood material for this project from OPMAATZAGEN.nl. We offer an extensive range, including MDF, plywood, triplex, OSB, and more. Additionally, we'll pre-cut your wood to size and deliver it quickly to your home. This saves you a lot of unpleasant sawing work and scattered sawdust.
Later in this article, we'll also share some DIY projects from our DIYers with you. Take your time to look at those projects and be inspired by them.
What Do You Need to Make a Custom Cove?
To make a cove, you need a few items. Consider the following materials:
- Graph paper, pencil, eraser, ruler: for accurate sketching of the cove
- Cordless drill: for easily pre-drilling holes and screwing the screws into your material
- Primer and paint: almost all wood types from OPMAATZAGEN.nl need to be finished - first prime, then paint
- Sandpaper: always handy to have, with a coarse or fine grain
- Tape measure: needed to measure the dimensions and mark your wood
- Screws and plugs: to connect the various wood materials together or to attach the framework to the wall or ceiling
- Wood filler, putty: to neatly cover up the screw holes
- Mounting adhesive: to firmly bond the panel materials to the framework
Think beforehand about which materials you do and don't need for your project. Don't have everything at home yet? Also, check out the accessories that you can order with your project.
What Is the Cove Used For?
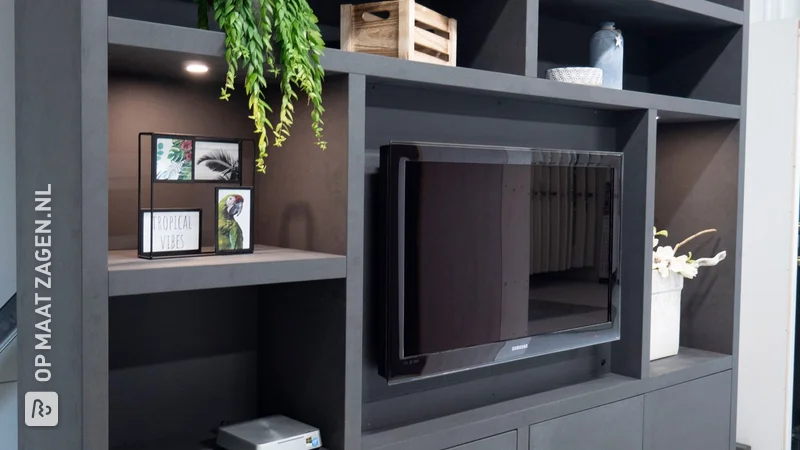
Do you already know what you want to use a cove for? We see various reasons among our DIYers for making a cove. Often, a cove is used to install lighting in the form of recessed spots or with a light strip: a so-called light cove.
A cove is also often installed to conceal irregularities in the ceiling or wall. For example, you can hide supply or exhaust pipes (think of heating pipes) neatly behind a cove. And in the kitchen, you can integrate an extractor hood in a beautiful, sleek way into a cove.
Once you've clarified the purpose of your cove, you can start with a drawing.
How to Create a Drawing or Sketch for a Cove
An incredibly important part of this project is making a sketch or drawing. This ensures that you think through your ideas, put all the dimensions on paper precisely, and prevent running into unpleasant surprises later in the process.
In the end, you need an accurate drawing or sketch with an overview of all dimensions and the necessary materials. With that overview, you can easily order the wood from us, precisely cut to size.
You start by measuring and drawing the style and framework. How many styles and frames do you need to be able to firmly attach the panel material? How wide are the styles and frames? So also take into account the width of your panel materials.
You make a drawing on a piece of paper, with a pencil, ruler, and an eraser. You can also use a 3D program, such as SketchUp or FreeCAD.
Tip: once you order the panel material for your cove from us, provide each board with a unique identifier (you can indicate this in the ordering process). Then you'll know exactly which board should go where in the cove after the wood is delivered to your home.
How to Mount a Cove?
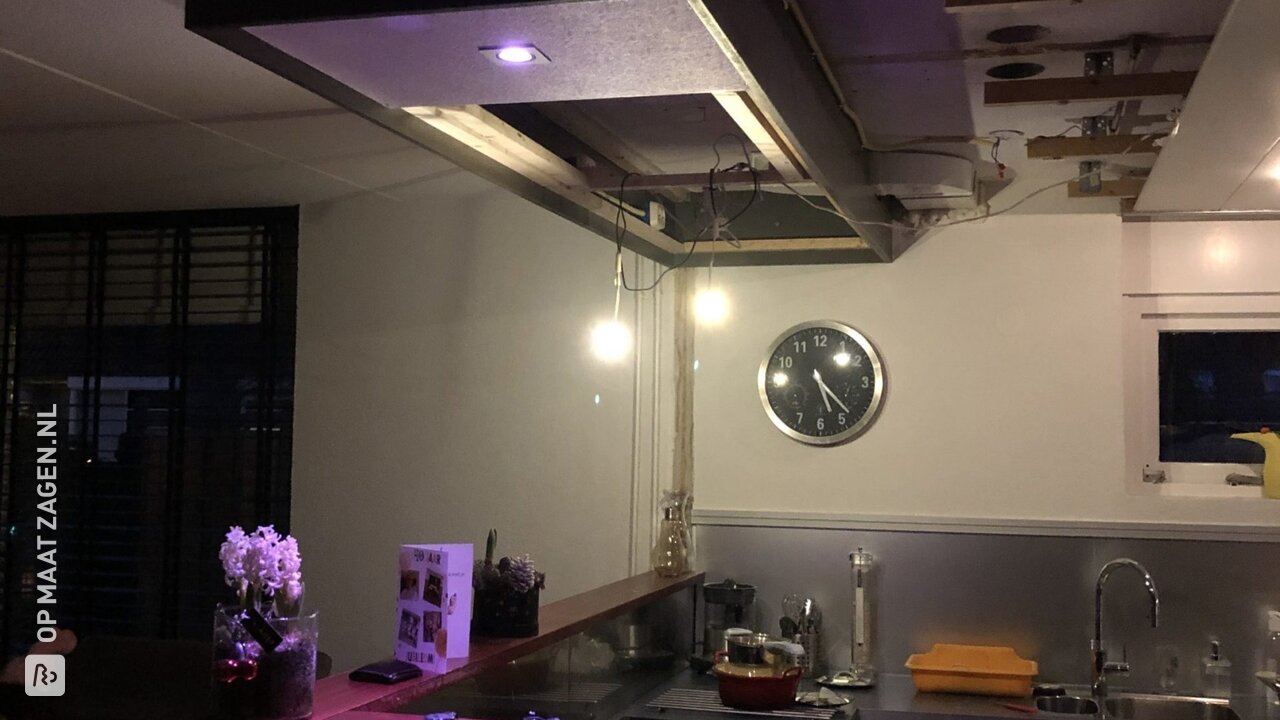
You attach the panel materials of the cove to a style and framework. So you first have to install this wooden grid on your ceiling or wall. For this, you can use, for example, fir battens or beams, which you attach to the ceiling or wall with screws. A nice example of a sturdy style and framework can be seen in this project by DIYer Paul.
You then attach the framework to the wall with screws and plugs or with expansion plugs. In any case, make sure to pre-drill the holes in the ceiling or wall neatly with an impact or concrete drill bit.
How to Attach the Panel Materials to the Framework?
To attach the panel materials (such as MDF or plywood) to the framework, it's best to use screws. You pre-drill the panels with a wood drill bit and then screw them in place. You can also choose to attach the panel materials extra securely with mounting adhesive. This can also help prevent any gaps between the panel material and the framework.
What Wood Do You Use for a Cove?
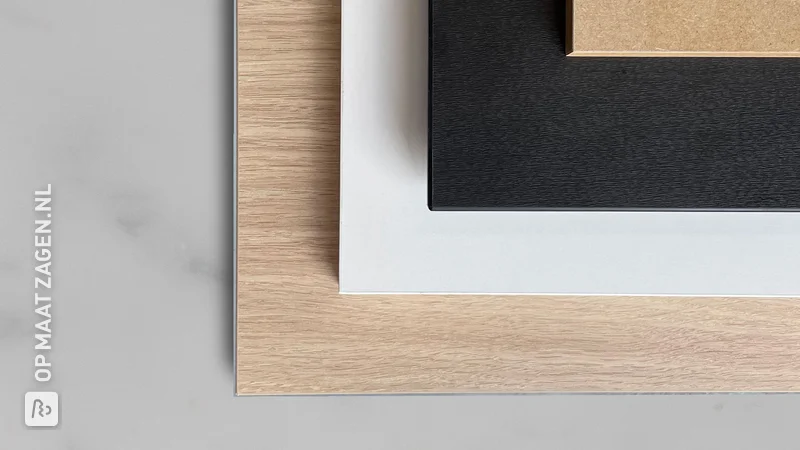
By far the most commonly used wood for a cove is MDF. Another wood type that we occasionally see among our DIYers' coves is plywood.
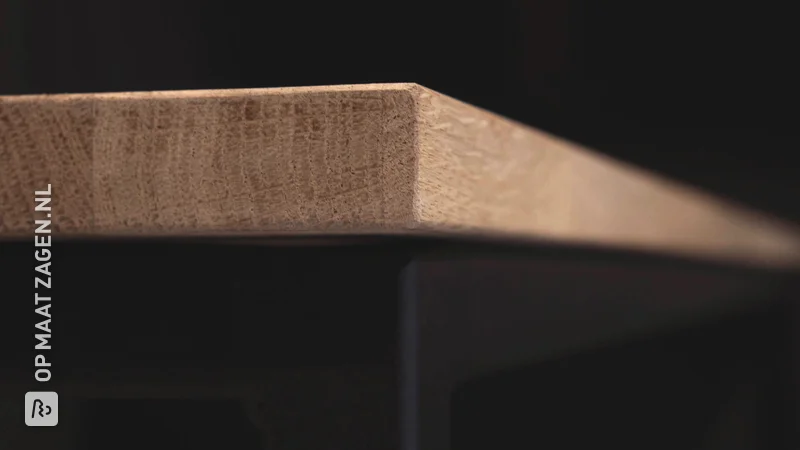
MDF
MDF panels are available in many variants, easy to work with, and don't splinter. That makes it the ideal wood type for a cove. MDF consists of wood fibers compressed under high pressure. MDF is also available in a lacquer-carrying variant. This saves you a lot of time painting because you don't have to prime this variant yourself. ![]()
Plywood
Plywood panels are known for their structural purposes and are therefore very suitable for use in a cove. Plywood is versatile, strong, and easy to work with. You can easily order this material from OPMAATZAGEN.nl, cut to the millimeter and conveniently delivered to your home.
How to Finish a Cove?
Once the panel materials are attached to the framework, you can finish the cove. Fill in the screw holes neatly with putty or wood filler and sand them flat. Most wood types need to be primed: do that first. Finally, paint the cove in a color of your choice.
How Much Does Making a Cove Cost?
The costs of making a cove vary greatly. On our website, you can see exactly how much the panel material for your project will cost. Add to that the costs of battens, beams, screws, paint, and other supplies, and you'll have an idea of how much your new cove should cost.
Making a cove yourself is usually the most budget-friendly option!
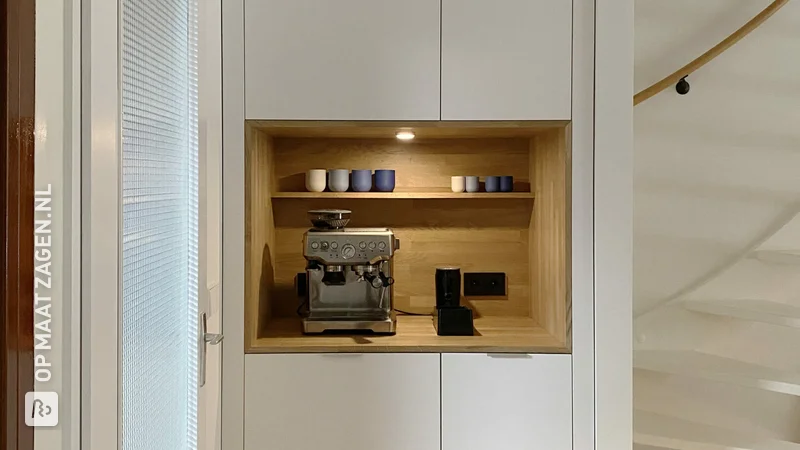
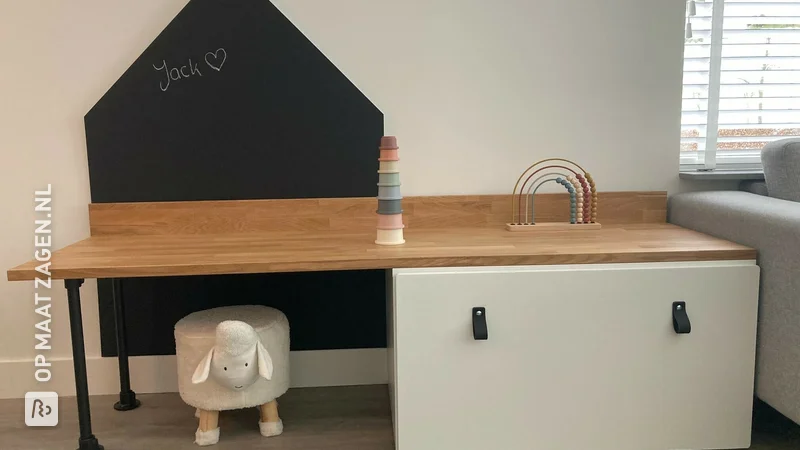
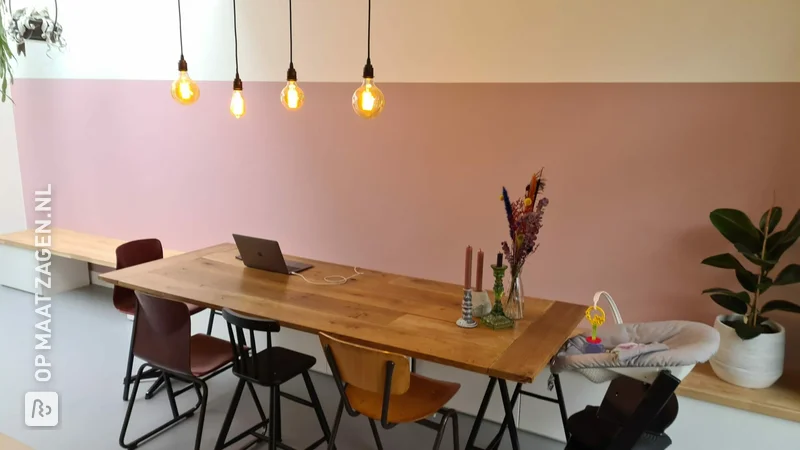
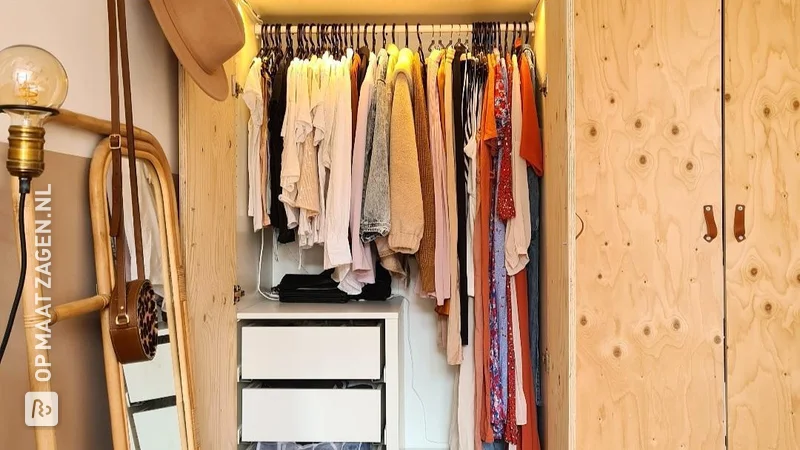
Examples of Coves Made by Our DIYers
Our DIYers have gone before you and shared their projects with us. Be inspired by these examples!
MDF Light Cove
Various DIYers have made MDF light coves.
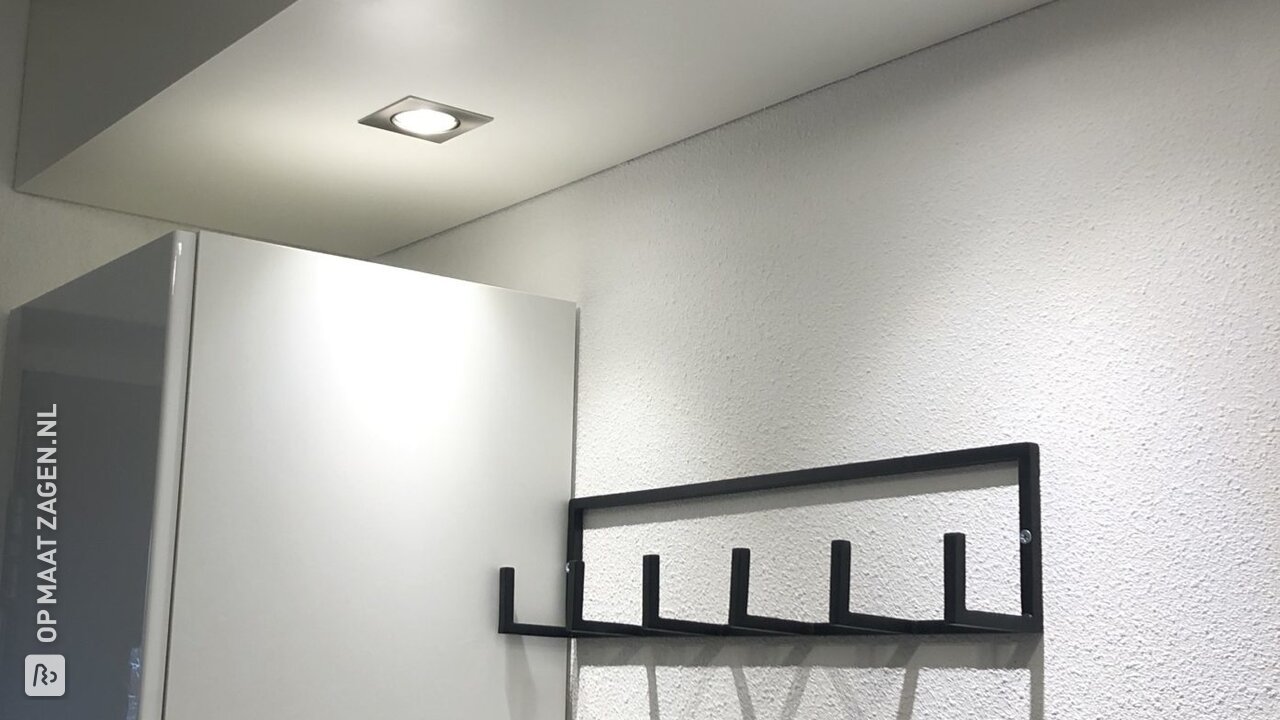
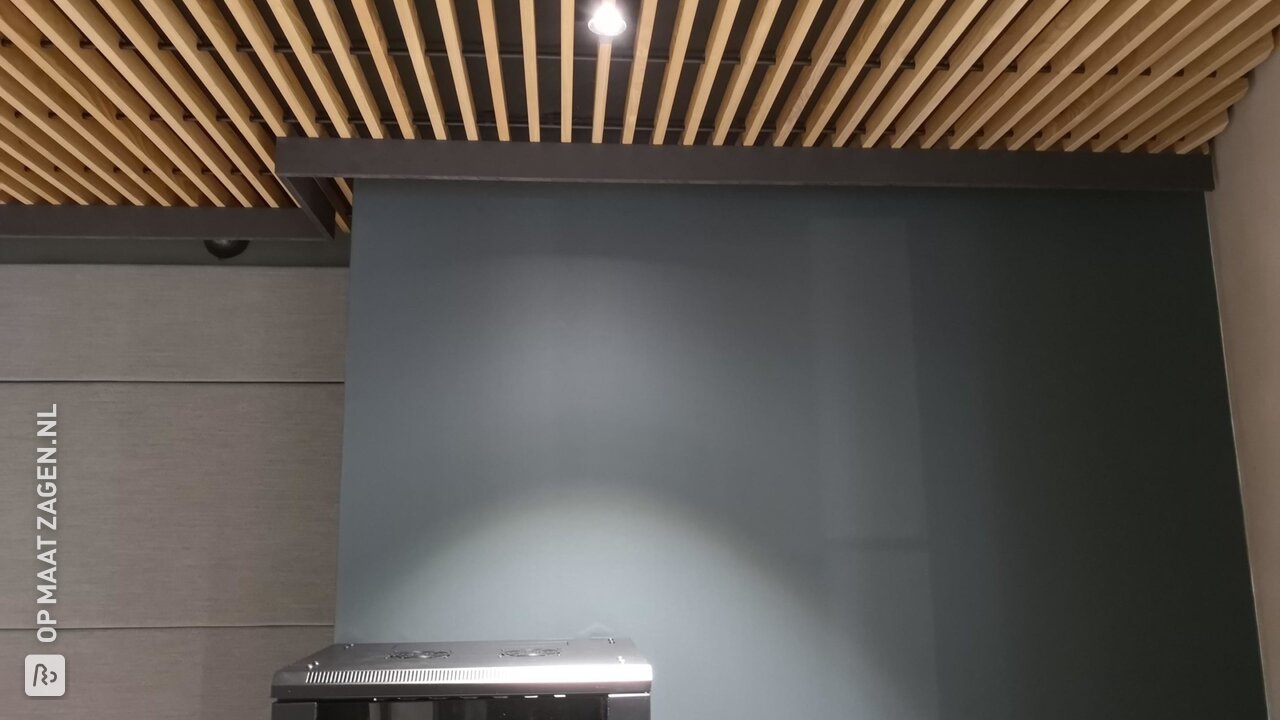
DIYer Peter had the MDF cut to miter for his false beams with spotlights. A neat result!
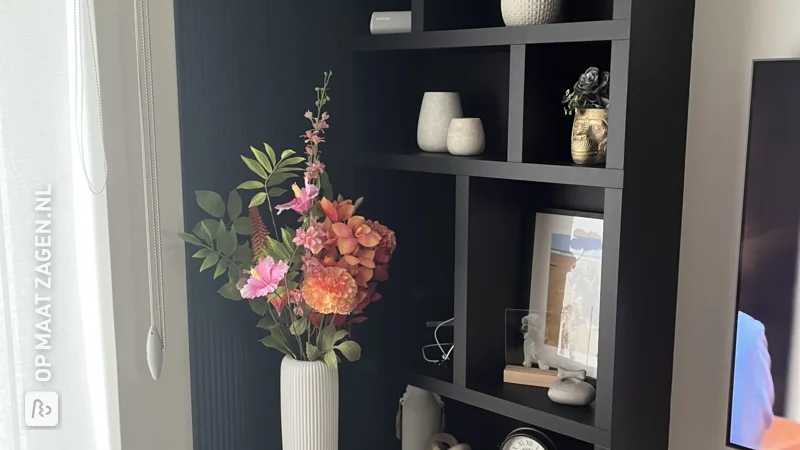
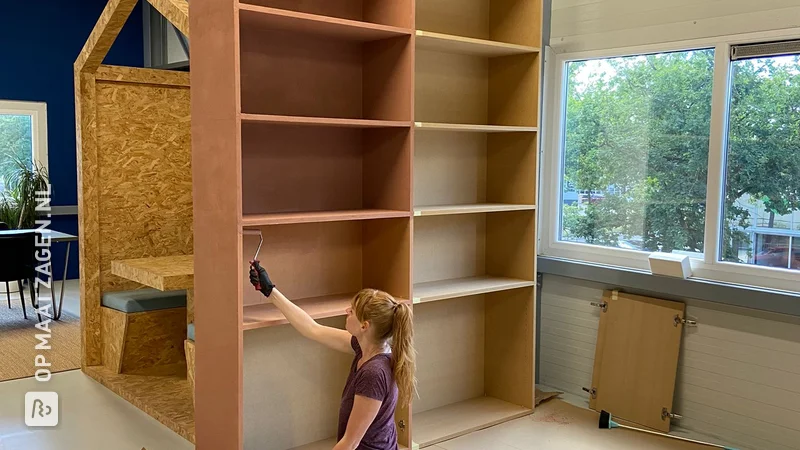
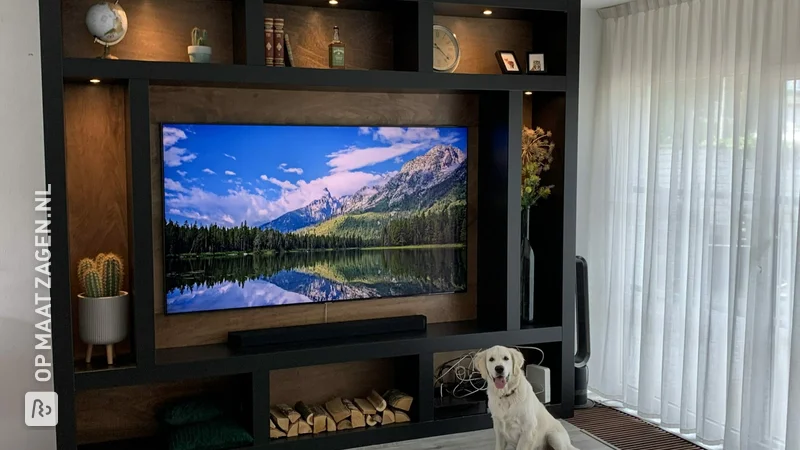
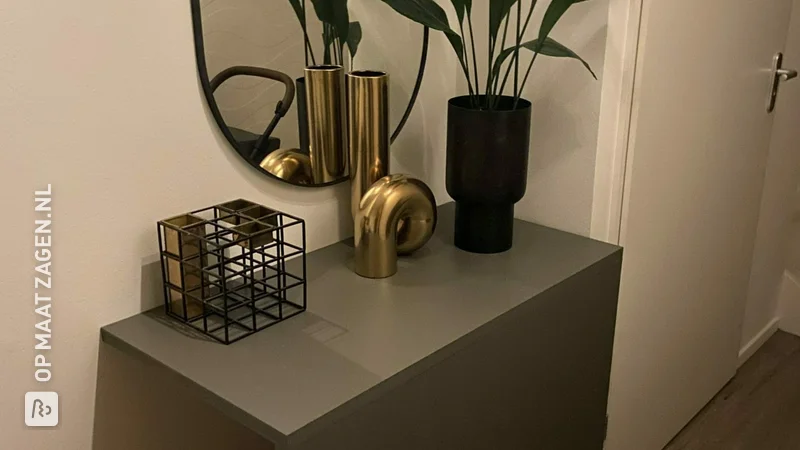
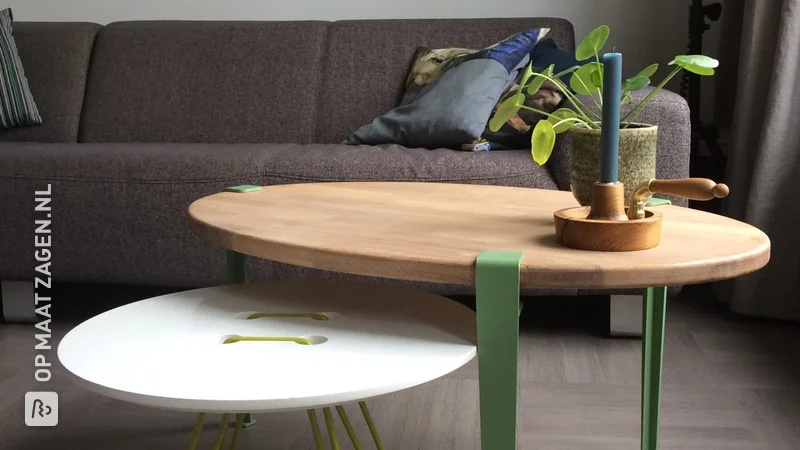
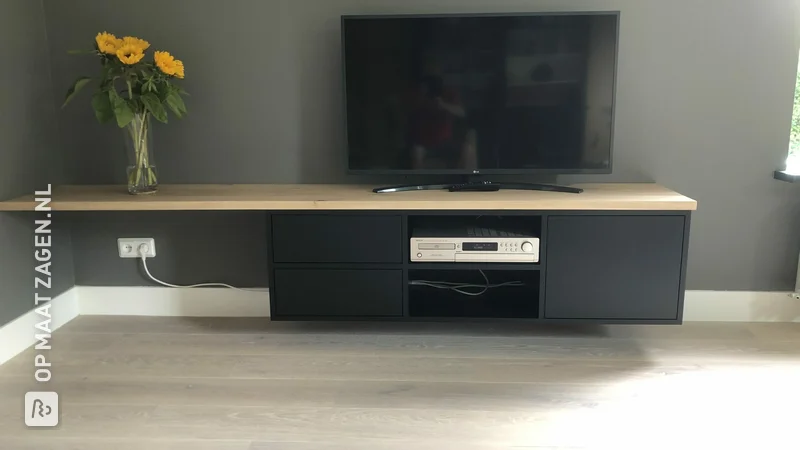
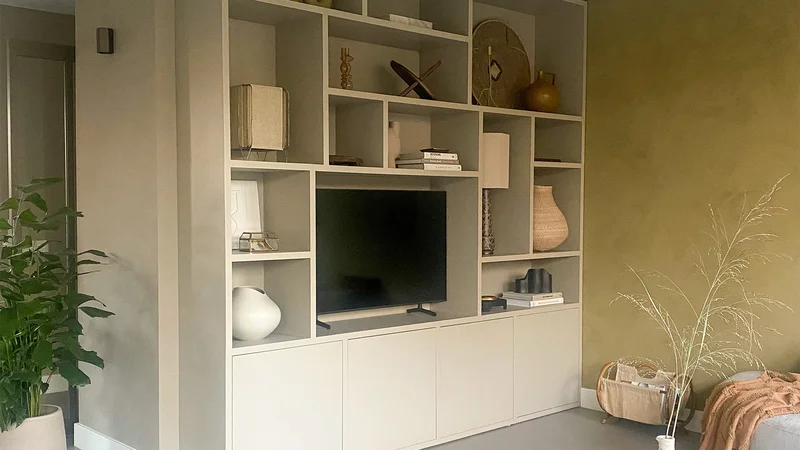
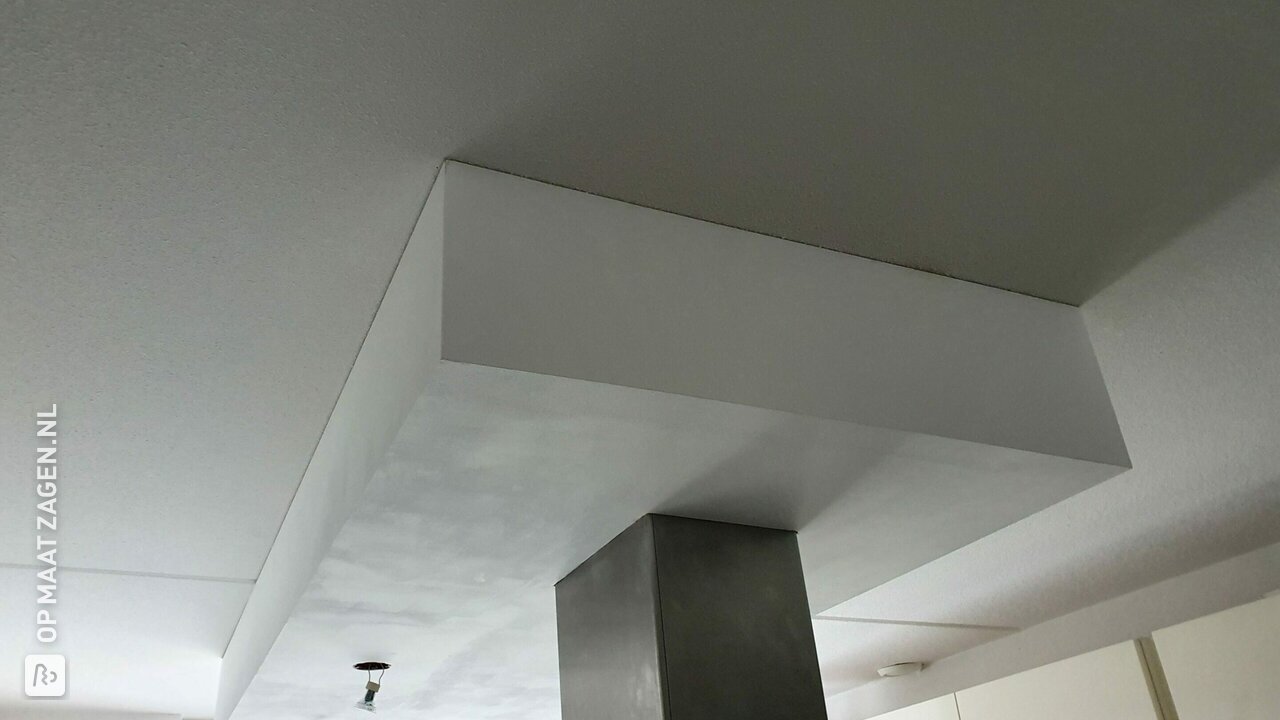
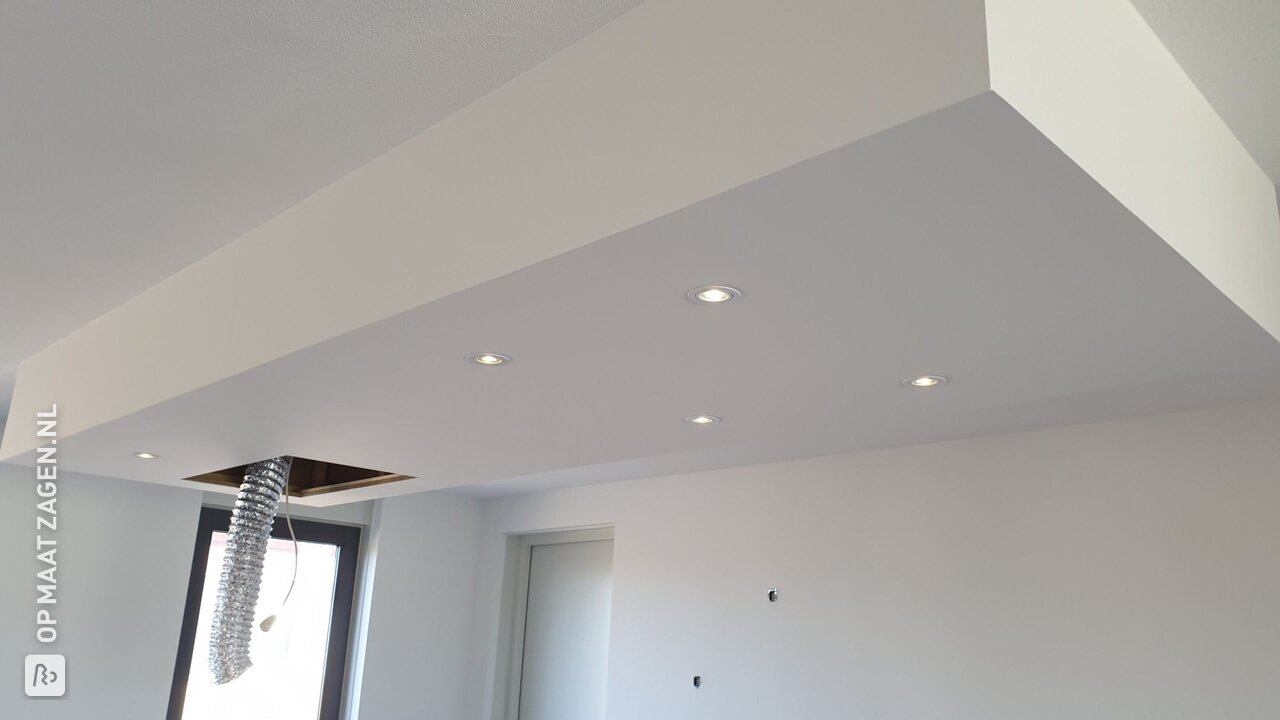
Showing that a floating cove can also be very nice in the living room, DIYer René demonstrates with this stylish project.
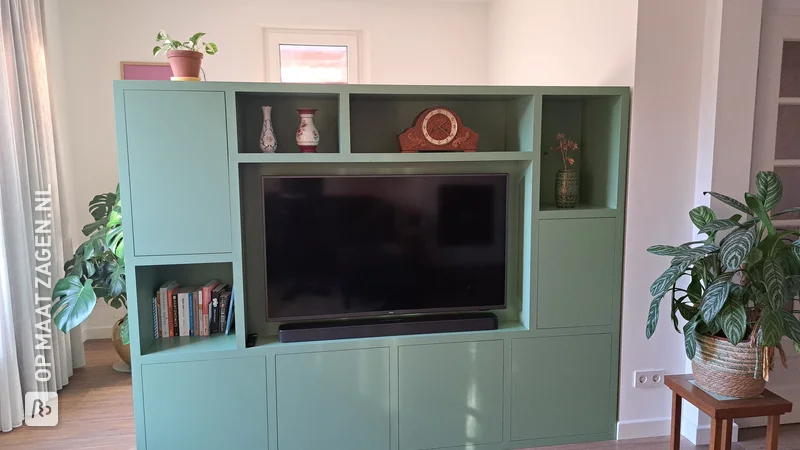
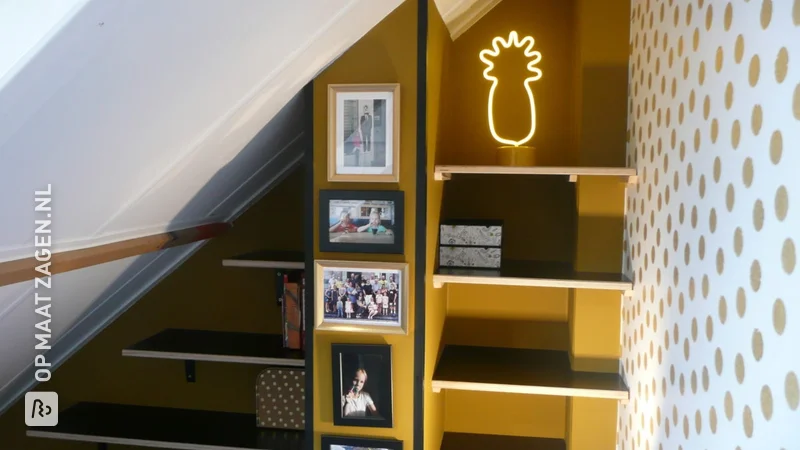
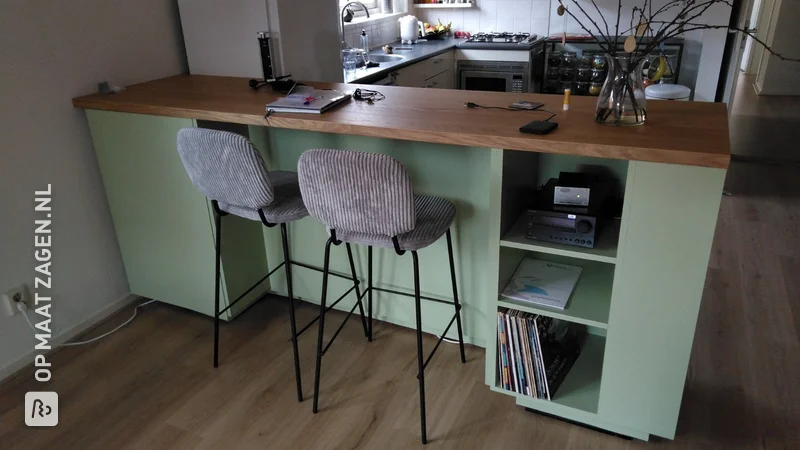
DIYer Marco opted for a creative twist and built a cove within the cove, with space for cookbooks and some small items. Very inventive!
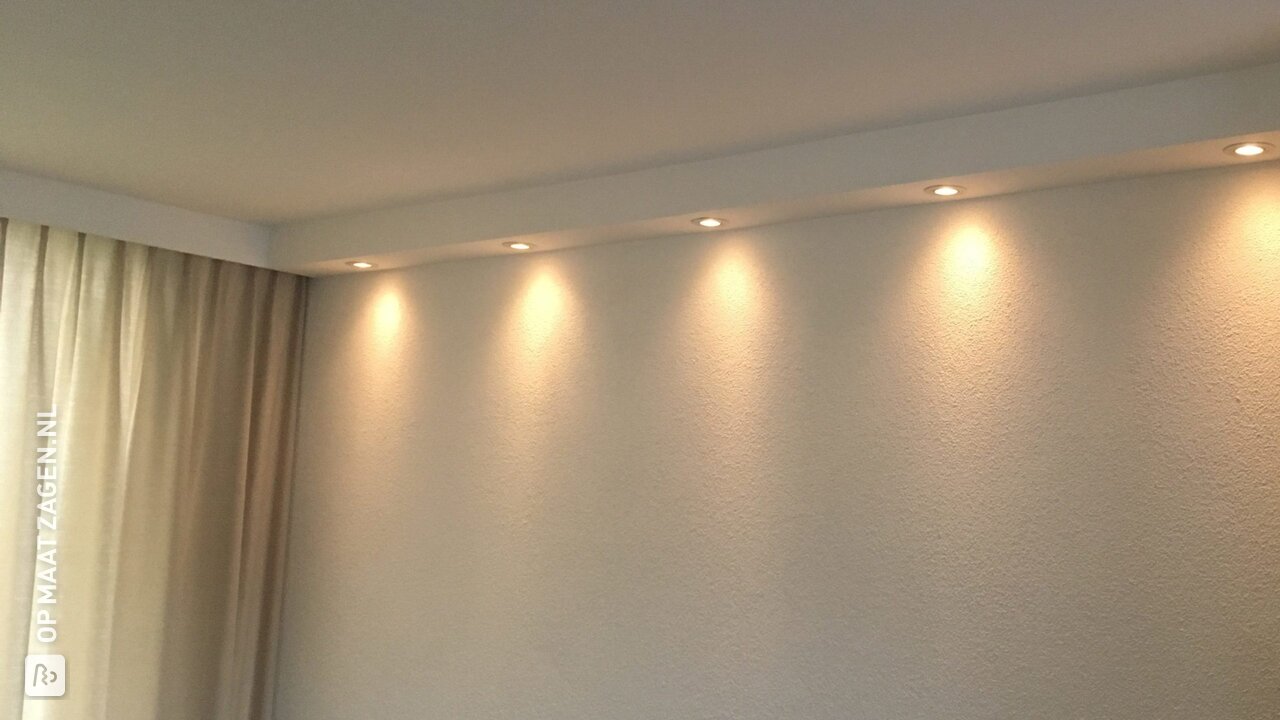
That you can also cleverly conceal the curtain rails with a cove, you can see here.
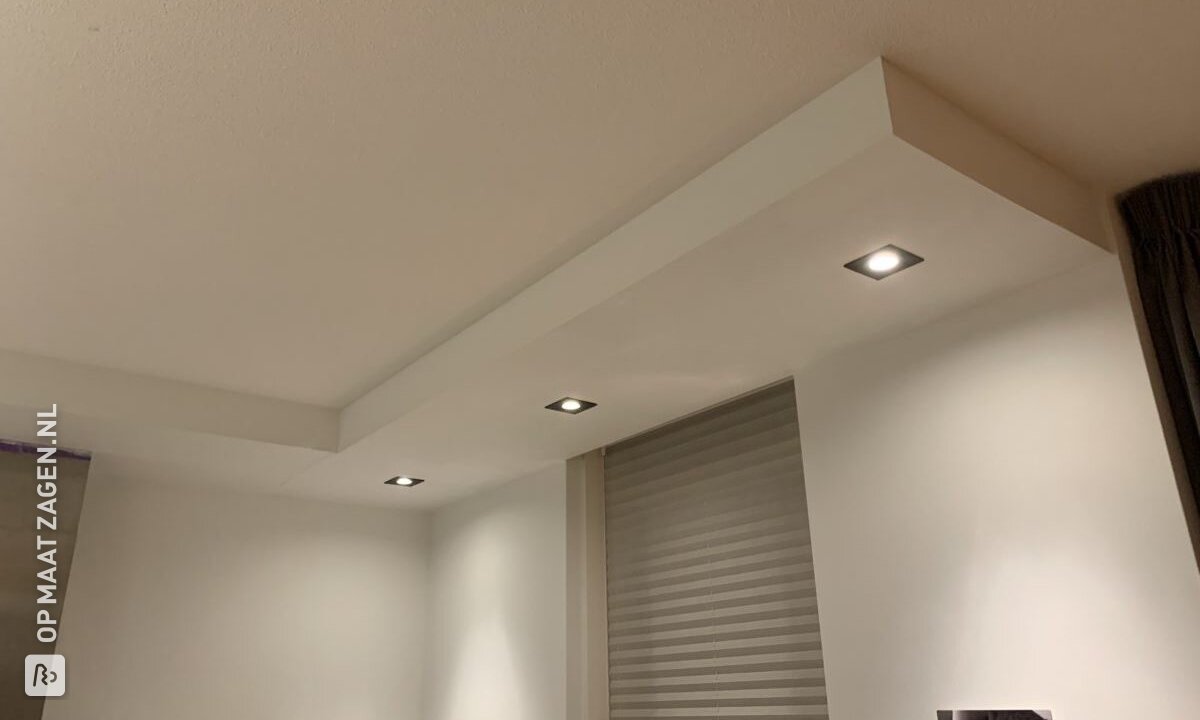
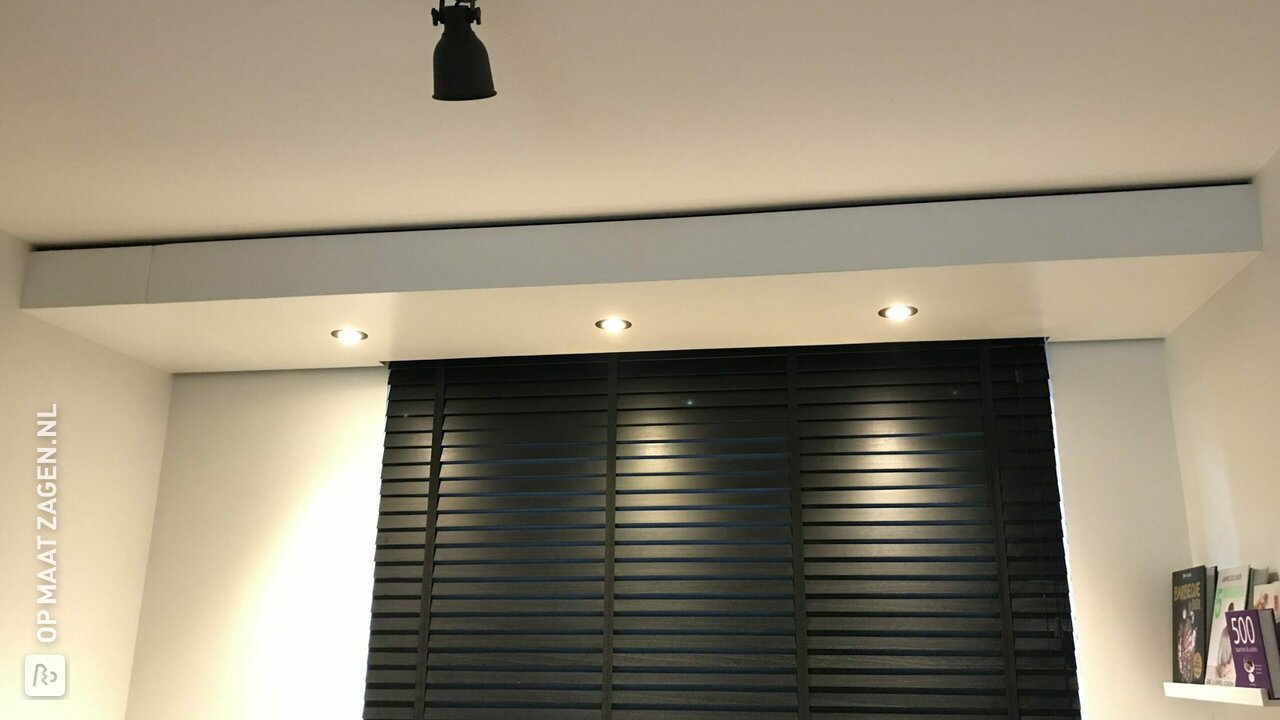
DIYer Jan chose MDF with lacquer carrying foil for his cove with recessed spotlights.
Extractor Hood Cove
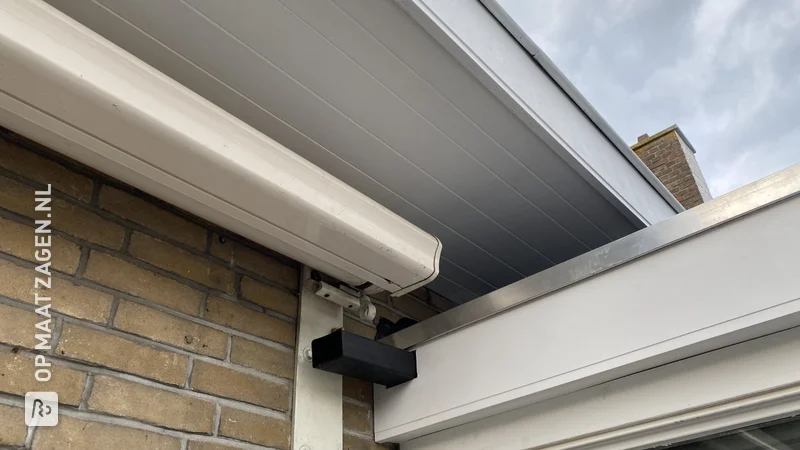
To conceal the extractor hood, exhaust pipe, and remotely controlled lights, DIYer Fabian made this cove.
Bas also chose a cove for the extractor hood, also to prevent grease stains on the ceiling. Clever!
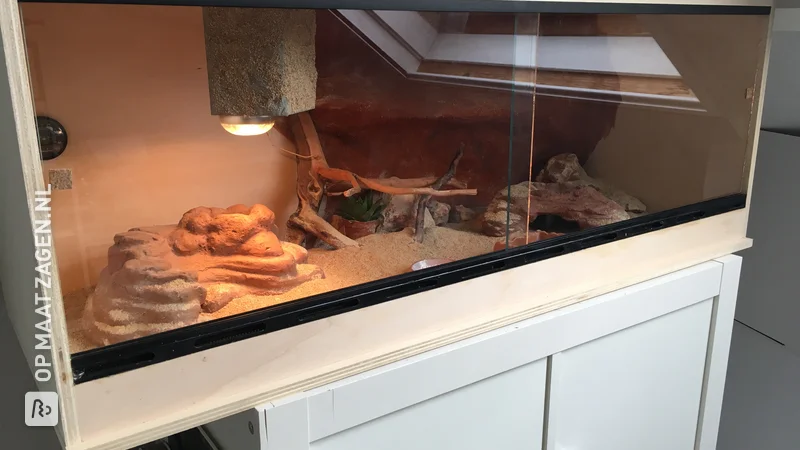
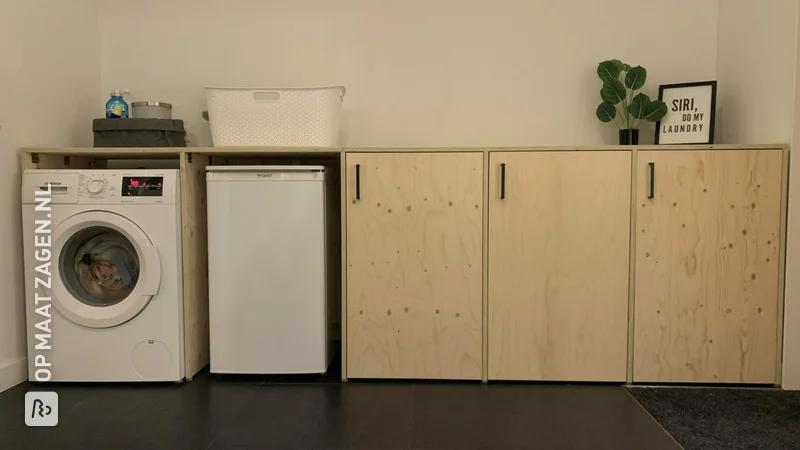
Water Softener Cove
Jan used multiplex material for a cove around the water softener and the underfloor heating valves. A beautiful job with a beautiful end result!
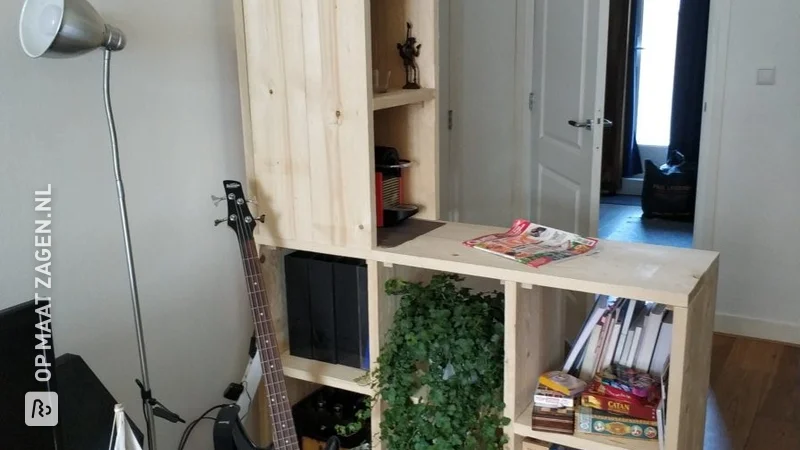
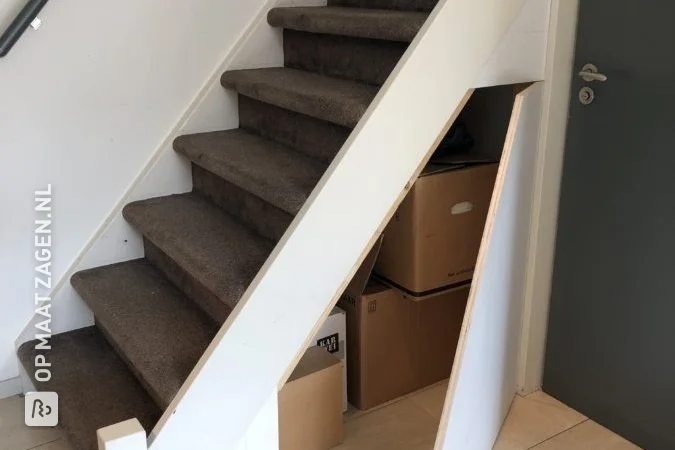
Concealing Heating Pipes in the Hallway
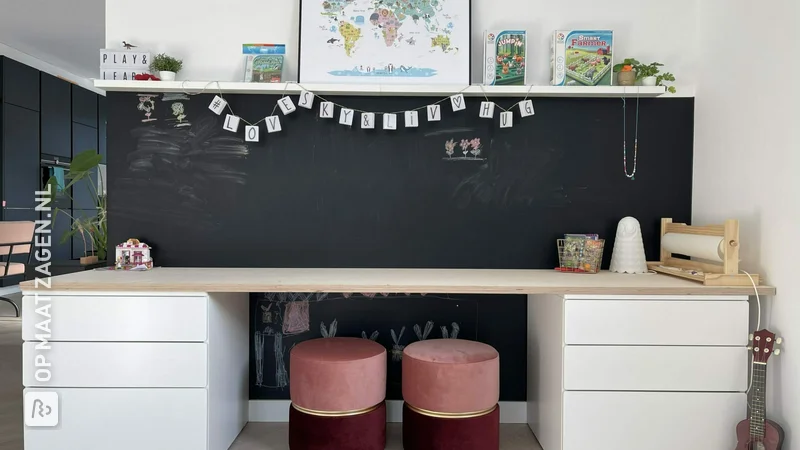
A cove around the heating pipes in the hallway – and forming it into one piece with the meter cupboard and the furniture under the cove. DIYer Ramon has done this excellently with MDF from OPMAATZAGEN.nl.
Stylish MDF Cove in the Kitchen
Take a look at the before and after photos of this project. The stylish MDF cove with built-in spotlights really makes a big difference in this kitchen by DIYer Matthijs.
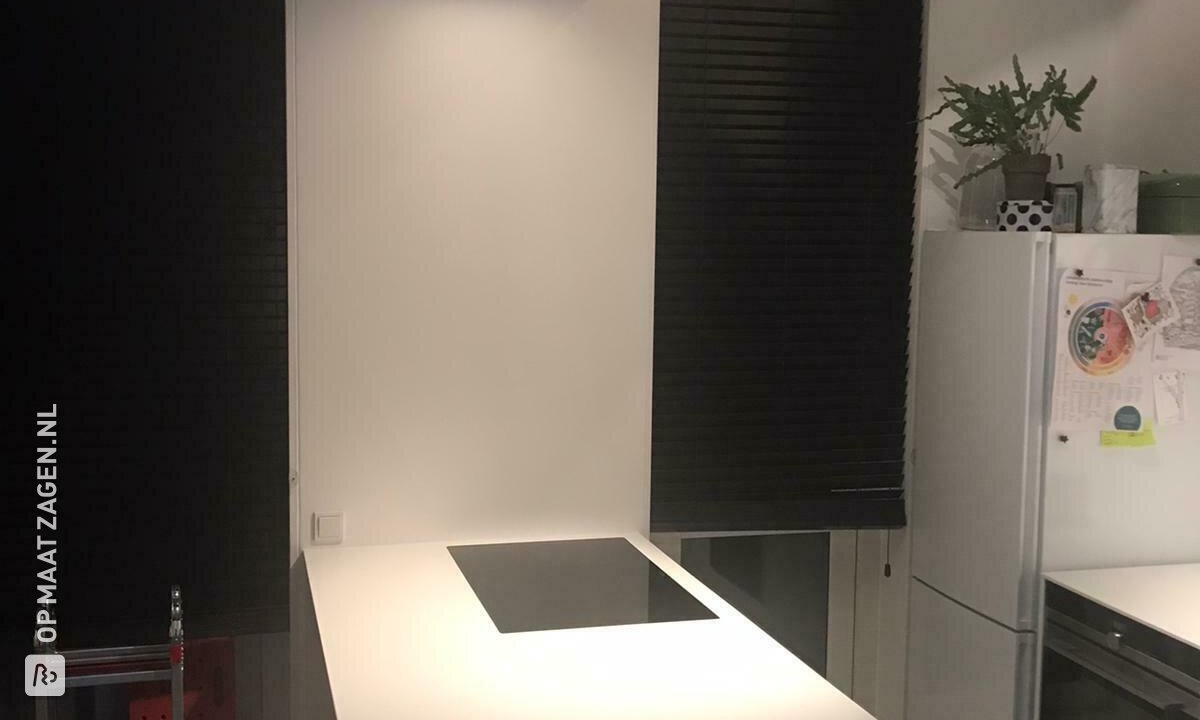
New Kitchen, New Cove
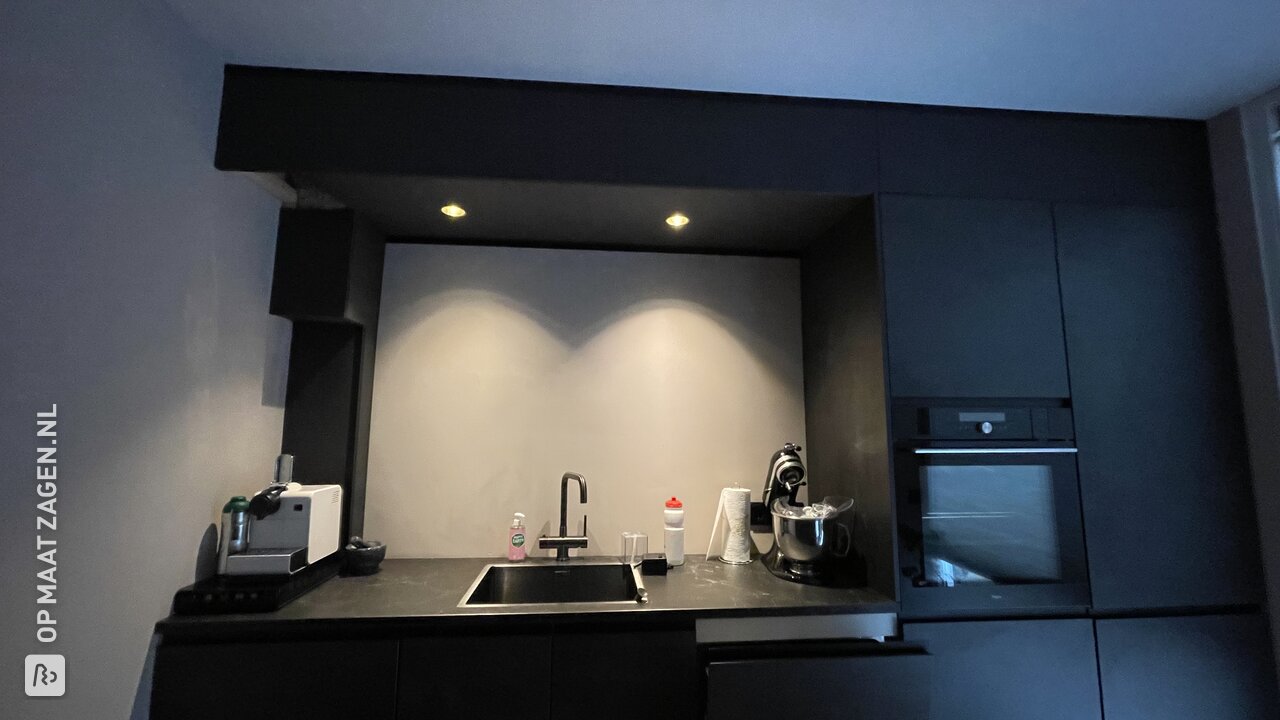
To neatly conceal the extractor hood in the new kitchen, DIYer Ron made this black, custom-cut MDF cove.
Highlighting a Wall
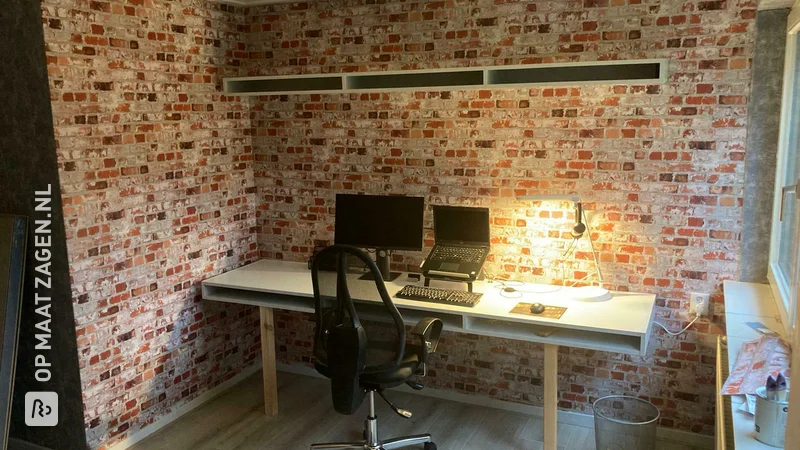
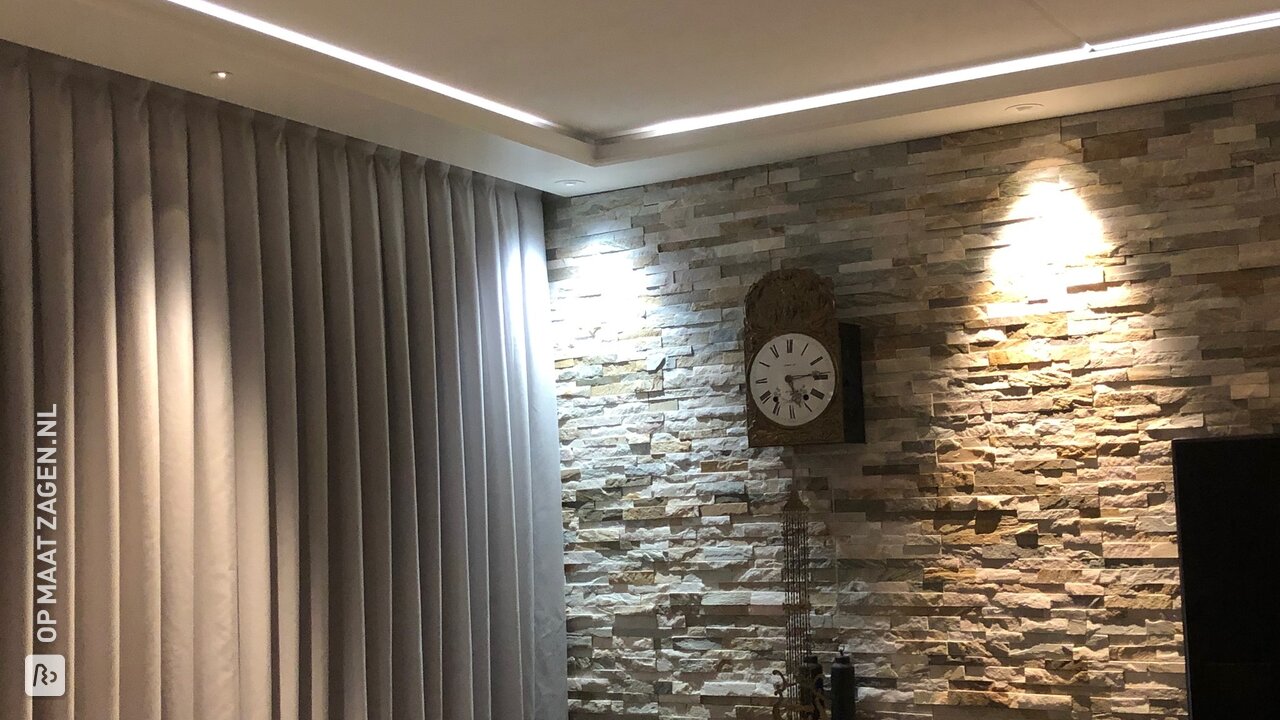
DIYer William proves that you can use a cove to beautifully illuminate a wall. The result is an atmospheric space with very beautiful, indirect light!
A Separate Cove above the Kitchen Island
According to this DIYer, making a separate cove (a cove not attached to a wall) can be quite tricky. Nevertheless, he succeeded perfectly and shares exactly how he did it.
Get Started with Your Own Custom Cove
In this article, we've explained how you can make a custom cove yourself. Ideal for concealing less attractive elements in your living room, kitchen, or hallway. The inspirational projects of our DIYers will help you get started with this DIY project confidently.
For the wood for this job, you can of course turn to OPMAATZAGEN.nl. We'll cut the wood perfectly to size for you and deliver it quickly to your home.