- OPMAATZAGEN.nl
- DIY tips
Handy tip: make invisible wood joints yourself
Handy tip: make invisible wood joints yourself

Before ordering material from OPMAATZAGEN.nl, it is a good idea to think about how you are going to assemble it, about the wood joints. Will you be using screws? Dowels? Or glue? Read our DIY tips about which accessories you can use and easily order with OPMAATZAGEN.nl.
Using screws
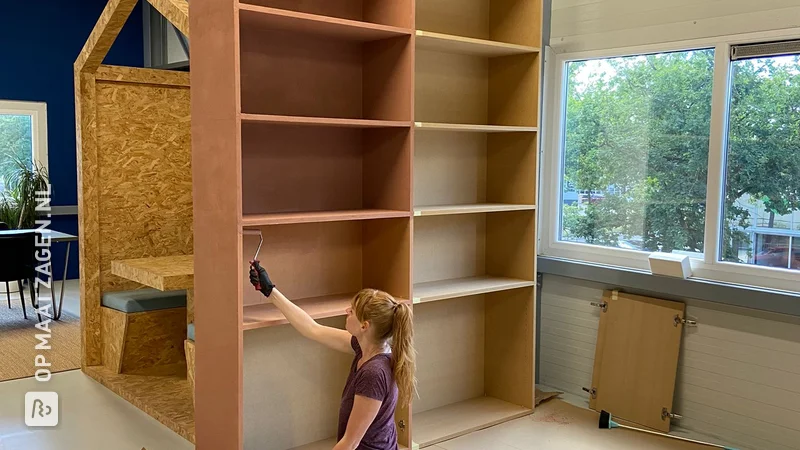
Fastening parts together with screws is not invisible. It is a fast and solid way of joining parts. But if you do not want to see screws, they should be drilled a little deeper into the wood so that the holes can be filled later.
With screws, it is always advisable to pre-drill a hole first. This ensures that the wood splits less quickly. Assume that you are using a drill that is 1 to 1.5 mm smaller than the size of the screw, otherwise the screw will not be tight enough. So if you are using screws in size 4.0 x 30, for example, use a 3mm drill bit. To get the screw nicely embedded in the wood, you can also use a countersink, so that the head of the screw falls into it and the hole can be evenly filled later.

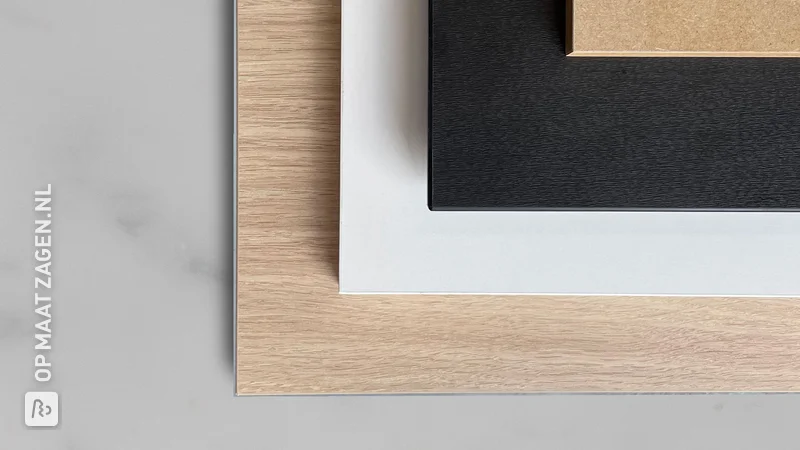
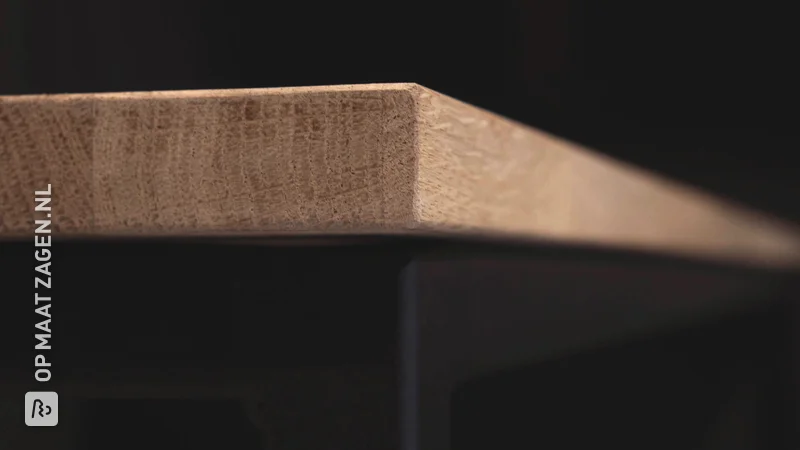
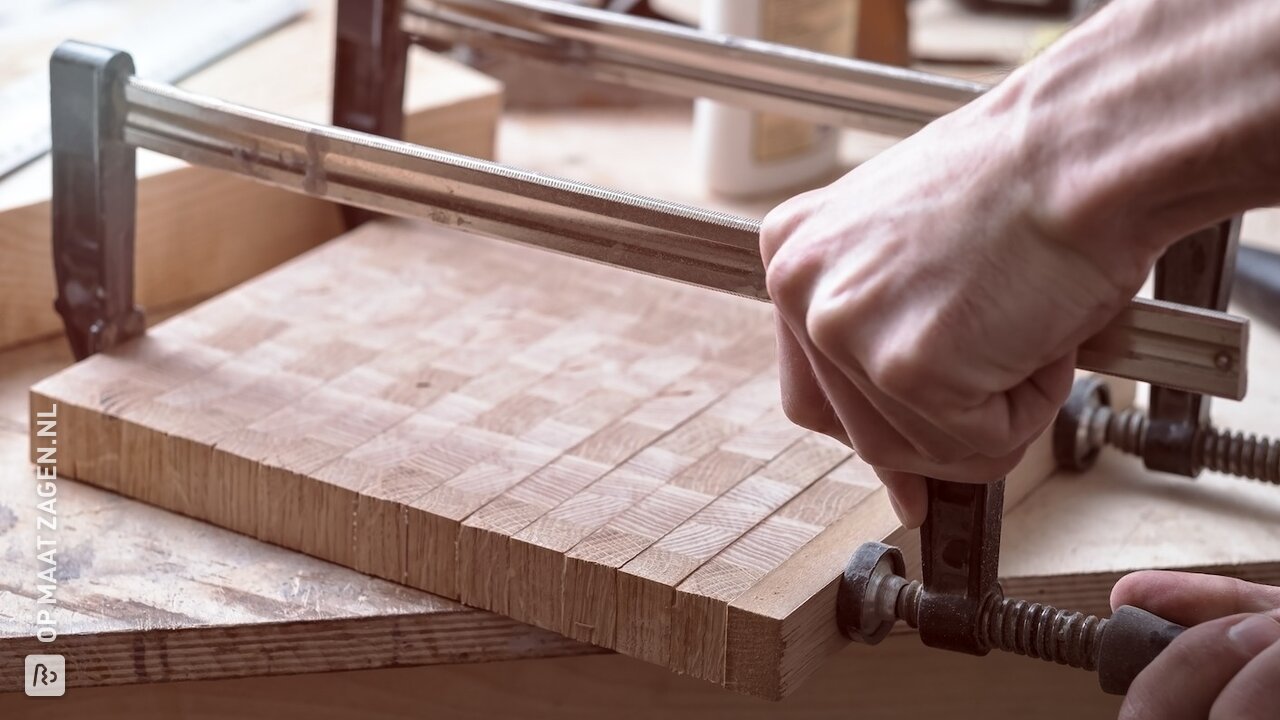
Or rather gluing
We are all familiar with this woodworking tip in the basics: Glueing. This becomes even easier if you have chosen to saw the material in a mitre. To glue long sides together, it is handy to use textile tape (duct tape). To do this, lay the two sides that you are going to glue together so that the outside is facing upwards. Stick a piece of duct tape over the entire length, exactly over the seam, and stick some pieces in the opposite direction as well for strength. Then turn the boards over so that the parts to be glued are on top. Now you can apply the glue and immediately fold the sides together. You can use glue clamps to hold it all together, or use more tape to hold the parts in place while they dry.
What kind of glue?
There is a lot of choice when it comes to glue! When do you use which one? First of all, there is wood glue. This is available in D2, D3 and D4. The number after the letter D indicates the extent to which the adhesive is moisture-resistant. D2 is not moisture-resistant and is therefore for indoor use. D3 is moisture-resistant and can be used in the bathroom, for example. D4 is waterproof and can also be used for outdoor applications. In addition, the various types of adhesive are also available in a fast-drying or 'normal' variant. The fast-drying variant may seem attractive to use, but if there is a lot of gluing to be done, it also means that you have to work very quickly to prevent the glue from drying too quickly!
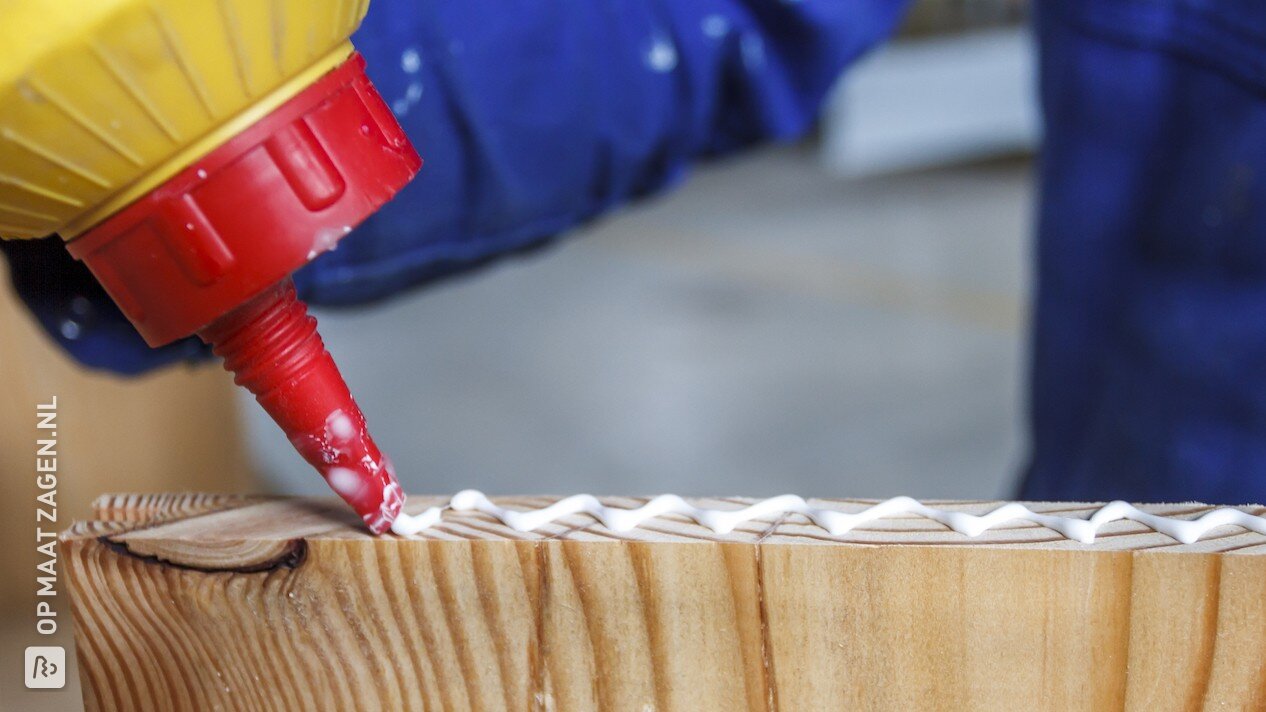
Another type of adhesive is construction adhesive. This adhesive is an effervescent adhesive that has a filling capacity. This adhesive is, for example, very suitable for gluing mitre joints. The adhesive will fill any unevennesses, so that the joint dries completely tight. Construction adhesive is also available in a Tix variant. Tix stands for tixotrope and means that the substance is somewhat tougher than liquid adhesive. A substance that is tixotrope becomes more fluid when you shake it (by way of comparison, ketchup is also an example of this). When gluing, it is handy to use a tix adhesive when working vertically.
Construction glue that comes out of the joint is easy to remove with a hatchet once it has hardened. Just sand it down and the joint is completely tight! It is a good sign if the glue is pressed out of the joint. This means that in any case enough glue has been used and there is enough pressure. Wood glue can be easily removed with a damp cloth.
High Tack is an adhesive with a slightly thicker structure. This adhesive bonds to the material immediately and it is not necessary to clamp the material. The so-called initial adhesion is therefore very high. This adhesive is suitable for bonding skirting boards, sills or other parts that cannot be clamped (properly), for example.
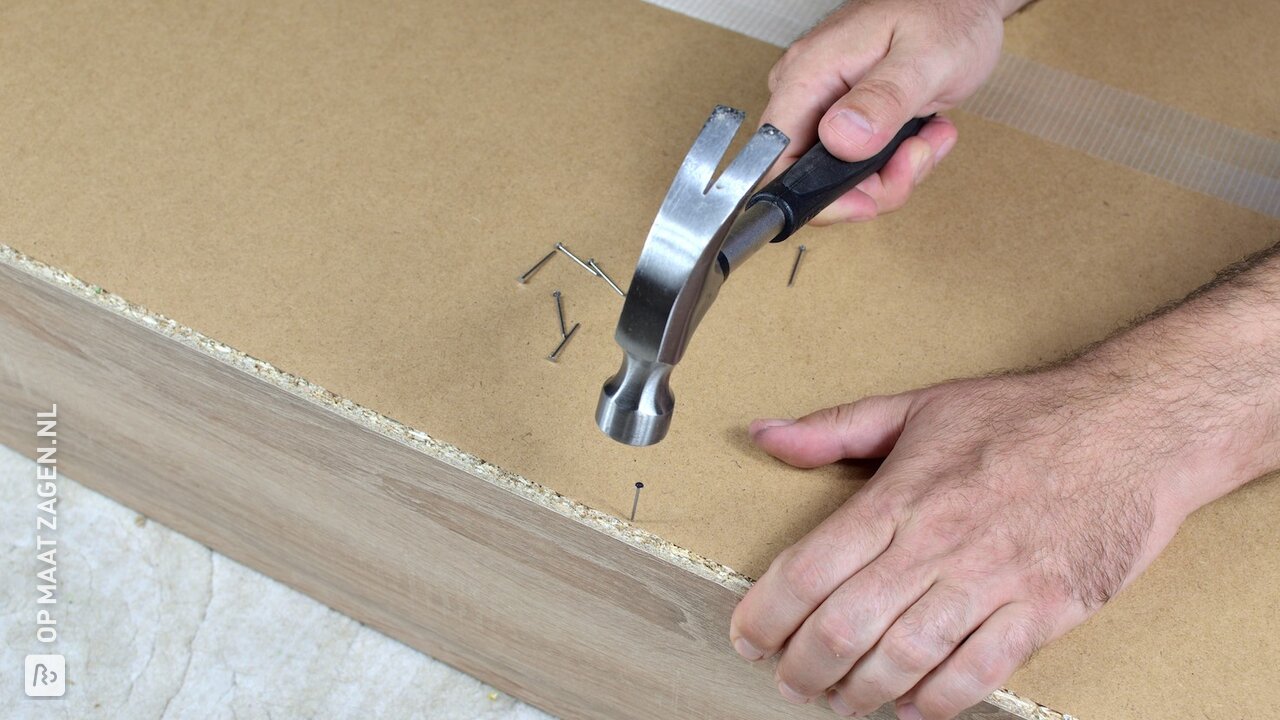
Using nails
If you want to make wood joints with thin materials, our handyman tip is: Use nails! Nails are a good option when working with thin materials. For the back of a cupboard, for example, you can use hardboard, which you can fix with nails. When nailing thin material, do not use nails that are too thick, as this can cause the wood to split. A nail size of 1.2 x 20 mm is a good choice. Place the nails about 20.0 cm apart for a strong connection.
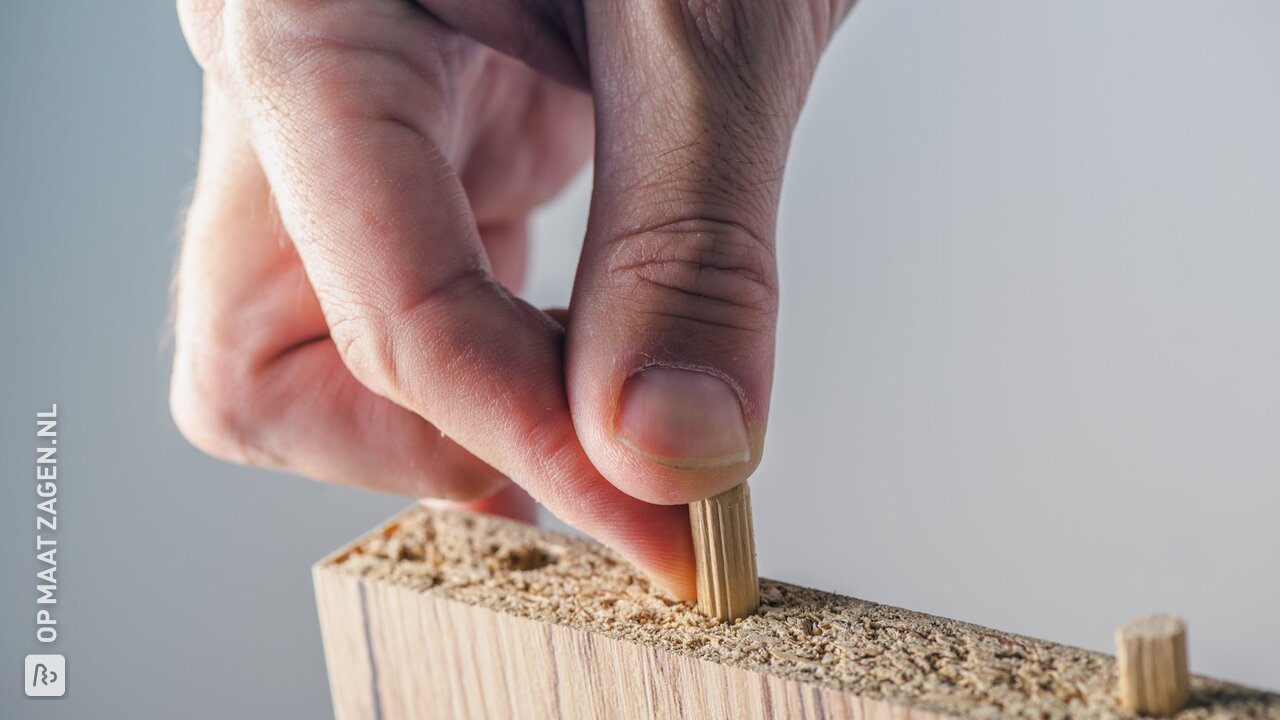
Making a dowel connection
The dowel joint is a relatively simple joint where dowels (pins) are placed in opposite holes. It is important to work accurately, because it is very important that the holes of the various components are in exactly the same place and are drilled straight, otherwise the joint will be crooked.
Handyman tips: Making wood connections
Now that you have read all our handyman tips on making wooden joints, you should be ready to start your job. Have fun with your project!