- OPMAATZAGEN.nl
- Do it yourself
- DIY Projects
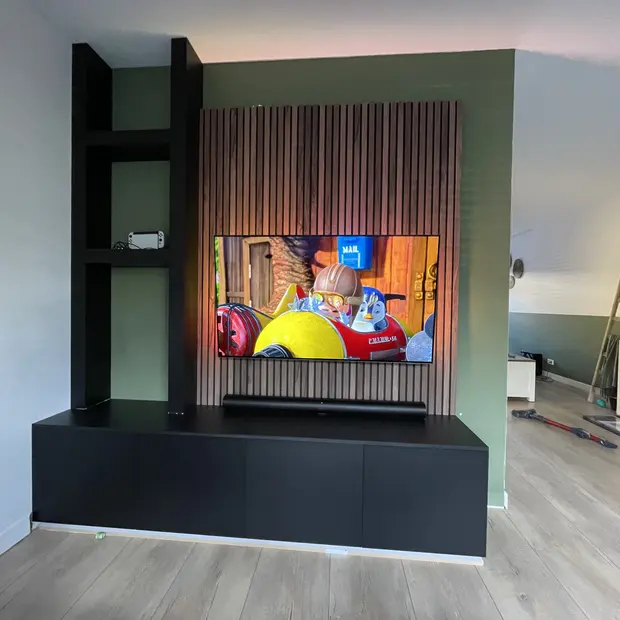
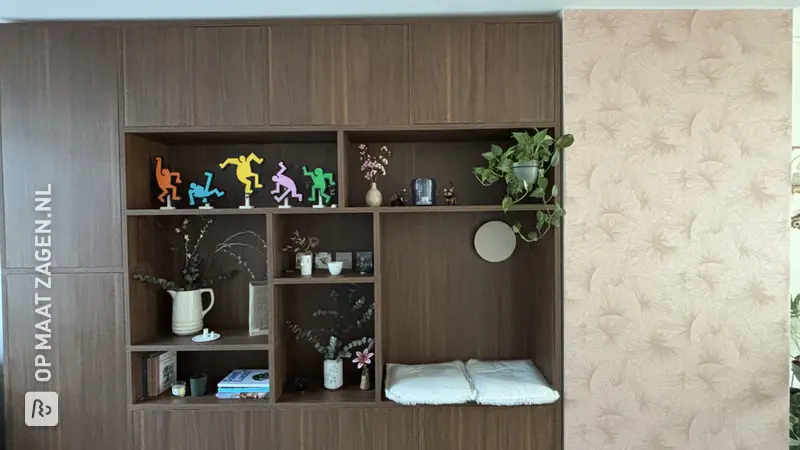
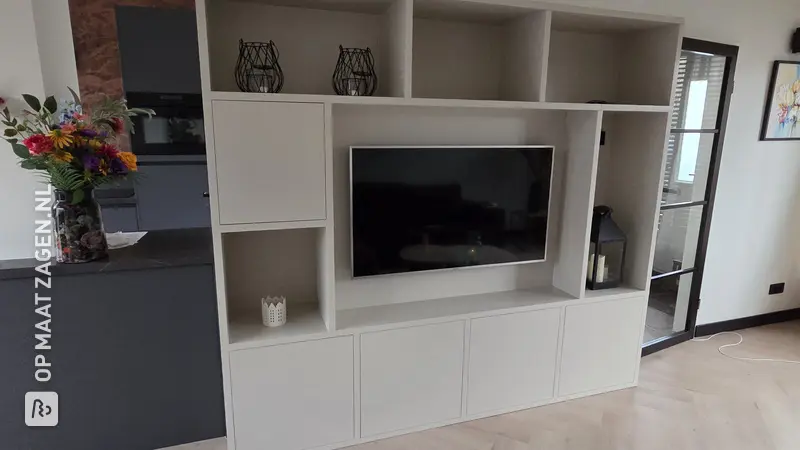
TV cabinet with cove, with a children's desk
TV cabinet with cove, with a children's desk
Create this project yourself with sheet material cut to size by OPMAATZAGEN.nl!
Charon
Above average
3 minutes
Description
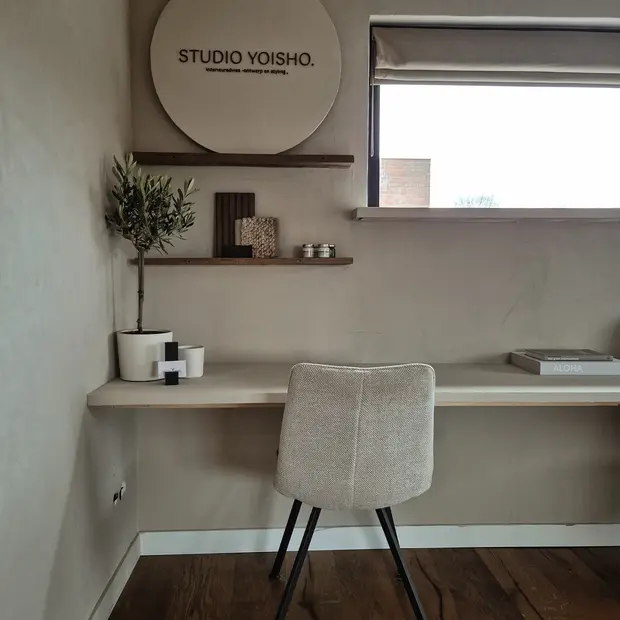
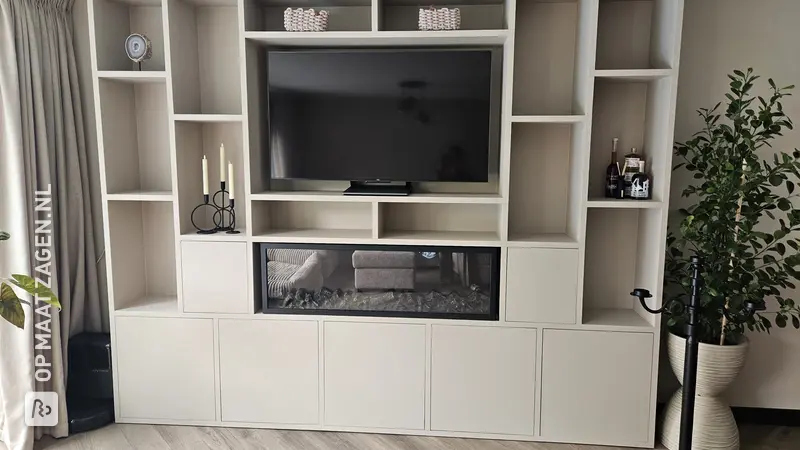
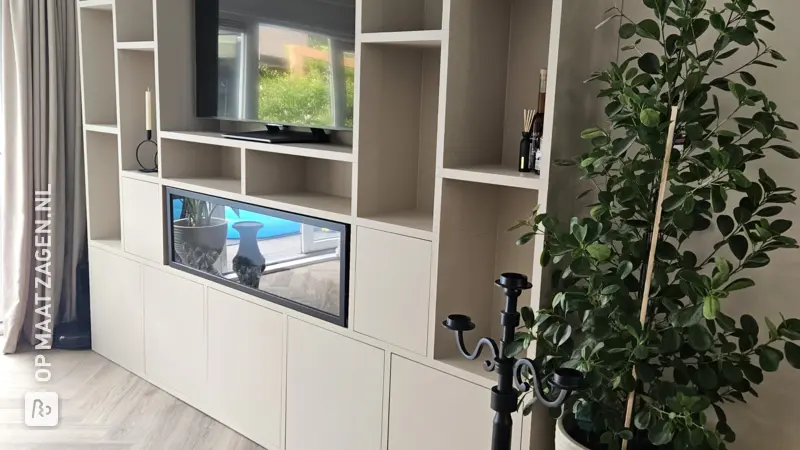
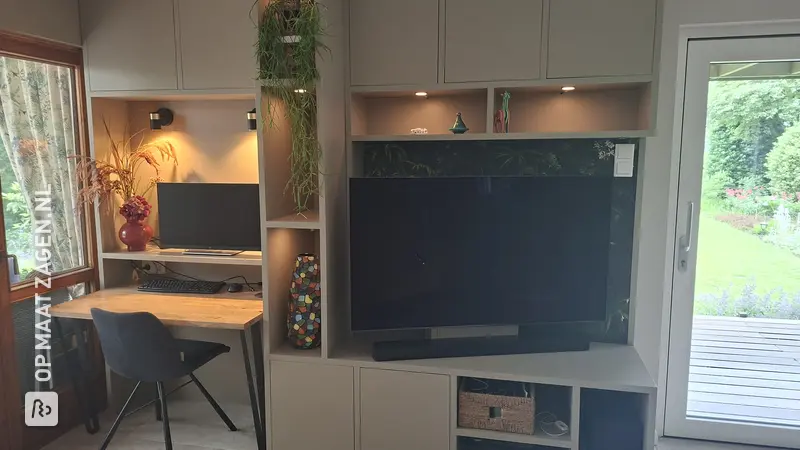
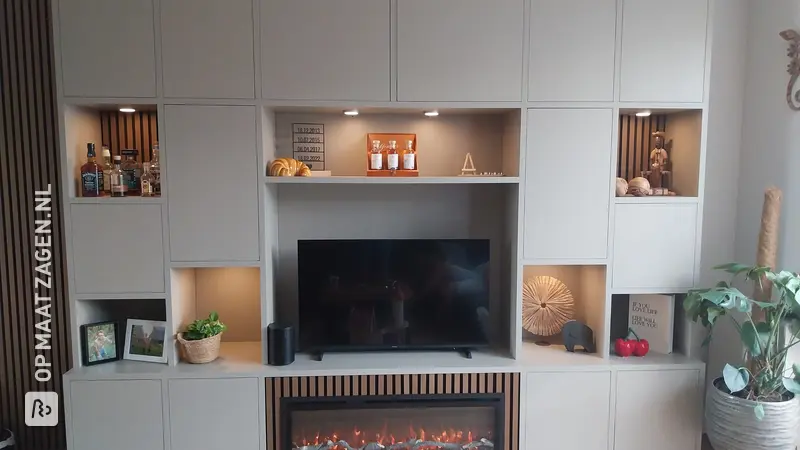
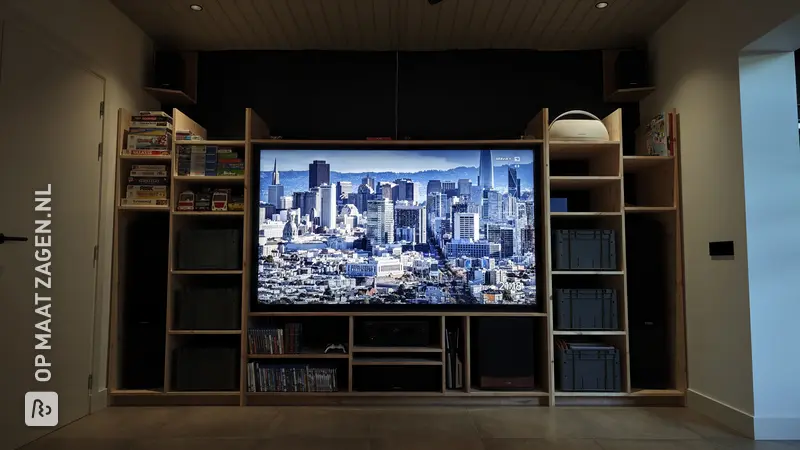
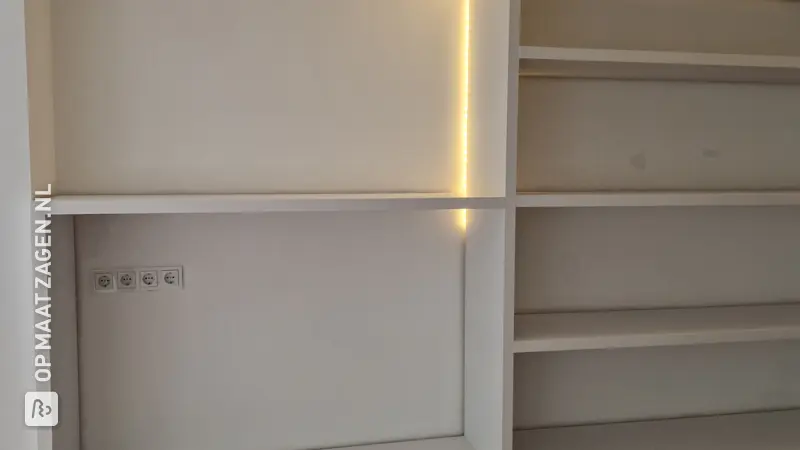
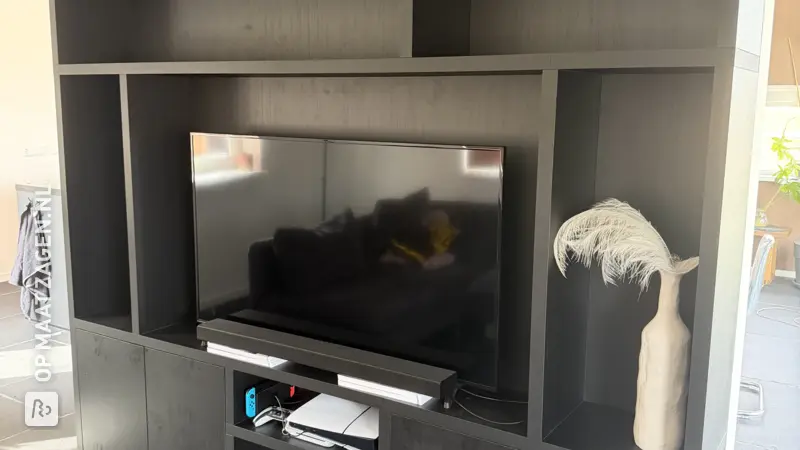
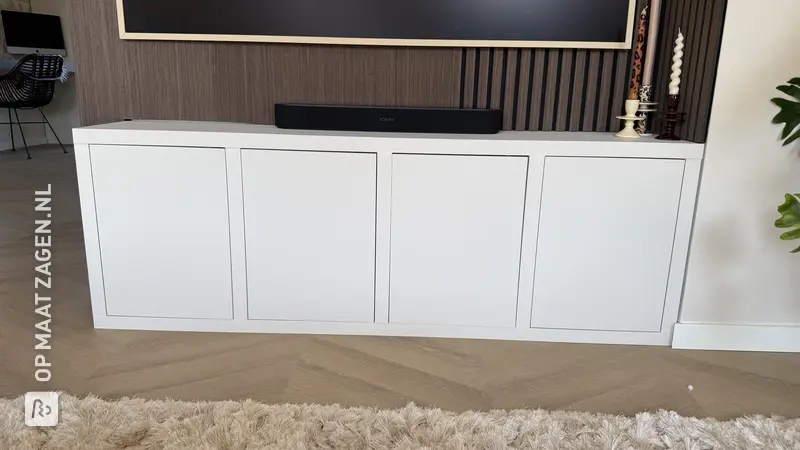
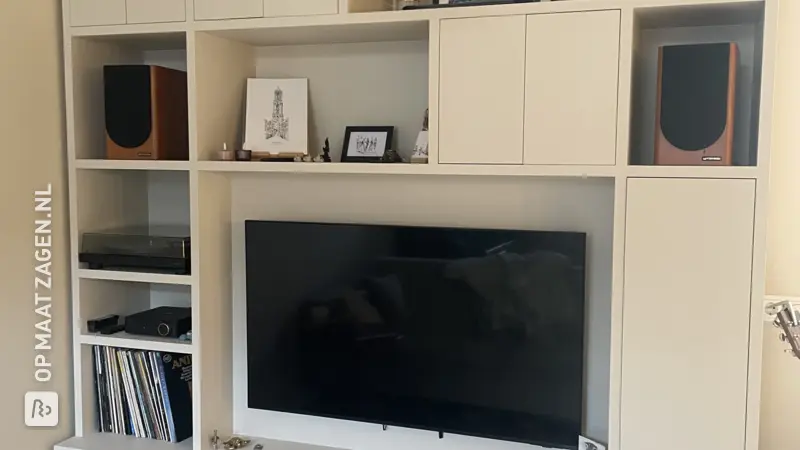
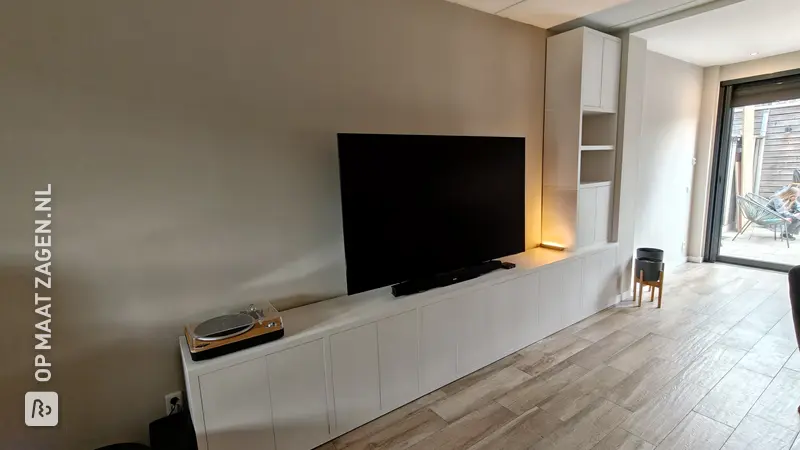
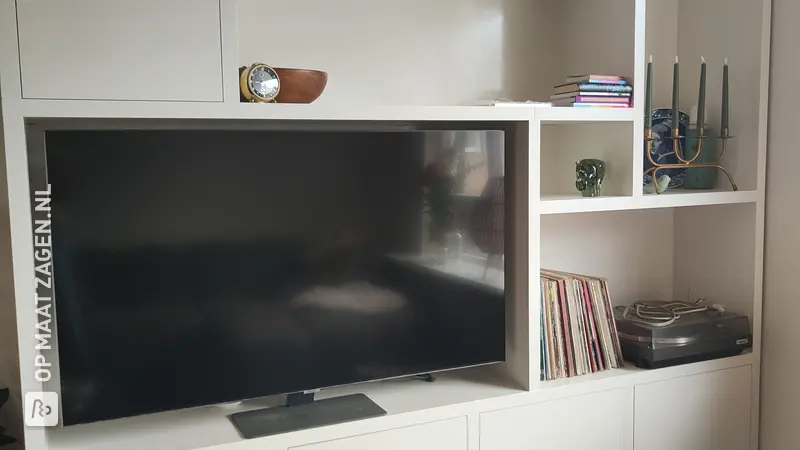
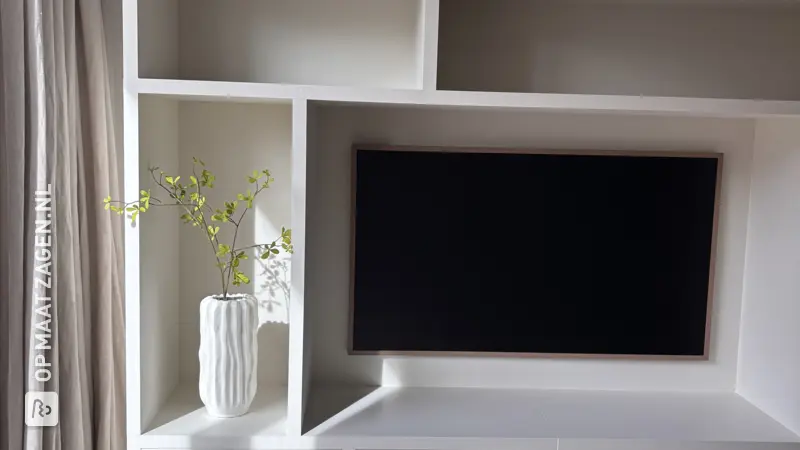
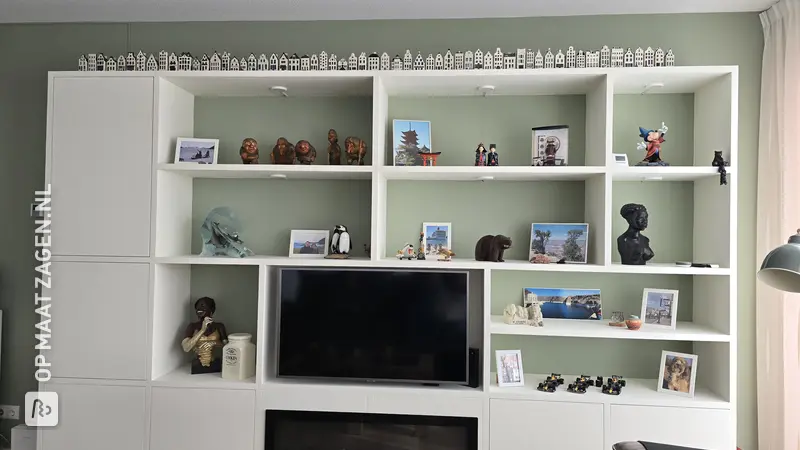
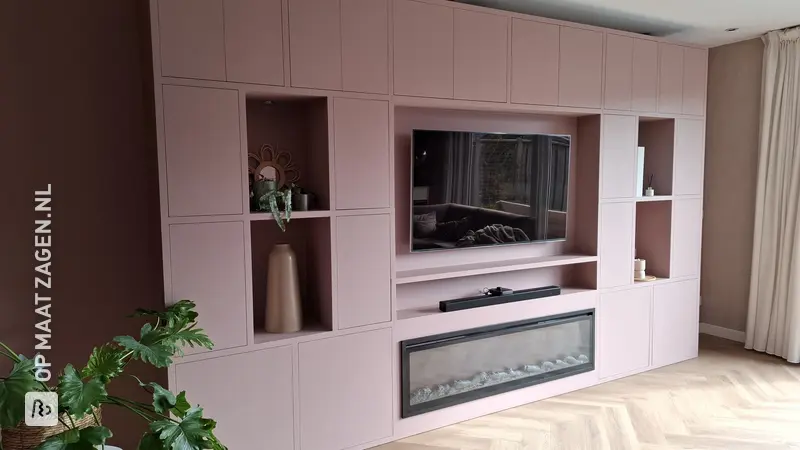
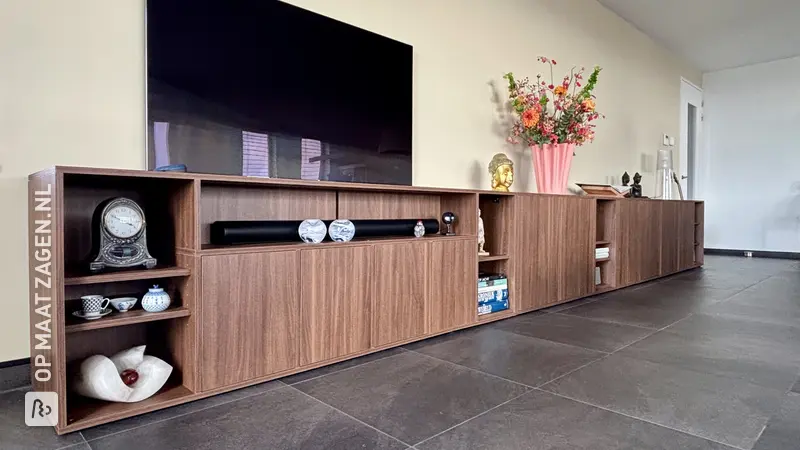
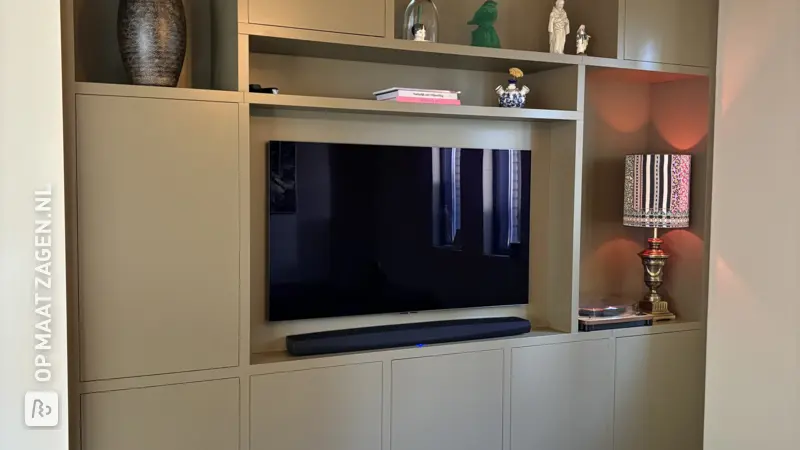
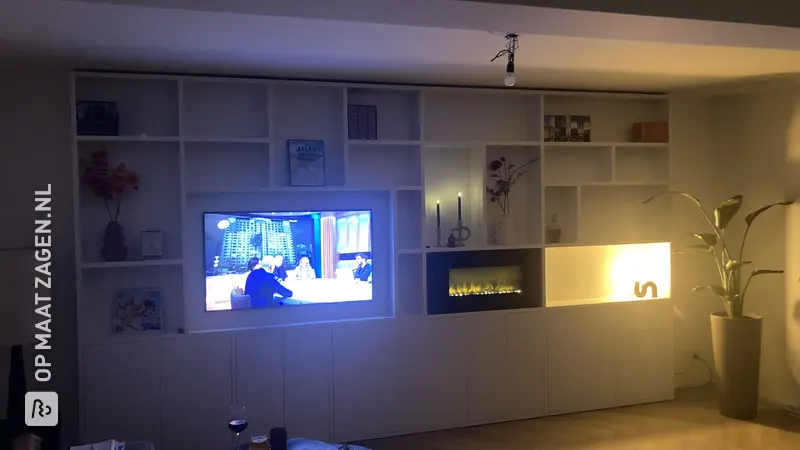
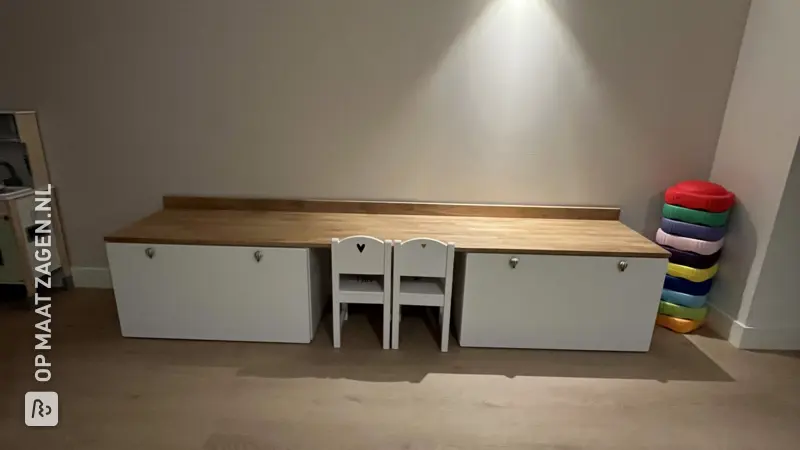
The end result is a TV wall unit. The background near the TV is tiled with stone strips. Next to the TV, a cove has been made with built-in spotlights, under which a built-in fireplace has been placed (OptyMist). The bottom of the furniture consists of 2 cabinets and a separate leg. The doors of the cabinets can be pushed open. On the left side of the cupboard the top extends a little further, so that the children can sit at it to play or do crafts.
How did you make your project?
I am started making the frames of the lower cabinets, the leg on the end and the cove with pine beams. I then attached the custom-sawn parts from OPMAATZAGEN.nl. This means you can assemble the cabinets fairly quickly. I had the corners mitered so that most of it fits seamlessly.
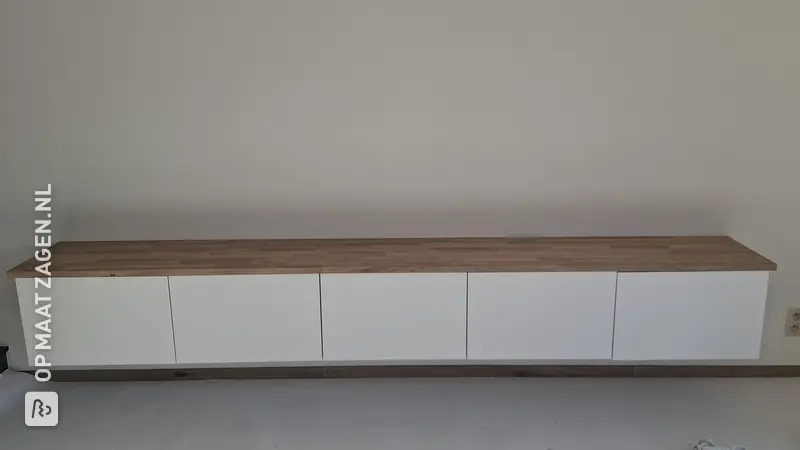
The cabinets were then further prepared with openings for cables and electrical processing. I ordered 2 large pine wooden tops from OPMAATZAGEN.nl, and a number of separate panels (for the doors and the shelf). I attached the 2 long planks together, creating 1 plank of 450.0 cm. I had measured the doors a bit too ambitiously, so I manually sawn some more to get a nice fit. Which I first incorporated into the frame.
I filled all the screw holes and seams on the MDF with an MDF filler. Then everything was sanded smooth and cleaned so that it was free of grease and dust and then the painting work started. I treated all the pine wood once with a bark-colored stain. The MDF had to have a concrete look, so I first provided it with a primer and then finished it with a base layer of concrete look paint from Moodpaints and then another layer with a brush and cloth to get the concrete look effects (tip: Moodpaints can be applied to the wall with a spatula). , on the MDF it easily removes the paint, so wipe it with a cloth and dip it to get a nice effect).
In the meantime, also the part behind the wall provided with struts, so that the cabinet could be assembled. So all parts were placed properly, attached to the wall with some screws and the top was attached from underneath the cabinets with screws. I immediately made some openings for cables that run from the TV to the cabinet and then I also measured and cut out the fireplace. When the cupboard was in place, the tiles behind the TV were covered with plasterboard (9.5 mm), treated with primer and the next day the brick slips were tiled.
Some things to note the photos are still missing, are the TV and equipment :-), a plinth and for behind the fireplace I ordered a custom opaque black plexiglass to conceal the cables and get a nice effect of the flames .
All in all, a weekend or 3 jobs and the necessary evenings of painting. But I am very happy with the result!
What are the dimensions?
The project as a whole is 50.0 cm deep and 450.0 cm wide. The whole extends to the ceiling (244.5 cm).
Tip! Also check out our handy DIY tips!
What now?
Want to make this DIY project? Check out Charon's saw list and complete your order easily.
€ 1.009,13
View all sheet materials