- OPMAATZAGEN.nl
- Do it yourself
- DIY Projects
Homemade Christmas tree village: atmospheric and simple, by Sigrid
Homemade Christmas tree village: atmospheric and simple, by Sigrid




Create this project yourself with sheet material cut to size by OPMAATZAGEN.nl!

Sigrid

Easy
2 minutes
Discover Sigrid's Magical Christmas Tree Village
With the holidays just around the corner, Sigrid has created a beautiful and cozy Christmas tree village. This homemade project is not only eye-catching but also easy to implement. Let's dive into the details of this creative design.
An Atmospheric Christmas Village as an Eye-catcher
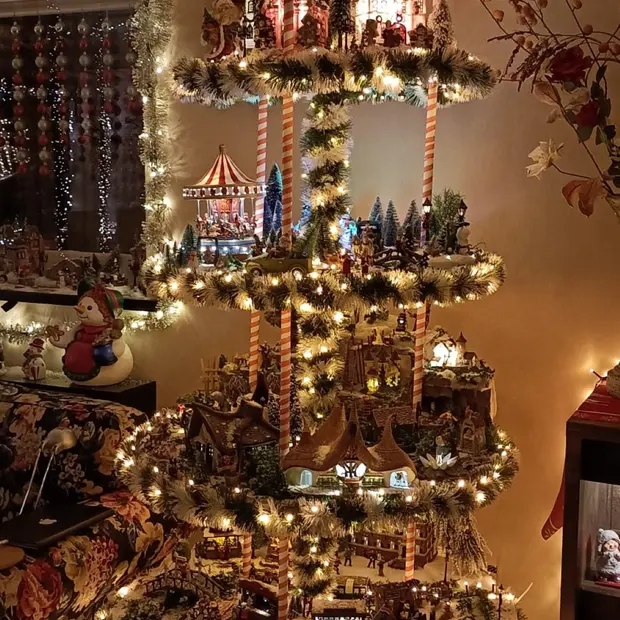
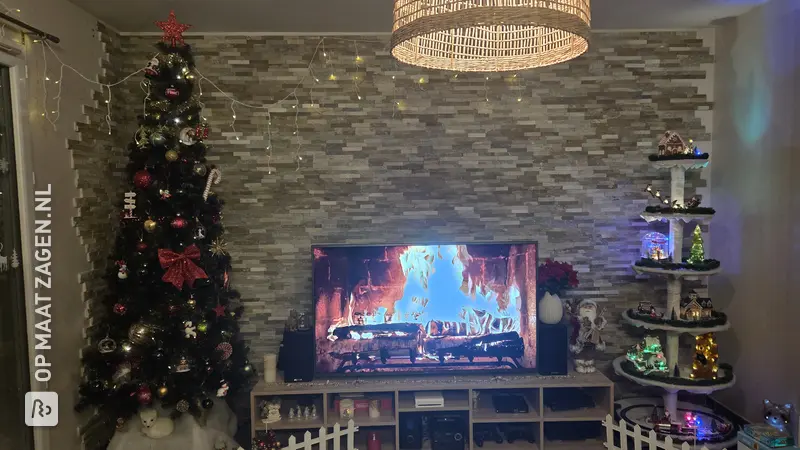
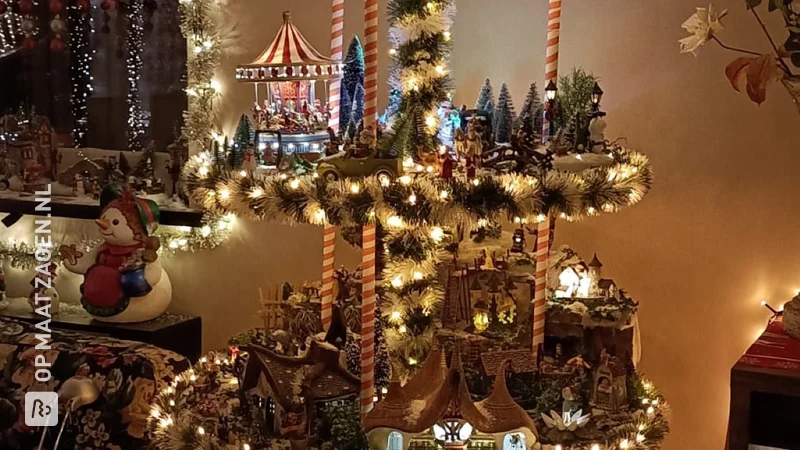
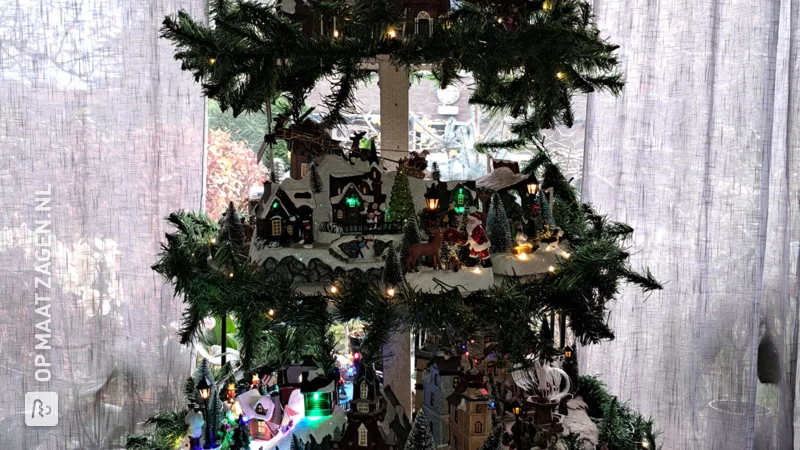
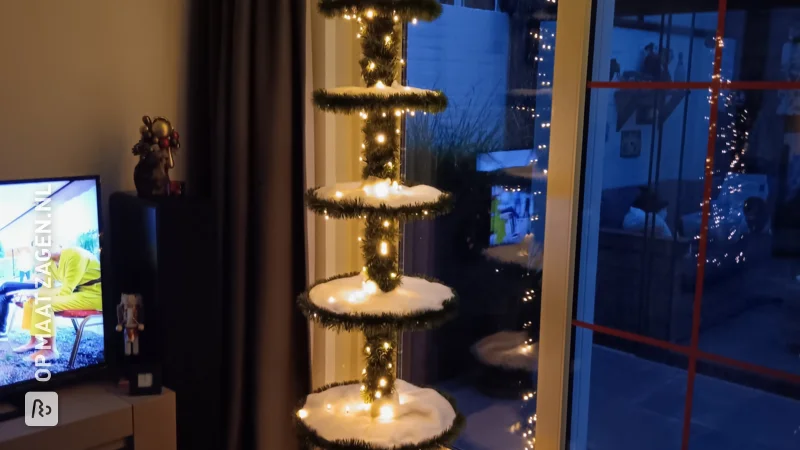
This DIY project by Sigrid transforms any room into a winter wonderland. The stepped floors, decorated like an enchanting miniature Christmas village, create a cozy and warm holiday atmosphere. With twinkling lights and festive decorations, it brings the magic of Christmas to life.
Creative Construction with Custom-Cut Wood
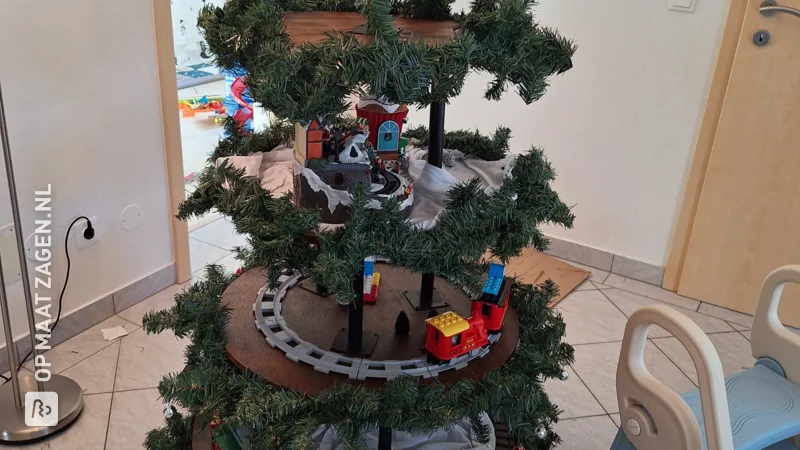
The structure consists of several levels of wood, perfectly cut to size by OPMAATZAGEN.nl. The wooden circles form the base on which Sigrid built her village. Each level is decorated with blankets of snow, cheerful houses, and miniature figures, emphasizing the winter atmosphere. The use of MDF Natural makes the whole thing sturdy yet flexible to work with, ideal for this kind of creative projects.
Strategically Placed for Maximum Impact
The Christmas tree is strategically placed in the living room, so that every guest is immediately greeted by the festive atmosphere upon entering. Its central placement allows the tree to truly shine, allowing everyone to enjoy the decorations and lights from all sides.
The Benefits of a DIY Project
The biggest advantage of making a project like this yourself is the freedom you have in terms of size and material choices. You decide how much space you want to dedicate to it and you can completely customize it to your personal style. Moreover, it's often more budget-friendly to make your own decorations than to buy them ready-made.
The Use of MDF Natural
MDF Natural is a popular choice for creative projects like this because of its smooth finish and versatility. It's easy to paint and cut, making it ideal for creating detailed designs. Plus, it's a sustainable choice, perfect for reuse on new projects in the future.
Tips for the Perfect DIY Project
A key tip is to make sure you have the right saw for your material—it makes a world of difference. It's also wise to create a clear design beforehand so you know exactly what to do during construction. Take your time and enjoy the process!
With these guidelines and inspiration from Sigrid, you're ready to create your own unique Christmas village. Have fun crafting!
Tip! Also check out our handy DIY tips!
Step by step guide
Preparation
- Bought a wooden beam, metal supports, screws, and six round wooden circles, each ordered 15cm smaller. And of course, bought lots of screws.
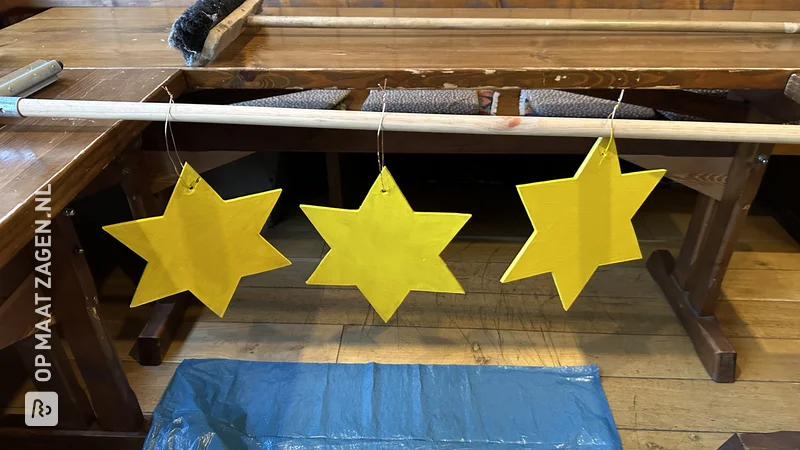
- Wooden center track painted
Montage
- In the middle of the beam, cut out a square hole using a template.
- Place the beam in the center of the largest circle and secure it with iron supports and screws. Then place the slightly smaller circle around it and secure it with the iron supports as well. Continue in this manner until the smallest circle is at the top.
- Cover the circles with white snow cloth. Do this with a professional stapler. Then staple the artificial Christmas greenery around the circles and finally, add a berry branch here and there.
- Build the Christmas village.
Finish
- Finally, the string of lights through the greenery around it.
- Enjoy!
What now?
Want to make this DIY project? Check out Sigrid's saw list and complete your order easily.
€ 132,76
All materials used
View all sheet materials
My experience with OPMAATZAGEN.nl
Order
Delivery
General experience