- OPMAATZAGEN.nl
- Do it yourself
- DIY Projects
David's job report: DIY speaker box from MDF
David's job report: DIY speaker box from MDF
Create this project yourself with sheet material cut to size by OPMAATZAGEN.nl!
David
Average
6 minutes
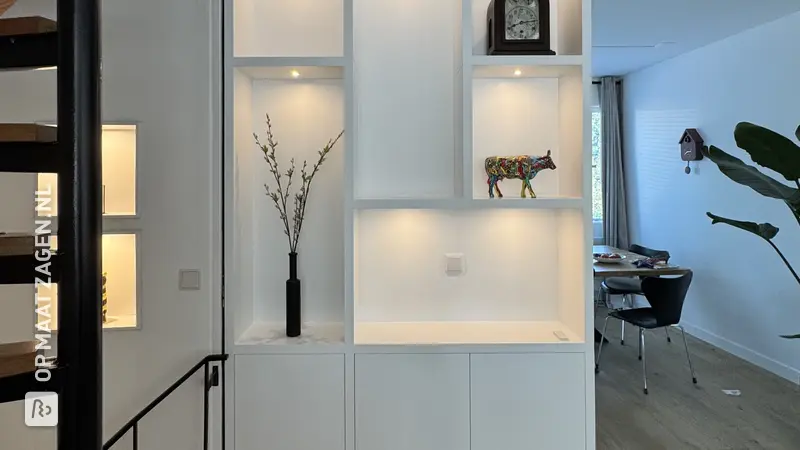
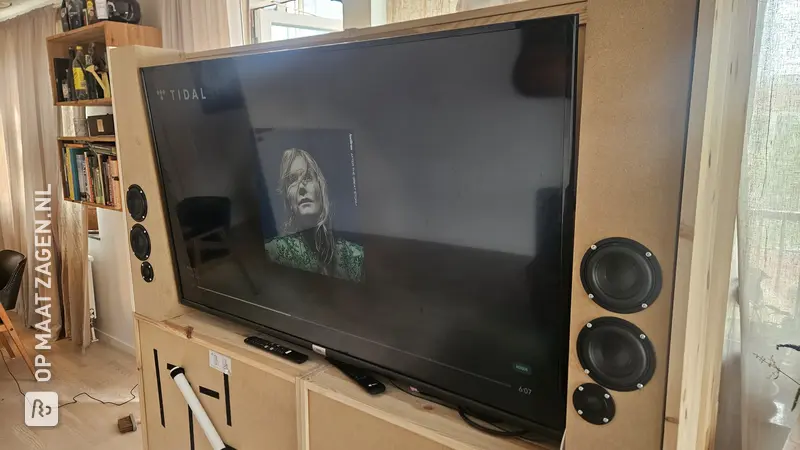
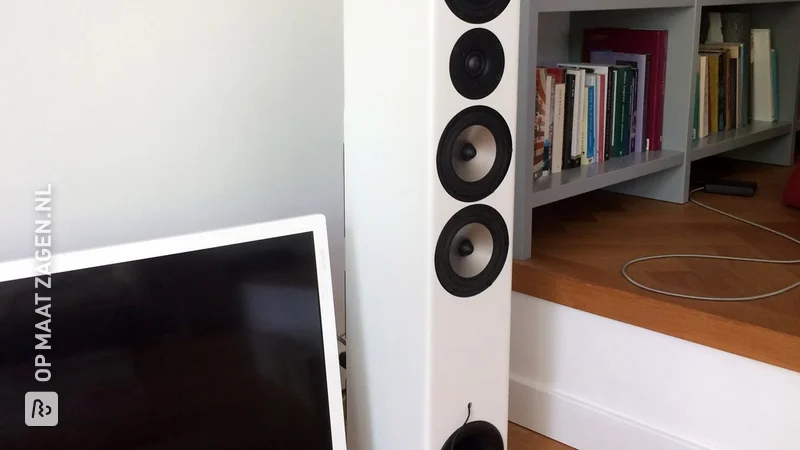
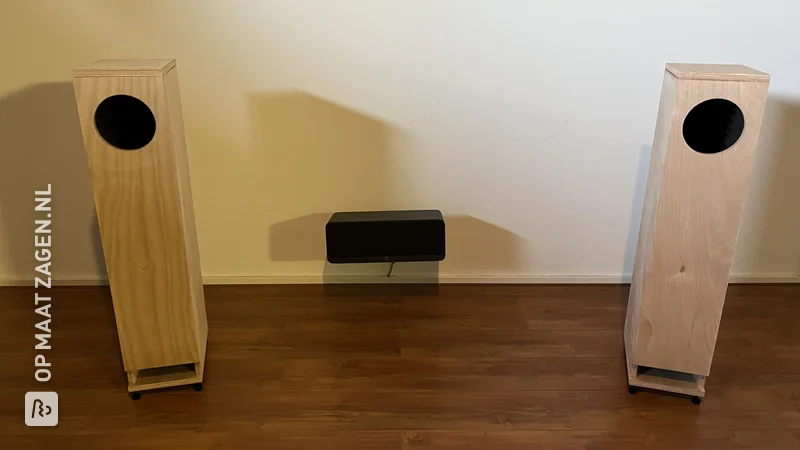
David ordered black MDF from OPMAATZAGEN.nl to make his own speaker box. He reported extensively on the entire project! Read along with David's approach and get inspired to start building your own sound box!
Report on a self-built speaker box
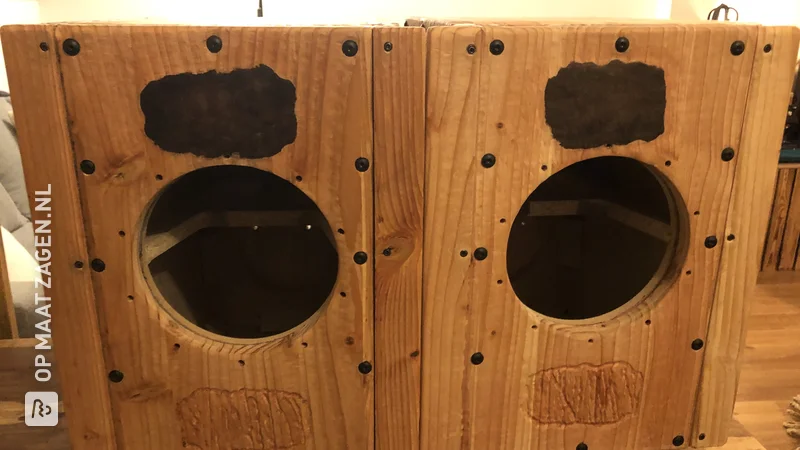
In the past I have built a speaker box from MDF from the local hardware store. To start with, the sizing wasn't great, they're doing their best, but they're still struggling. After it was finally put together with a lot of sanding and measuring, the MDF turned out to be rubbish. Just soft board. Primer made all the fibers stand up, so sanding, priming again, etc. etc. Even after 10 layers (with a few days in between to let the primer dry) it was still not good. To top it all off, the wood also turned out to be too soft to properly screw a speaker into it. Terrible. The work has cost a lot of time and effort and the result is not satisfactory. At such a moment you realize that you are not a woodworm.
Recently I wanted to build a sound box again, but no longer with such crappy MDF. I had already understood from a professional that you have MDF and MDF, and that the hardware store MDF is not one of the top, but rather flut.
How I made this project
Google is your friend, so I ended up at OPMAATZAGEN.nl. After a pleasant exchange of emails, to ensure that custom is really custom, and the MDF top instead of fluffy, I ordered.
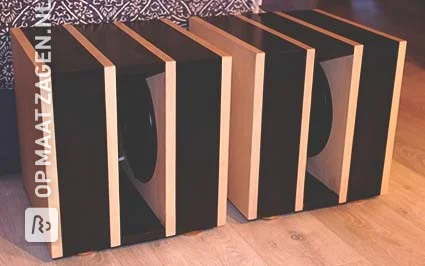
Because I always find it difficult to tighten the ends of MDF. find, and OPMAATZAGEN.nl can also saw miter, I decided to go for a full miter (outside). In itself, this would not be necessary with thoroughly black MDF, but it seemed like a nice material to me. Despite the extra cost, I opted for it.
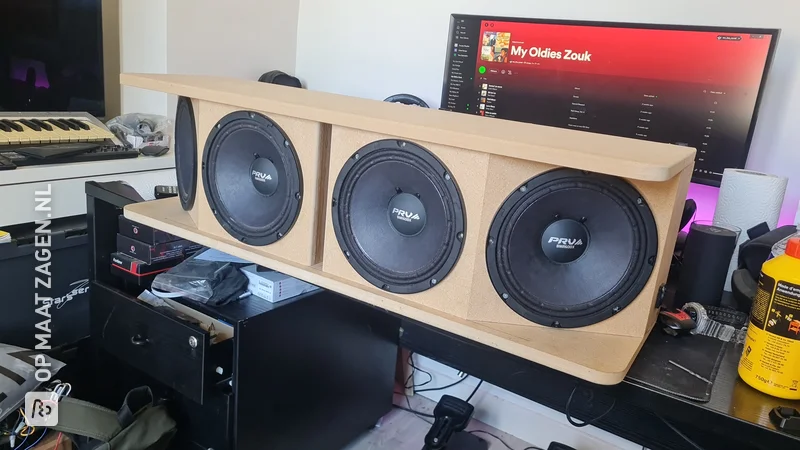
Actually a huge trial by fire, with the chance that I could throw away my money. The box is 53.0 × 32.0 × 28.0 cm, so order the front, back, sides and top/bottom in that size, without deducting the material thickness. After all, it is miter sawn. Only the dimensions of the internal partitions/reinforcements need to be calculated.
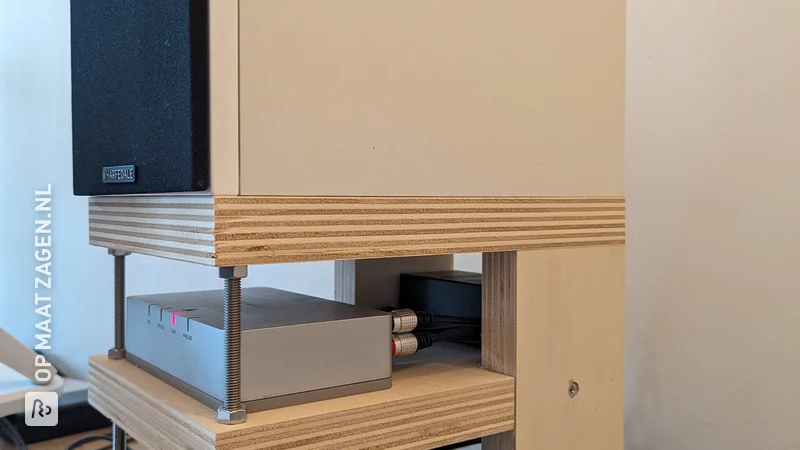
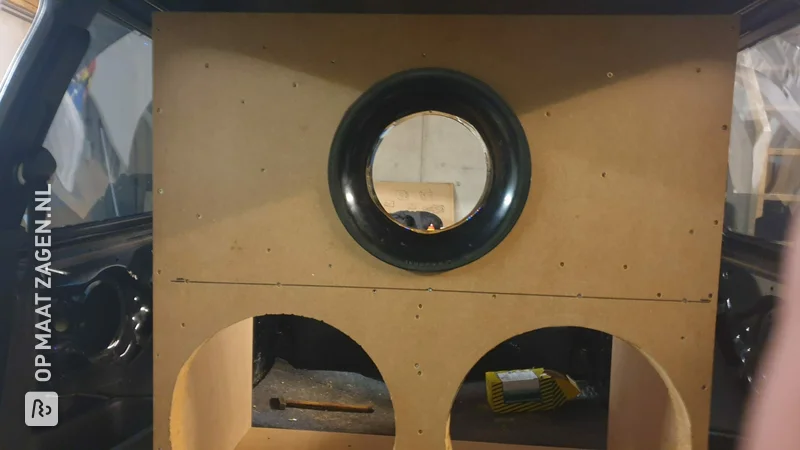
It will be an active box, so with the electronics built in, and for that I needed some extra shelves. Ultimately, I ordered the following for my MDF speaker box:
The order was delivered and I could get started!
The wood arrived at my home, lavishly packaged, within 3 days, and I immediately fell in love with it! This really looked perfect. Very neatly sawn, beautiful heavy MDF, and not a single flaw to be found. I did not prepare anything for the wood (sanded anything, etc.) and started gluing it the same evening.
Gluing miters
Good miter sawn material is easy to glue: place the parts to be glued with the sharp edges tightly against each other on a flat surface (align properly) and apply masking tape over the parts. This creates a 'hinge'. Turn the parts together, lightly coat the angled (mitred) parts with glue, spread the glue, and carefully fold the parts closed. Press the excess glue out of the connection.
I used one of the non-miter sawn 'parts' to get the angle to exactly 90 degrees, although that actually went well by itself. I used quick drying wood glue (Pattex Express D2 from Henkel). Ideal stuff. Quick drying Bison wood glue D2 will work just as well.
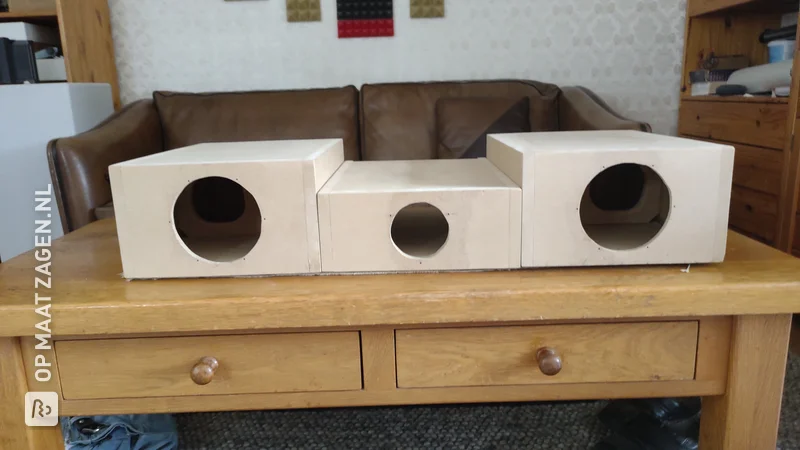
After gluing a back and a side in this way, I glued on some dividers. If I had glued both sides, I would no longer be able to get between them properly with glue with a bulkhead. So some thinking about the order is necessary!
Gluing the partitions
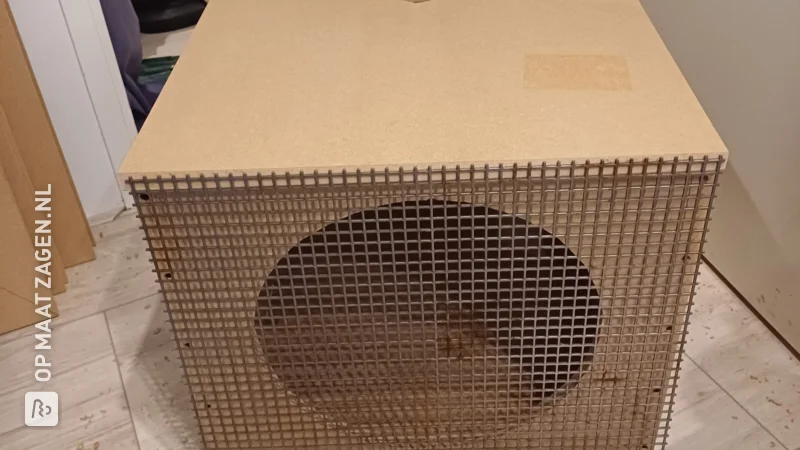
Gluing the partitions went well, everything turned out to fit very accurately. Not only accurate to the millimeter, but even better than that!
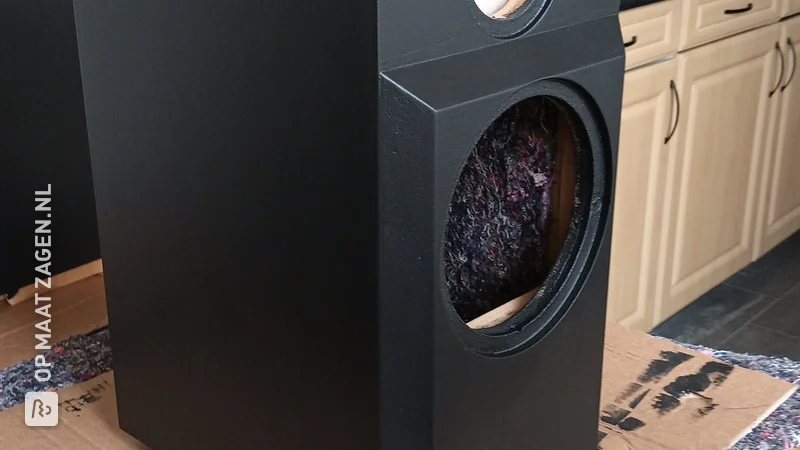
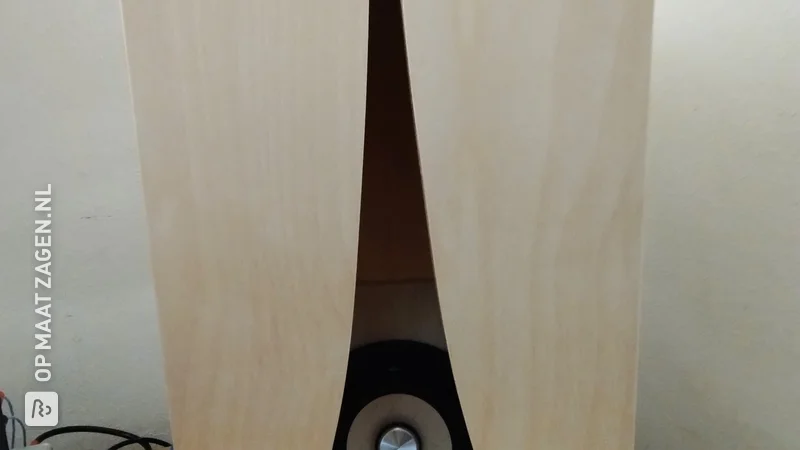
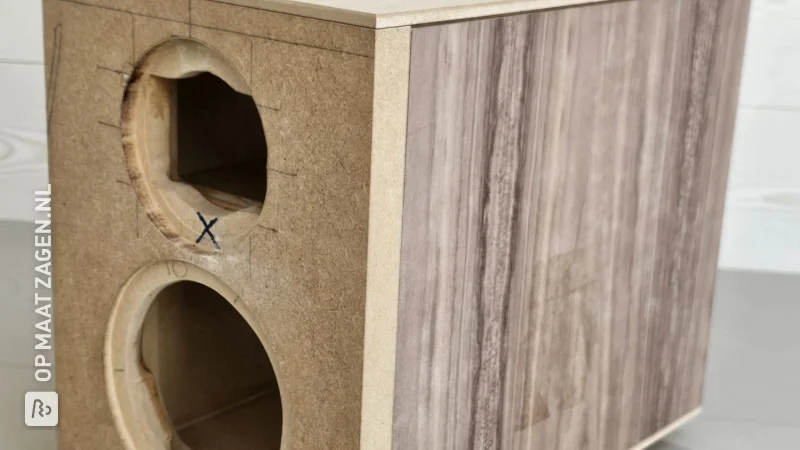
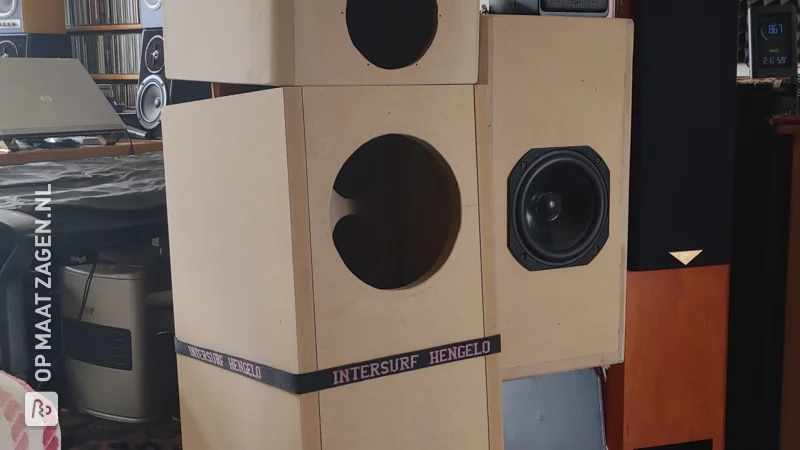
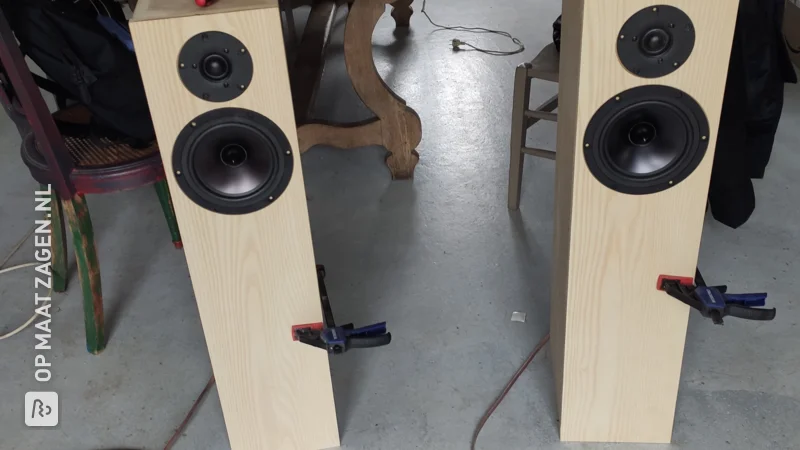
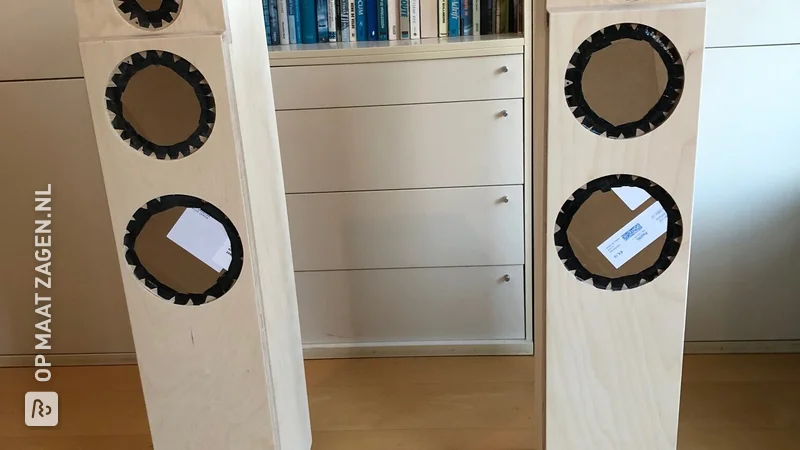
After all the inner parts were glued, I glued the other side and finally the front. I had already sawn the holes for the speakers in the front with my jigsaw. This went very well, although it was considerably slower than with the hardware store MDF (it is really hard stuff).
The bottom and lid remained to be glued, and at that moment I became nervous. All size deviations would pretty much end up in the bottom and lid. Wow, had I done it smartly?
After some fitting, I was reassured again. Apparently I had glued the parts together accurately enough, and the sawing was precise, because the bottom and lid fit without any gaps!
So, spread glue on the sloping surfaces and put everything together. Again with masking tape to get everything in the right place and keep it there. Where there was no painter's tape, I always wiped away the excess glue with a damp cloth.
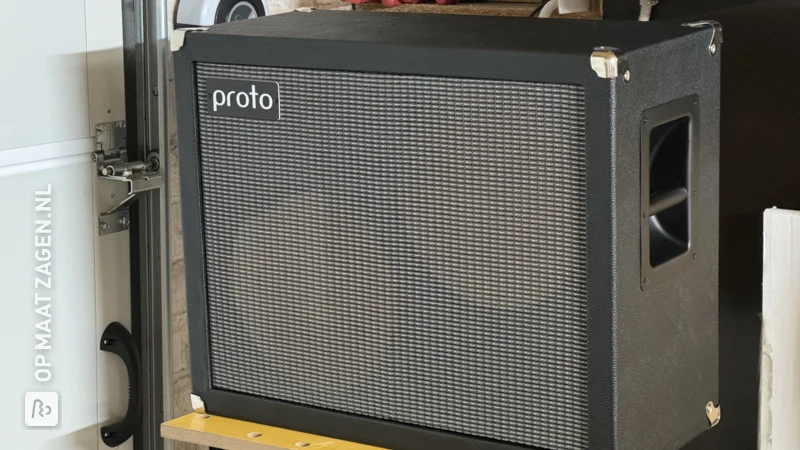
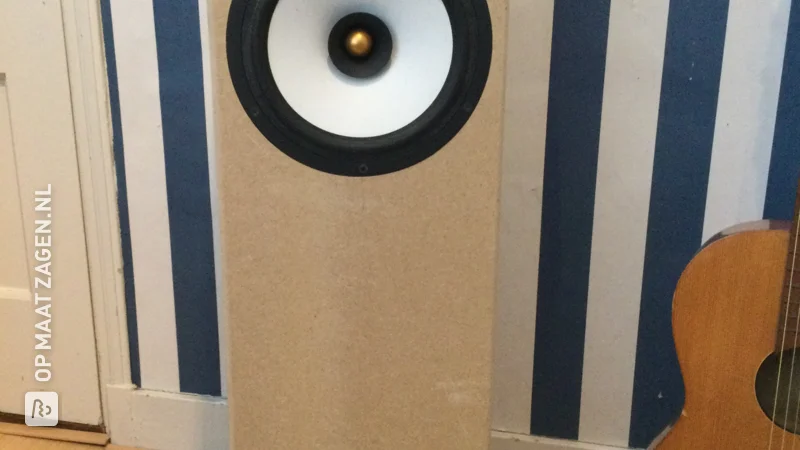
Nicely sawn to size, and now paint!
After all this gluing work it became clear again what was happening along the way. it was still pale: that MDF was cut to size, incredibly beautifully!
After a day of drying (glue), I decided to give the MDF a layer of primer. I'm a bit fed up with water-based paint, so I bought a turpentine-based primer and topcoat.
After degreasing with Thinner, I made the outside super smooth with 600 sandpaper. It didn't even require sanding, because the MDF is already nice and smooth. I slightly chamfered the sharp corners that were created after gluing the miter sawn parts together. Dedusted (cloth with Thinner) and then rolled the whole thing (except for the bottom) in primer. No MDF primer, but simply primer for wood, diluted approximately 5% (turpentine). The MDF actually didn't absorb anything, and the result is impressive. Sanding and priming together took me less than an hour. Wear a face mask while sanding, because MDF particulate matter is carcinogenic.
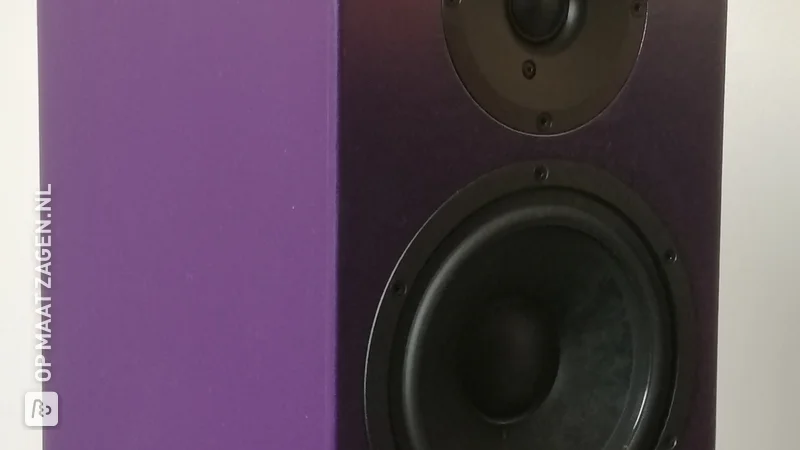
After rolling with a foam roller, the primer does not appear smooth, just leave it as it is, it will pull smoothly. Be sure not to roll it again later, as this will only make it less tight. I let the primer harden for 5 days, because I don't want an underlayer to be a bit soft. After this hardening, I sanded again with 600 sandpaper (again with little effort) to get everything nice and smooth. Since I wasn't stripping anything, I started rolling the first layer of topcoat. I also did this with a foam roller. If you don't press too hard, you won't create bubbles with a foam roller, you won't push air into the paint. But unfortunately, this paint did not read the book. Next time I will use a Mohair roller. A bit more expensive, but EVEN sleeker!
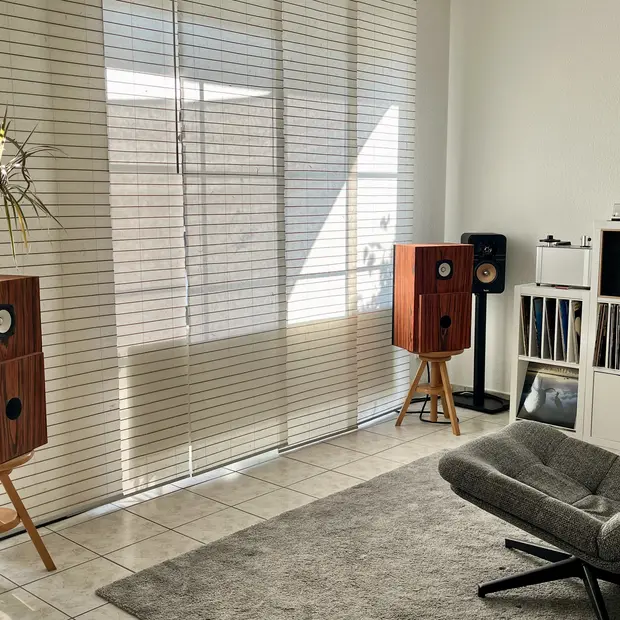
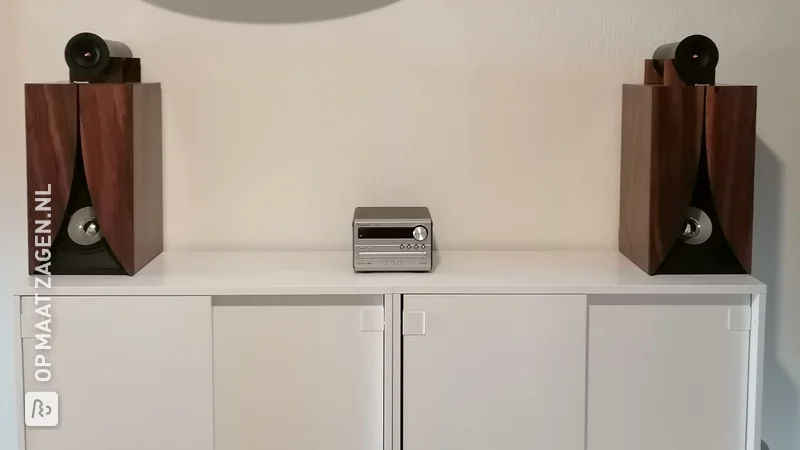
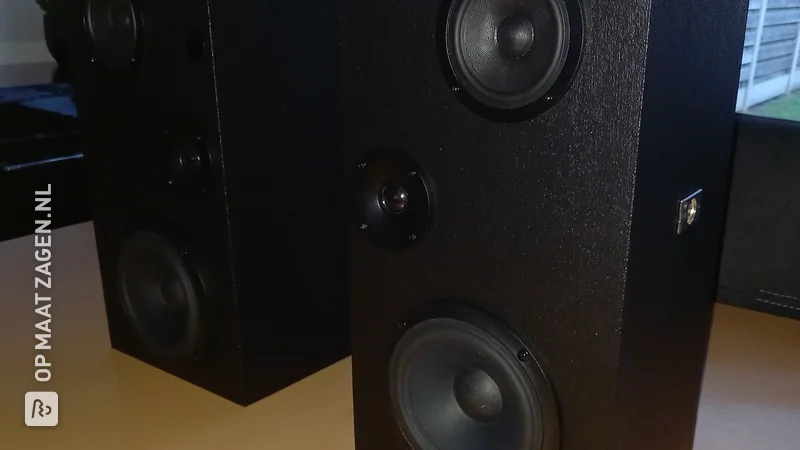
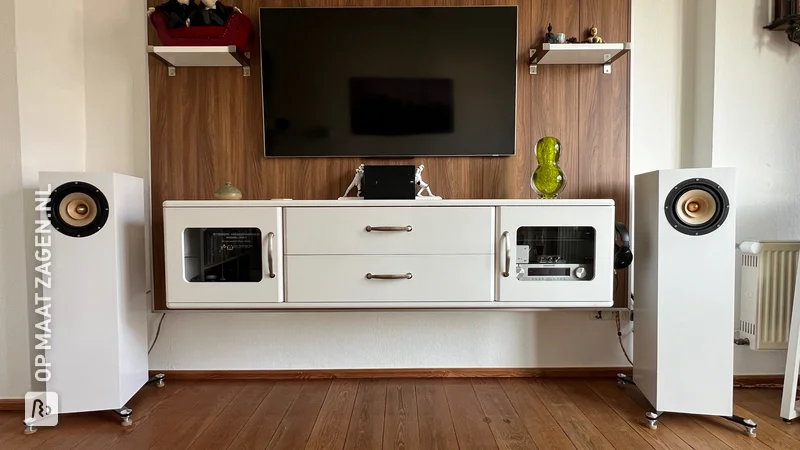
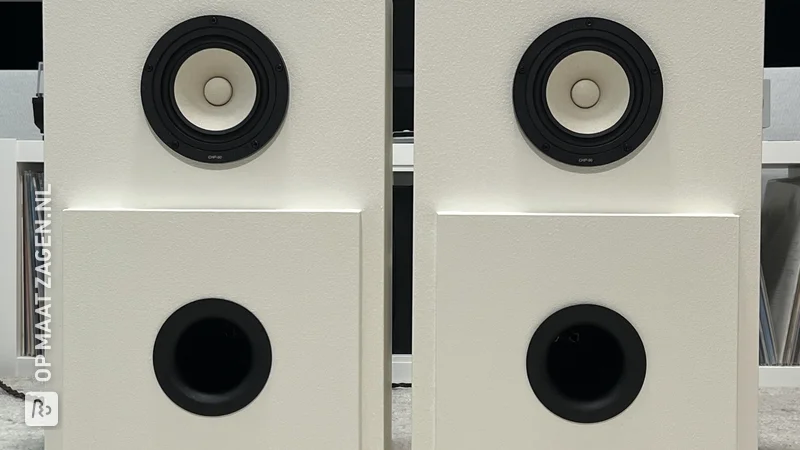
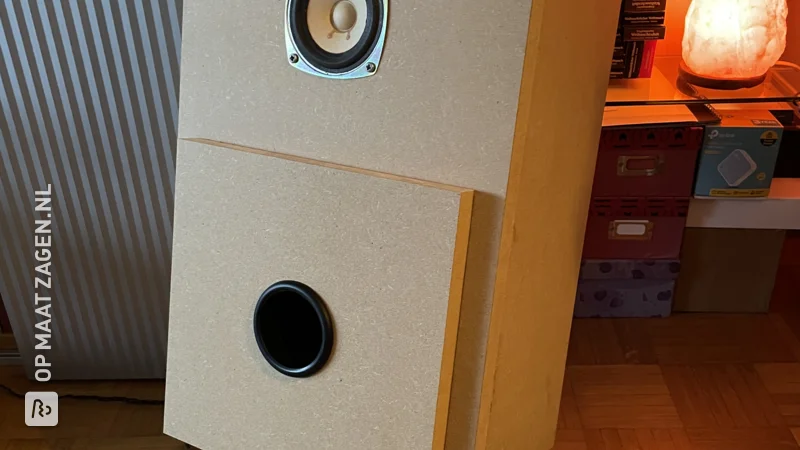
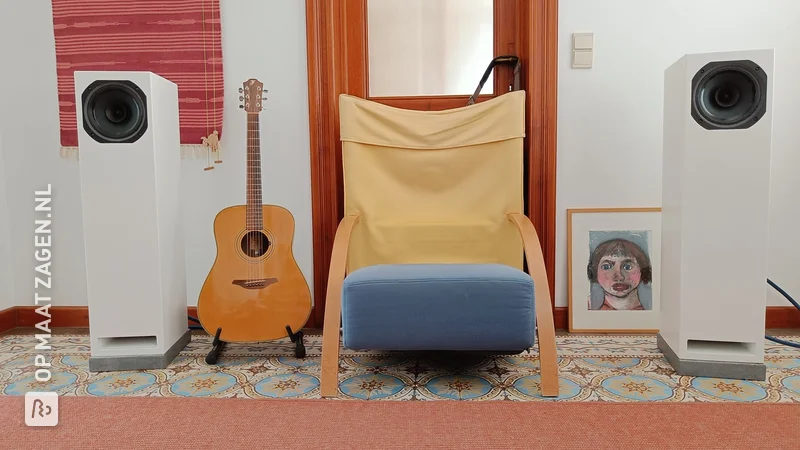
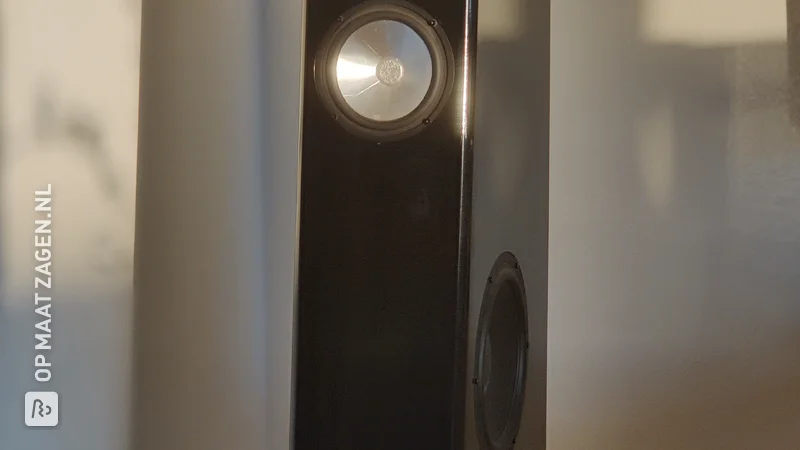
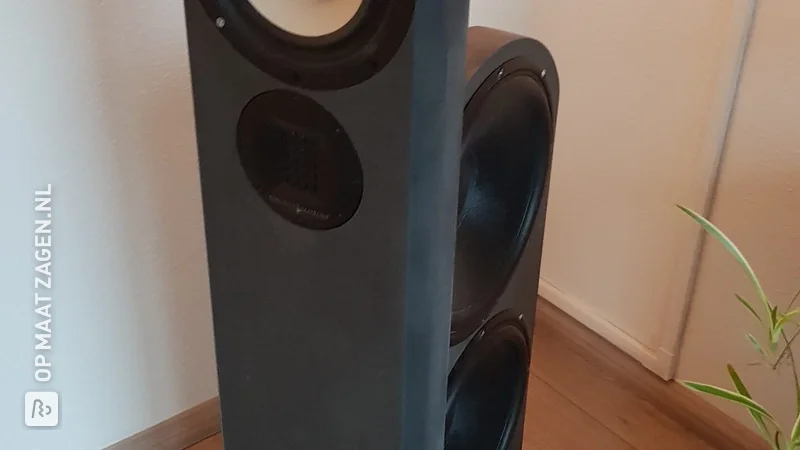
After this one layer of satin black, I think the finish is sufficient for now. Covers everything. The paint layer is not 100% perfect yet, but I have to finish the speakers, fine-tune their tuning (filtering, etc.), and that will keep me busy for a while. Perhaps, in the long term, I will run some sandpaper over it and roll again with a better roller.
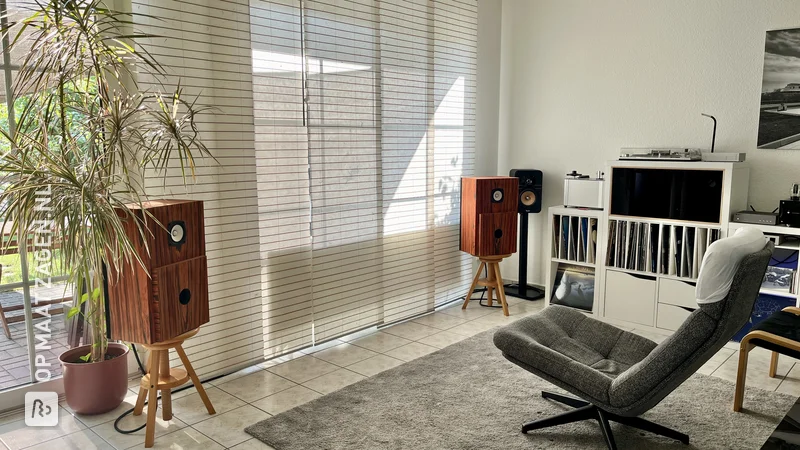
Dimensions of my DIY project
53.0 × 32.0 × 28.0 cm
Tip! Also check out our handy DIY tips!
What now?
Want to make this DIY project? Check out David's saw list and complete your order easily.
€ 167,55
All materials used
View all sheet materials