- OPMAATZAGEN.nl
- Do it yourself
- DIY Projects
Flower box for the balcony, by Mark
Flower box for the balcony, by Mark


Create this project yourself with sheet material cut to size by OPMAATZAGEN.nl!

Mark

Easy
2 minutes
Unique flower box for your balcony
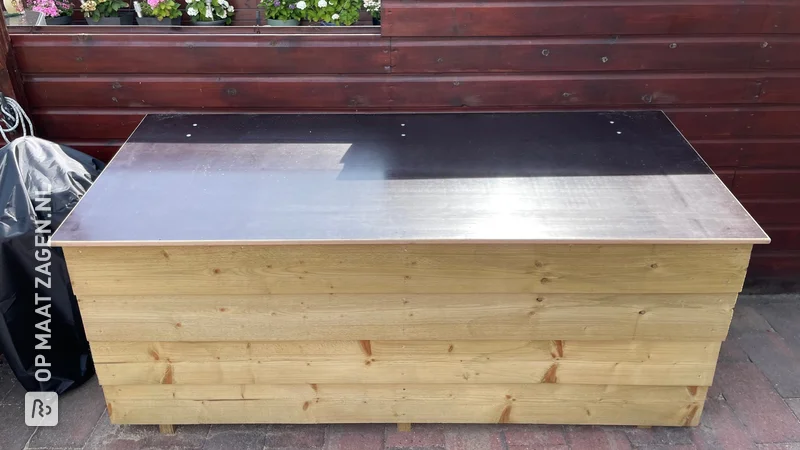
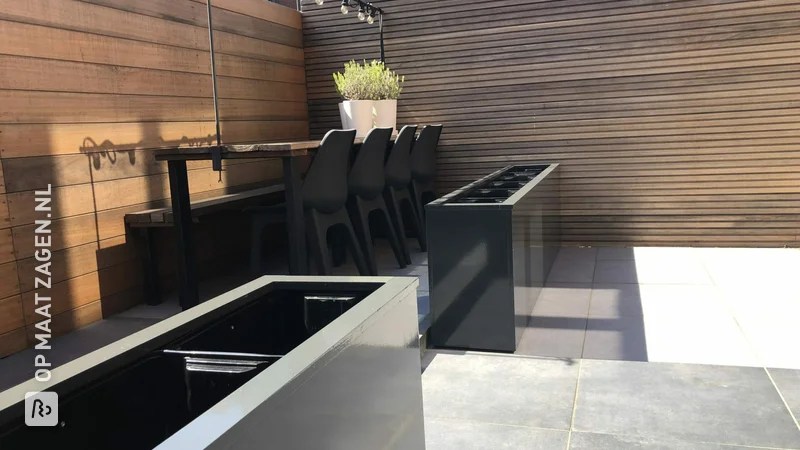
Bring color and freshness to your balcony with this creatively designed flower box! Mark designed and built a flower box that's not only functional but also aesthetically pleasing. Using precisely cut wooden pieces from OPMAATZAGEN.nl, Mark was able to transform his balcony into a small oasis.
Function through design
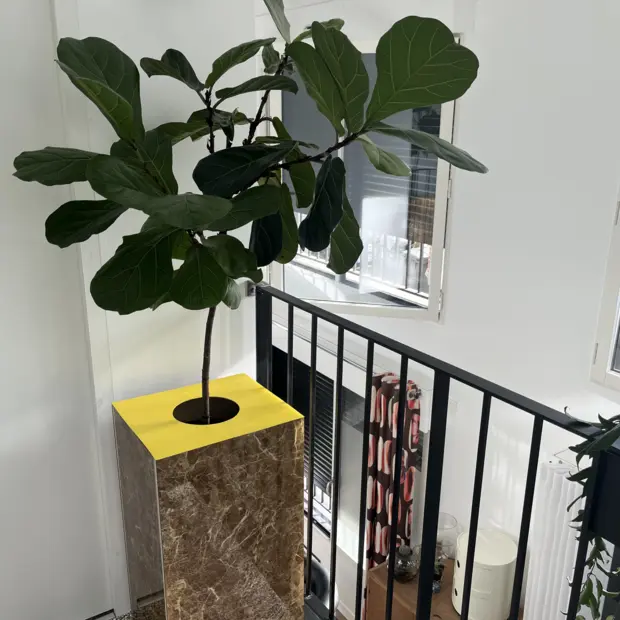
The main goal of this flower box is to create a small green corner right on your balcony. The box offers space for a variety of plants, creating a pleasant atmosphere. The orange color of the wood allows the plants to stand out and visually highlights them – perfect for relaxing afternoons on the balcony.
Style and construction
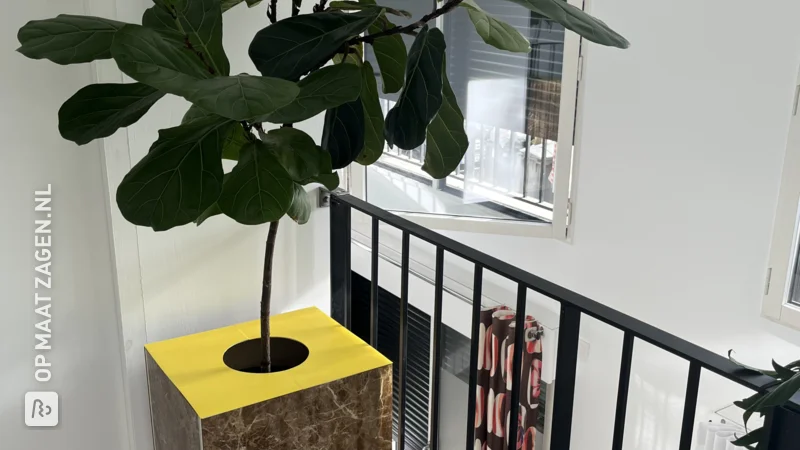
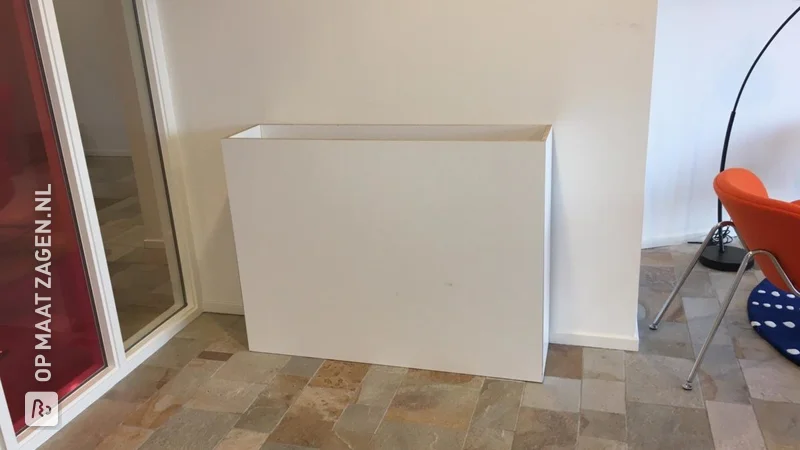
The flower box is made of sturdy MDF Exterior. The clean lines and smooth surface give it a modern yet timeless look. The rectangular box fits perfectly into the corner of the balcony, making optimal use of the space without cluttering it.
A tailor-made project
Using OPMAATZAGEN.nl, Mark was able to have the wood cut to exact dimensions, giving him complete design freedom for his project. The ability to determine the size himself allows for a perfect fit to the available space and personal design ideas.
Modern aesthetics meets DIY
The flower box exudes a modern aesthetic that is both homely and inviting. Its clean design and bold color make it a real eye-catcher.
Understanding materials: MDF Exterior
MDF Exterior is the perfect choice for outdoor projects. It's known for its smooth, workable surface, which lends itself perfectly to painting, as well as its resistance to external influences. Proper sealing also provides long-term protection.
Tip! Also check out our handy DIY tips!
Step by step guide
Preparation
- First, the balcony was measured and a sketch was made.
- Using the sketch, the dimensions could easily be entered into the order.
Montage
- The first thing we did after unpacking was to put the boards together and pre-drill them.
Then the boards were screwed together.
- For better protection, a varnish for MDF boards was first applied.
- For better appearance and protection, a wood protection varnish with paint followed.
- After drying, make a hole in the bottom so that water can drain away.
Finish
Finally, everything was filled with soil and planted. And there you have it!
Tips from Mark
Make sure the tray is well sealed inside and out to ensure weather resistance. After assembly, a high-quality varnish is recommended to protect the wood and enhance the color's brilliance.
What now?
Want to make this DIY project? Check out Mark's saw list and complete your order easily.
€ 162,25
All materials used
View all sheet materials
My experience with OPMAATZAGEN.nl
Overall, everything went well. The delivery was a bit bumpy, and it came in multiple packages. I couldn't tell from the order. However, the wood was very well cut. So far, it's lived up to the promises in the description.